Wednesday, September 19, 2012

Ultraforge Demon reshoot

Photobucket

I was able to find some bigger images of the Ultraforge Chaos demon today!    I have always liked the Ultraforge miniatures, since they are very convenient for game play.  The magnetized wings are fantastic, making it so much easier to transport.

Photobucket

Photobucket

Also, the way the poses are situated really helps during a game, when you get masses of troops into contact with one of them.  Be it Warhammer or 40k, you can have a big scrum with one of these, as they tend to sit over the heads of the opposing "little guys".

Photobucket

Photobucket

This is especially critical in Warhammer, where this could be bumped up against rows and rows of spearmen, etc.

Photobucket

Photobucket

Photobucket


Planting our hills and rocks for the terrain board.

Photobucket

The last terrain building post!  Now we get to our hills and rocky outcroppings.

Here's a review for those who have not seen the previous post about flocking the main board.  We got our flock together, and made a few mixes of various colors, making sure to mix the fine and course turf together.

Photobucket

Just as we did with the main board, we had a dish of wood glue and lots of newspapers!

Photobucket

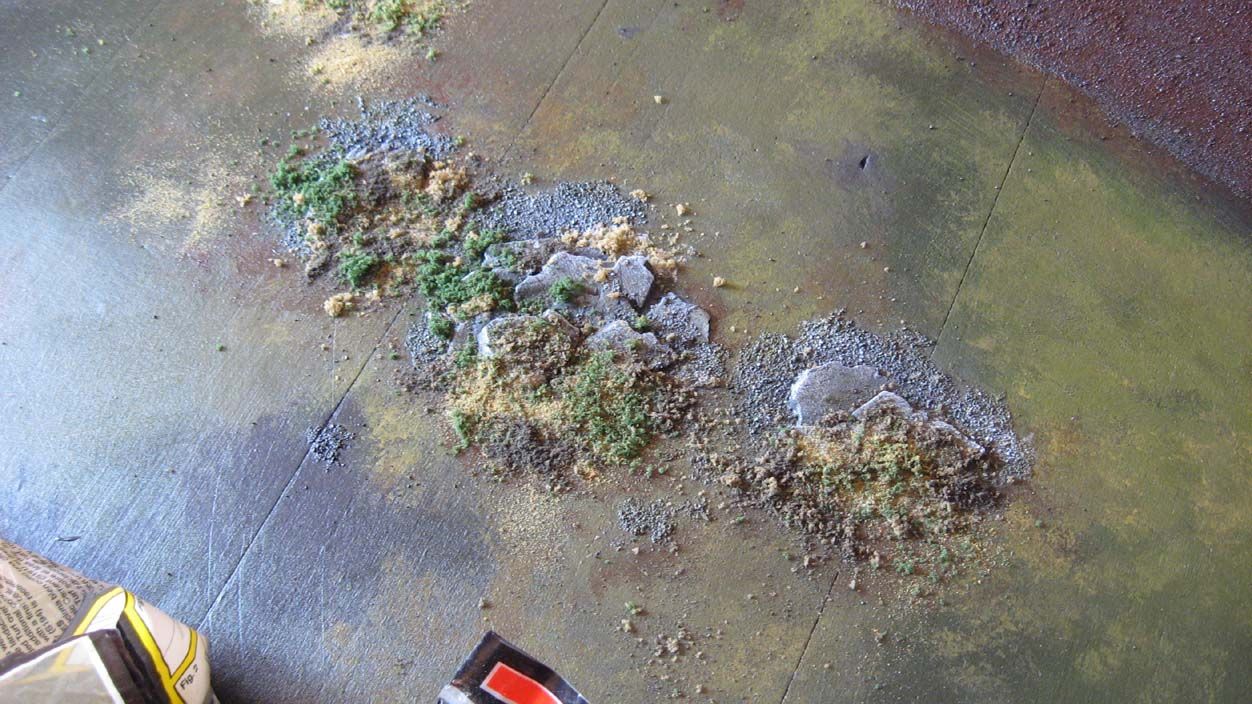
While Cathy was flocking the hills, I worked on the rocks.  I used a mix that had more green and coarse turf around the bottom of the rocks, with a finer, more brownish mix on the upper surfaces.

Photobucket

Photobucket

Photobucket

Once the flock is covering the 'rougher' areas where maybe the knife went 'astray', they really have a nice look to them!

Photobucket

Here's Cathy working on the hills.  We also had the flock go down the sides of the hills in some places...

Photobucket

Photobucket

A close up on the hills:
Photobucket

And the whole batch done!  Time to clean off the table!

Photobucket

The finished pieces:
Photobucket

Finally, we add some of our own buildings and trees, and you have a nifty board ready for a battle!!

Photobucket

Photobucket


Hush now... Terminator Librarian

Photobucket

Here's a Blood Angels Librarian that I did for the Angels Solaris a while back...I wonder what the late fees are like for that library.

Photobucket

Photobucket

Photobucket

Tuesday, September 18, 2012

Shading the Elves...

Photobucket

Here is the next stage of painting for the LOTR elves.  With the initial "shaded basecoat" complete, I could get down to using my glazes to shade them and tint the figures.  The whole idea is to simplify the colors involved, so that they could be easier to match in the future (long after I have forgotten what went into them!).

Besides, lots of colors tend to "go away", and they always seem to be favorites or army essentials, don't they?

Photobucket

I had a few glaze colors out on the palette... a Reikland Earthshade, an Agrax Earthshade, a sepia shade from vallejo, and a lamenters yellow.  Using a very small brush, I used toned down lighter glazes to hit the least shaded areas of the gold armor.  Where I wanted it to be darker, I used the Agrax mixed with some coelia nightshade.  I will be doing a few more tints on the armor.

Photobucket

Photobucket

The cloaks had a mix of druichi violet and black.  I used some Reikland mixed with the coelia on the flesh tones.

Photobucket

I will be going back in with more accents in the darks, and then begin working back in some lighter colors.  Then it will be time for freehand and the shields where needed.

Photobucket

I will be sure to post the images of the finished guys!  They are all supposed to look like the central miniature...

Some fun from the past...

Photobucket

Here's one from a few years ago.  The base was a fun project.  I used sculpey and various polystyrene tubing to create it.

Photobucket

Photobucket

Photobucket

So you want to have a green thumb...

Photobucket

Today it was back to the Dragon Shoppe to do some more work on the game board!  All that was left was some drybrush on the road, and then flock.  That can be a messy prospect, so we brought out the newspaper once again.

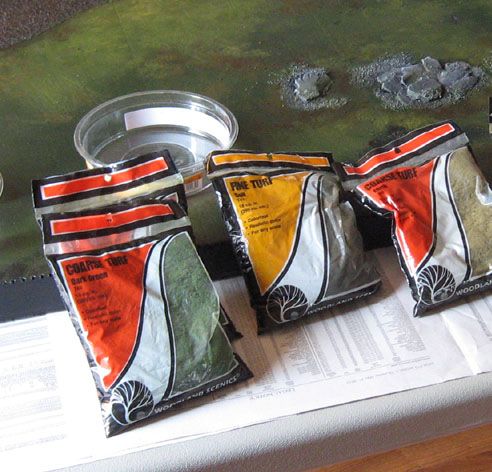
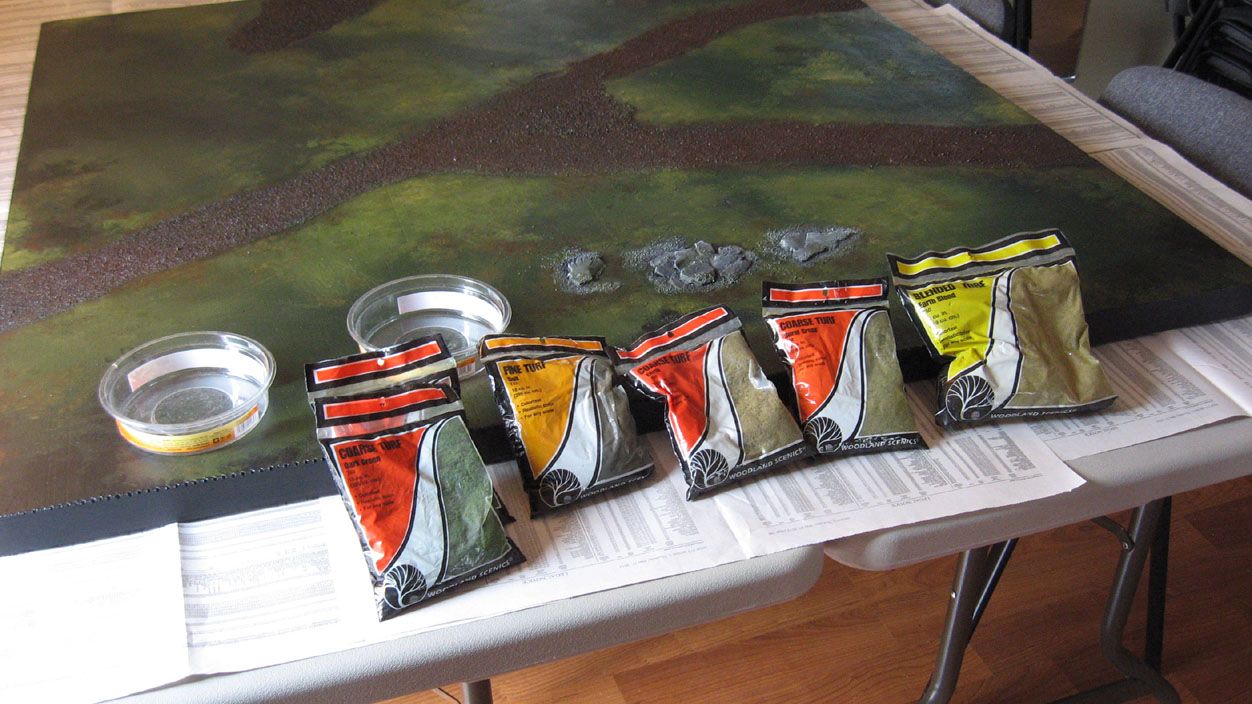
We were fortunate to have a nice variety of flock on hand:
Photobucket

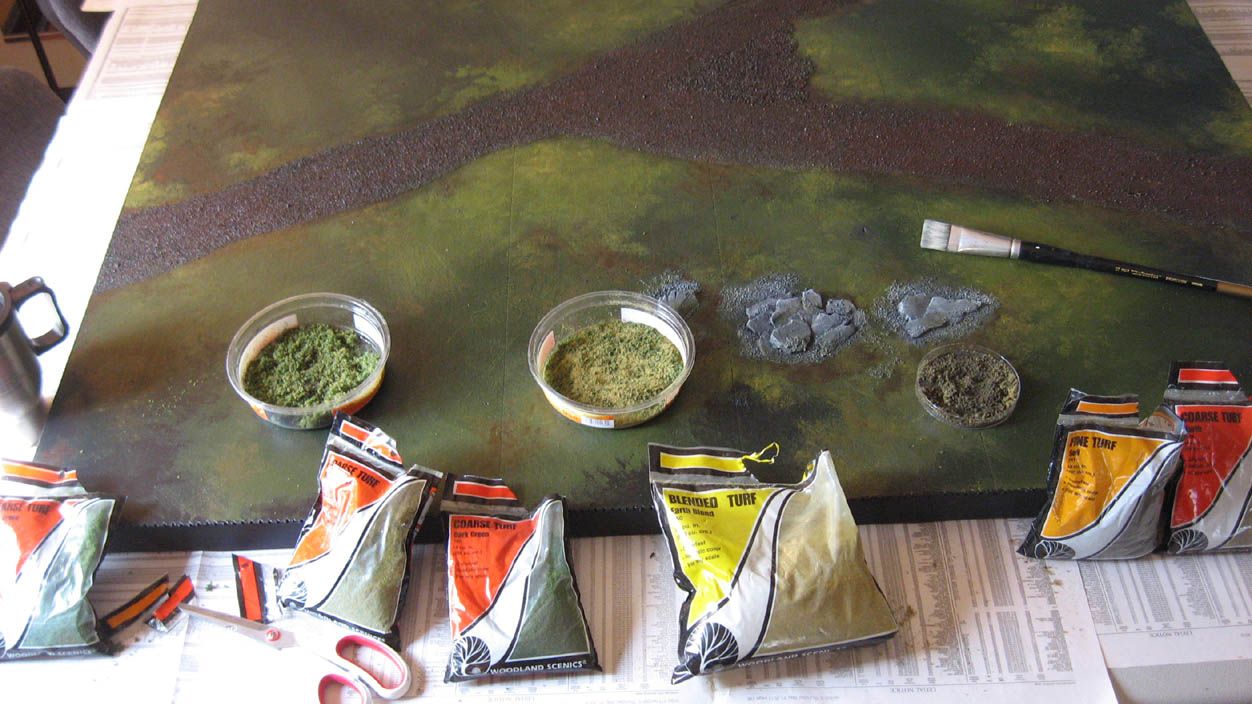
We tried to create a few mixes that had distinct colors (some more bright green, others brown, and even a very dark brown), and textures.  The coarse turf was mixed with the fine turf, which was easier to glue to the board.

These mixes made it much faster for the two of us to work our way around the board...
Photobucket

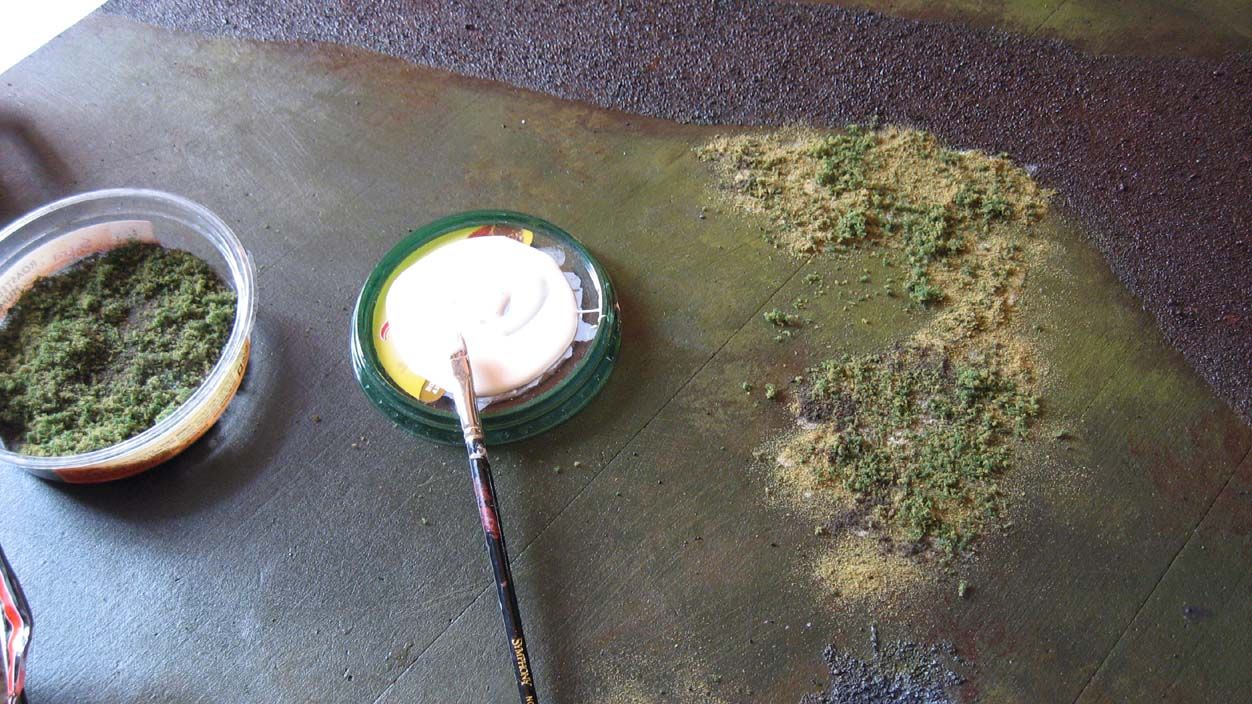
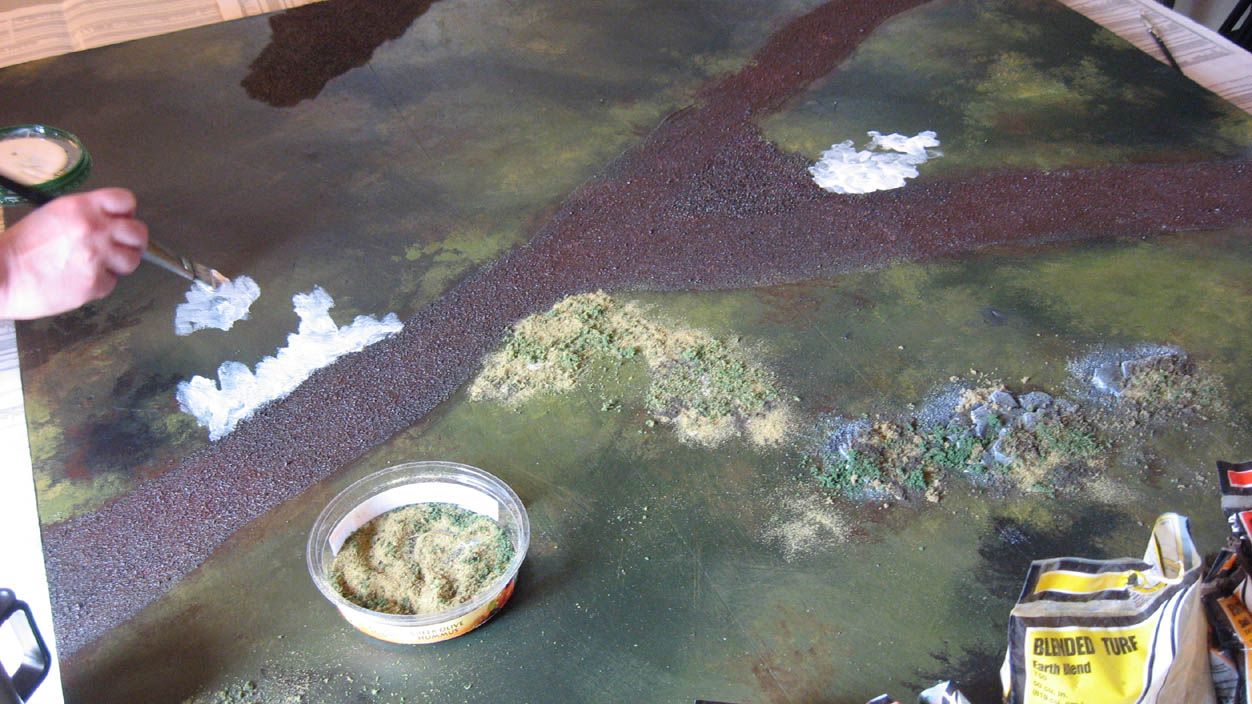
We brought out the wood glue again, and brushed out some areas near the road to help set that off a little more...
Photobucket

Once the flock was placed in the wet glue, we tapped it down a bit, and that was great for keeping the loose turf at a minimum. :-)
Photobucket

Here we are moving around the board..
Photobucket

As an added bonus, we got to see the big makeup game between the Sox and Tigers (big win for the Sox!!)
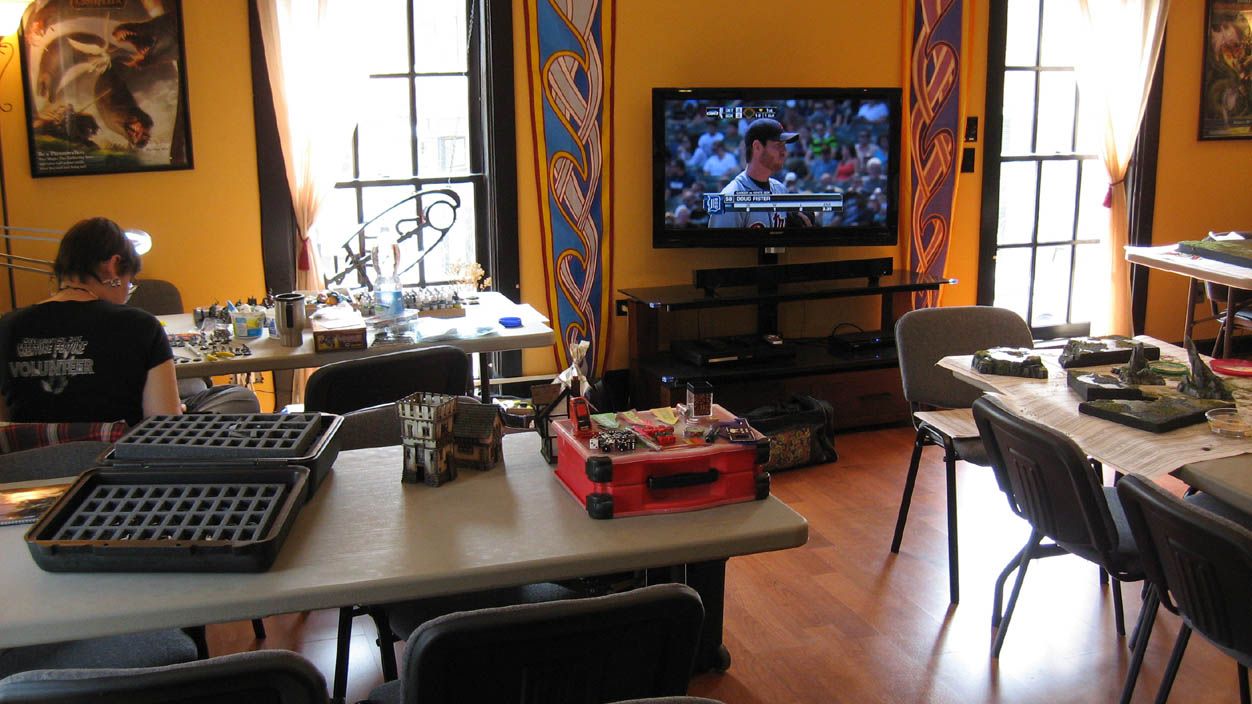
Photobucket

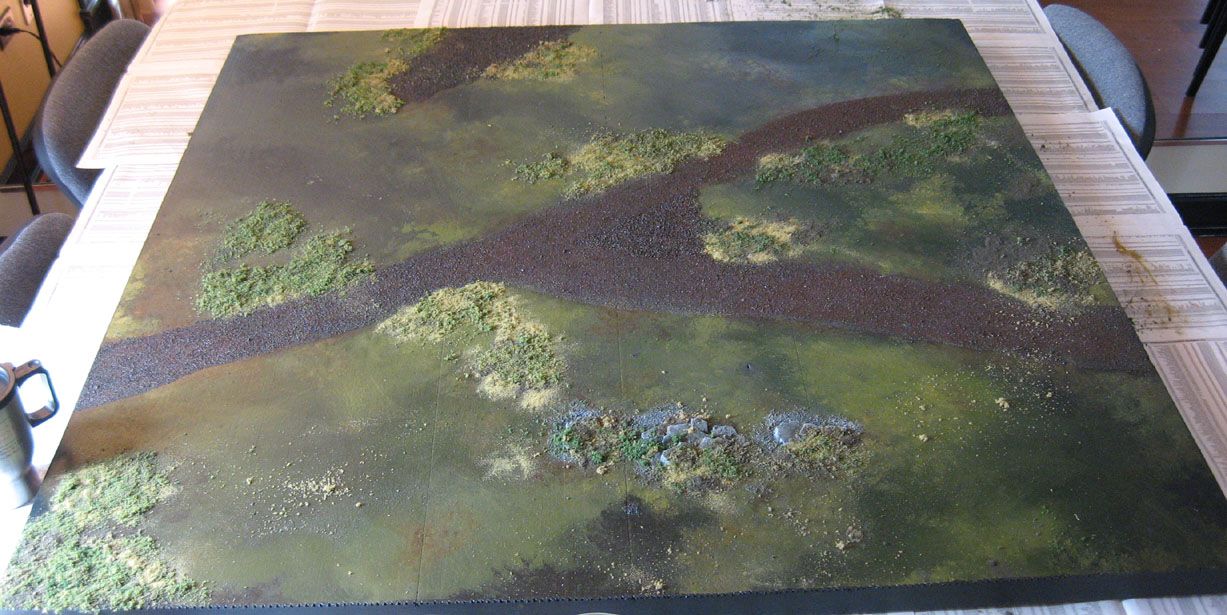
We are just about done getting all the flock on the board...
Photobucket

The turf is in!  I realized that it was a very good idea to scumble all those different colors on the board as I was painting it.  This allowed us to play with the flock mixtures more than if the whole thing was a uniform green.
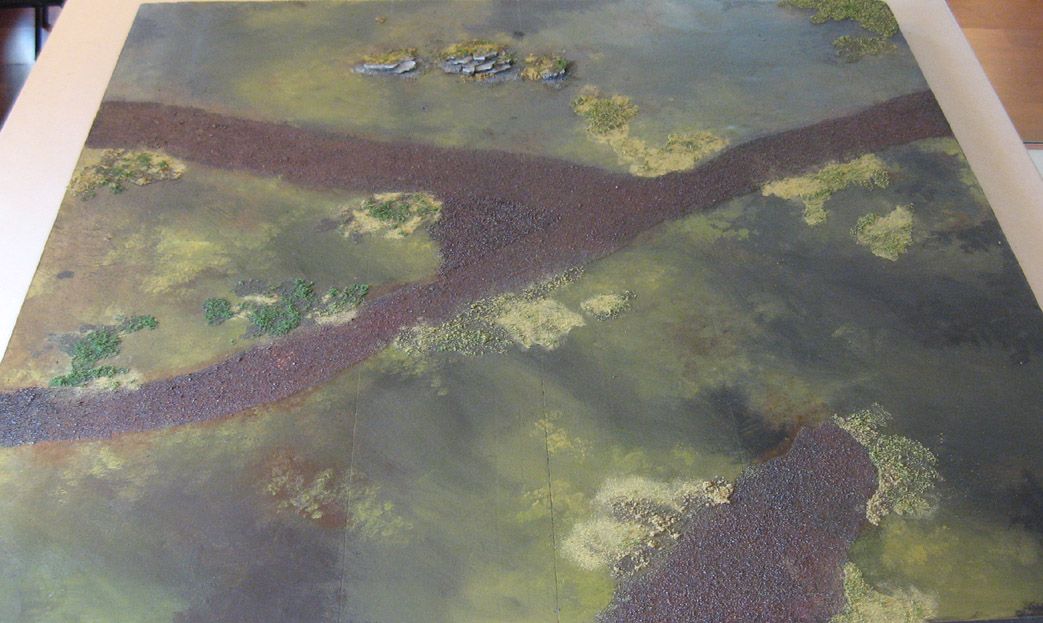
Photobucket

Now the road gets its lighter drybrush.  As cathy did that, I washed off my green fingers!
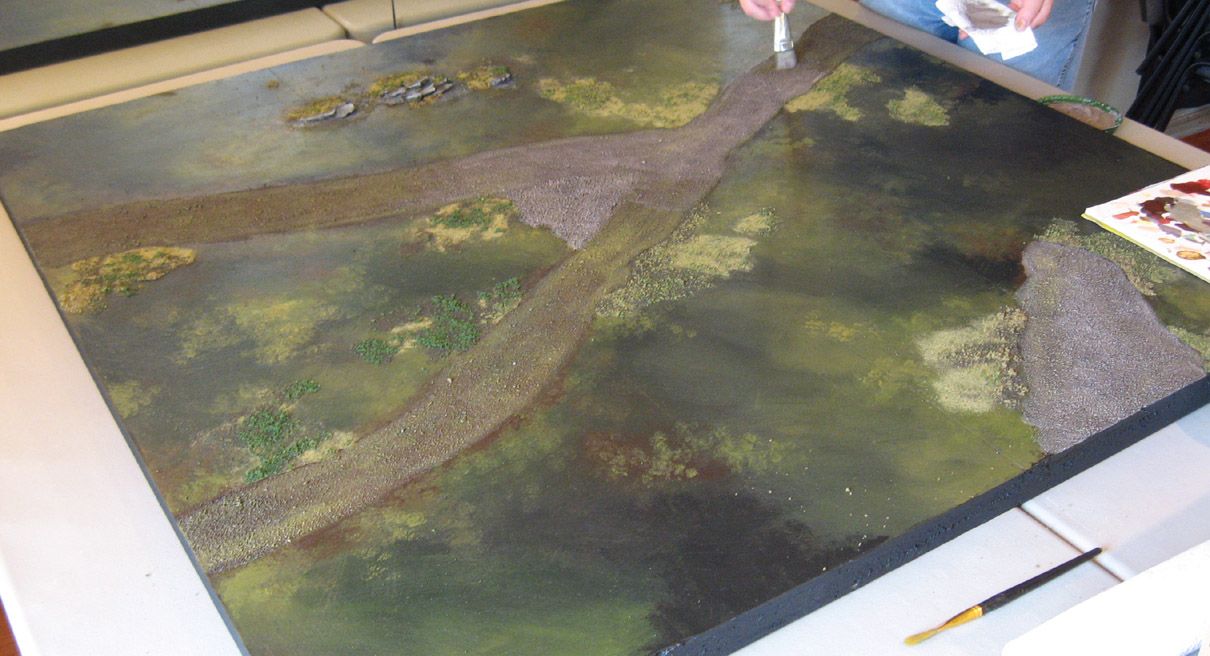
Photobucket

Stay tuned for tomorrow's episode where we flock the hills and rocky outcroppings.  Here is a sneak peek of the final result...
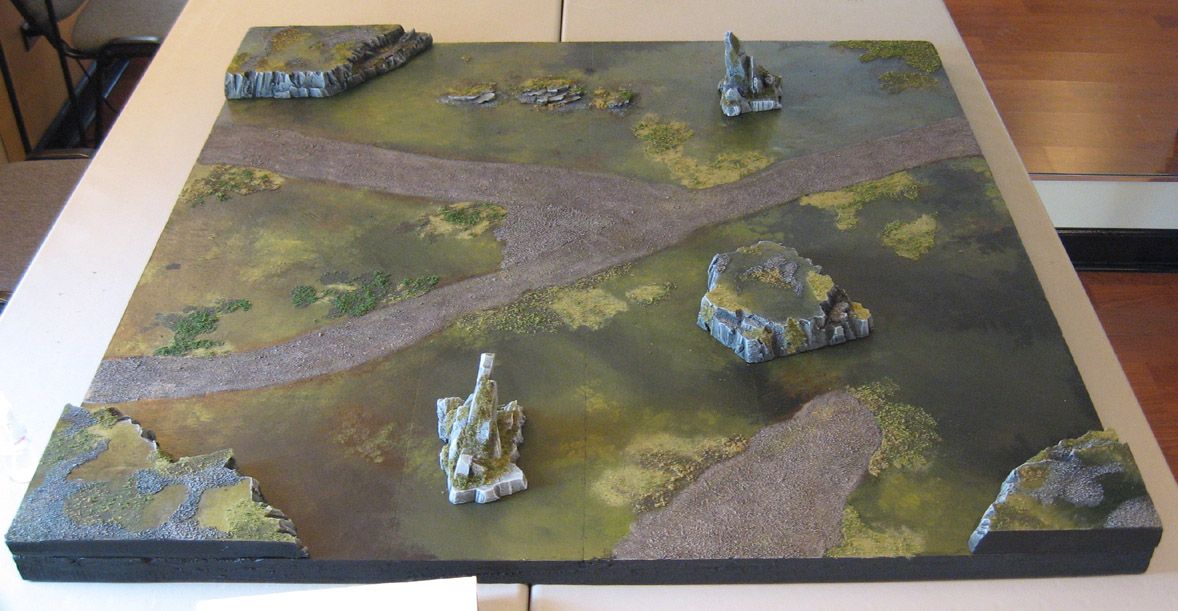
Photobucket

Monday, September 17, 2012

When you are out on the road again...

Photobucket

Since we are out on the road right now, I am left with doing things like "grunt" work.  That means tasks like shaded basecoat!  Among the many figures out on the table yesterday were the Galadhrim elves.

Photobucket

The idea here was just to get as much of the colors out on the mini as possible, in order to set up all the darker glazing and shading later on.

Photobucket

Photobucket

I will be sure to snap some images of the shading process.

Photobucket

Eventually, they will all look like the completed figure in the center (some will get shields as well).

Photobucket

Photobucket

Now we will soon be off to finish our terrain table, and glue lots of flock to ourselves!