The last terrain building post! Now we get to our hills and rocky outcroppings.
Here's a review for those who have not seen the previous post about flocking the main board. We got our flock together, and made a few mixes of various colors, making sure to mix the fine and course turf together.
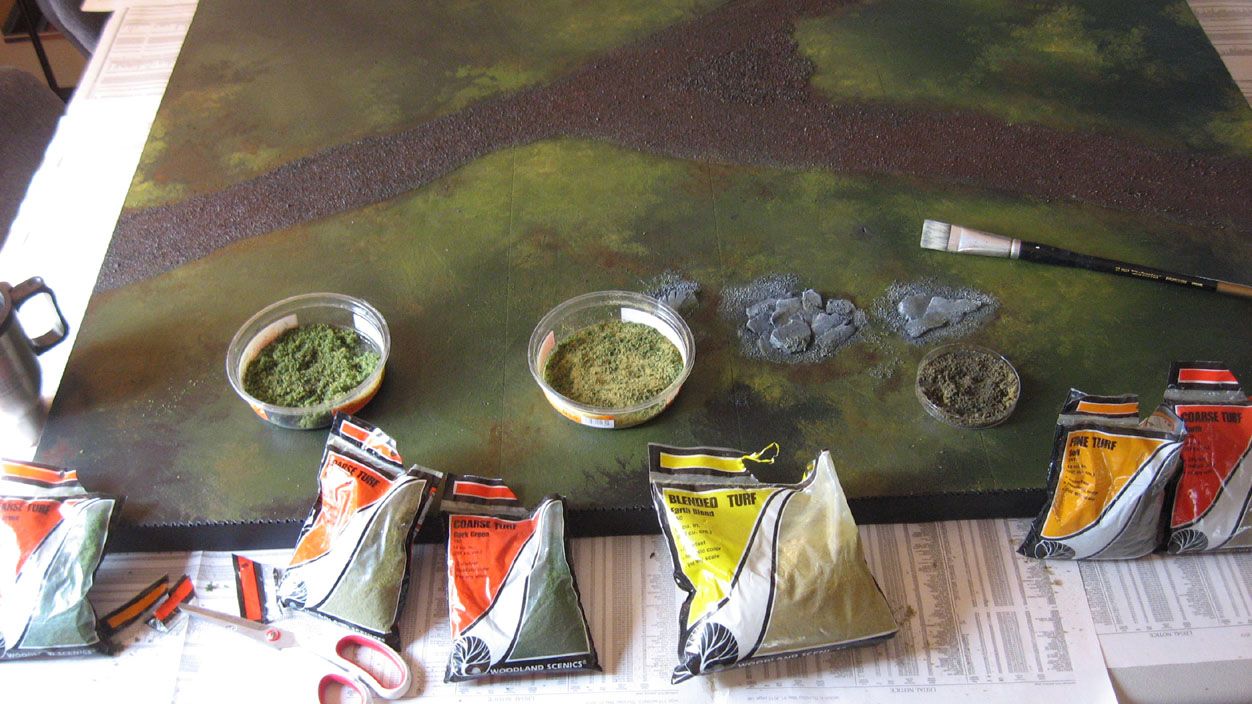
Just as we did with the main board, we had a dish of wood glue and lots of newspapers!
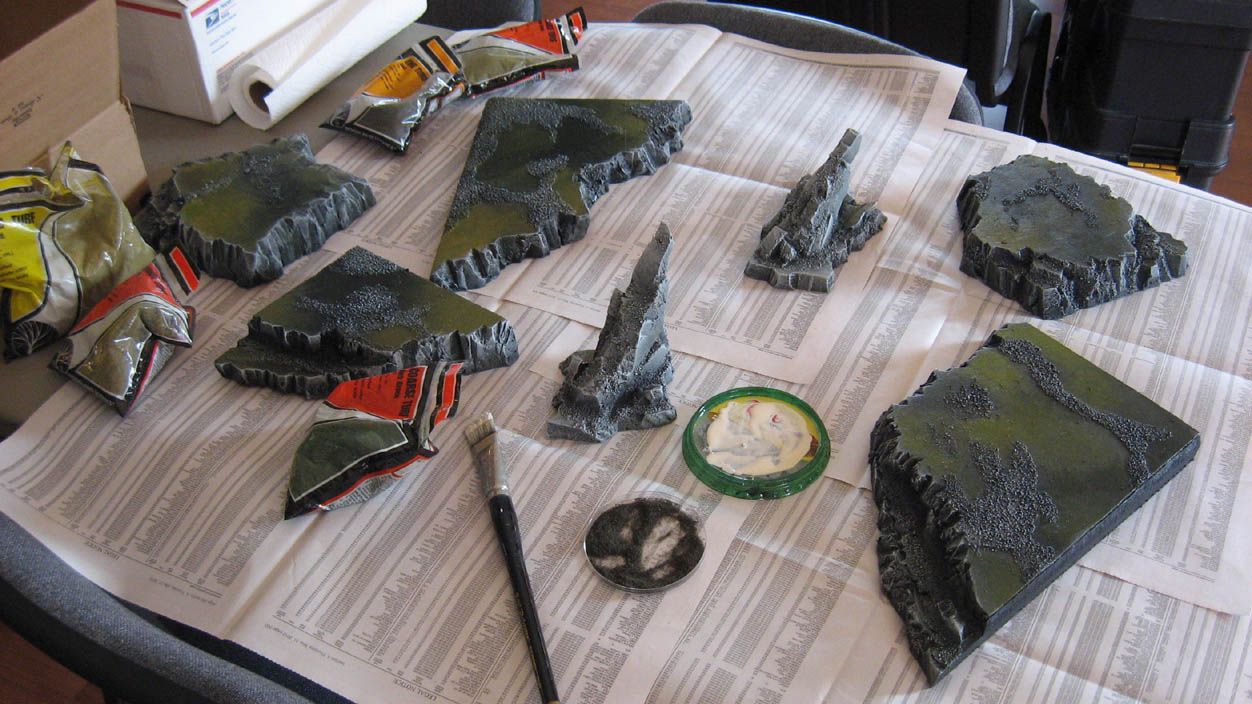
While Cathy was flocking the hills, I worked on the rocks. I used a mix that had more green and coarse turf around the bottom of the rocks, with a finer, more brownish mix on the upper surfaces.
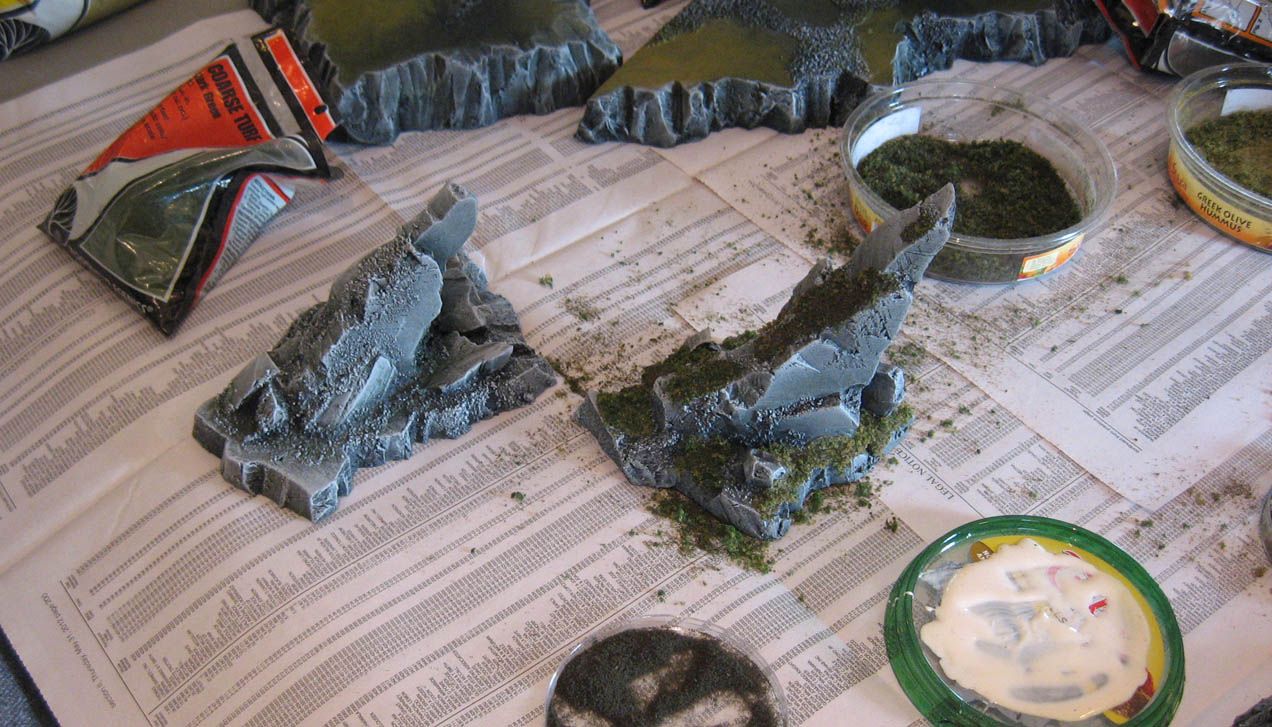
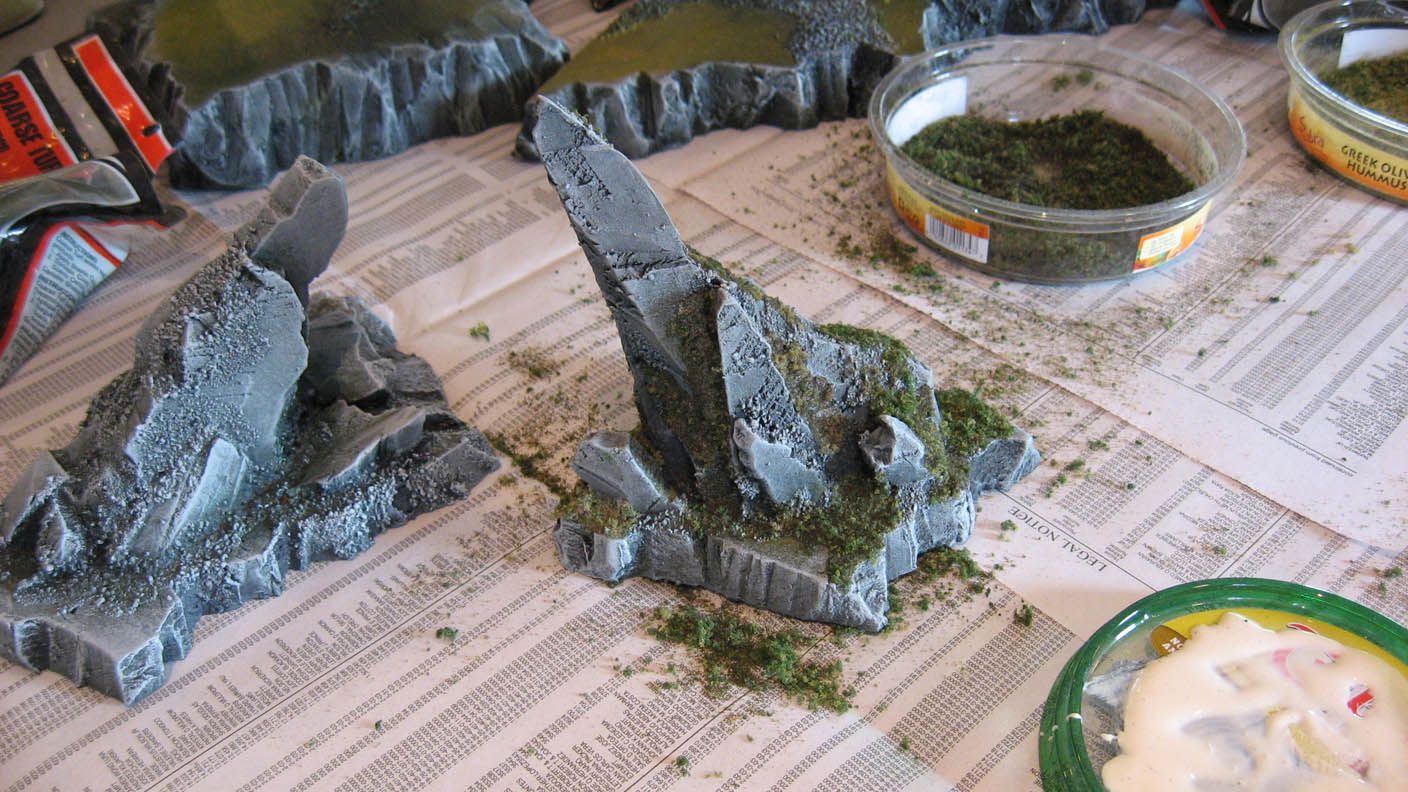
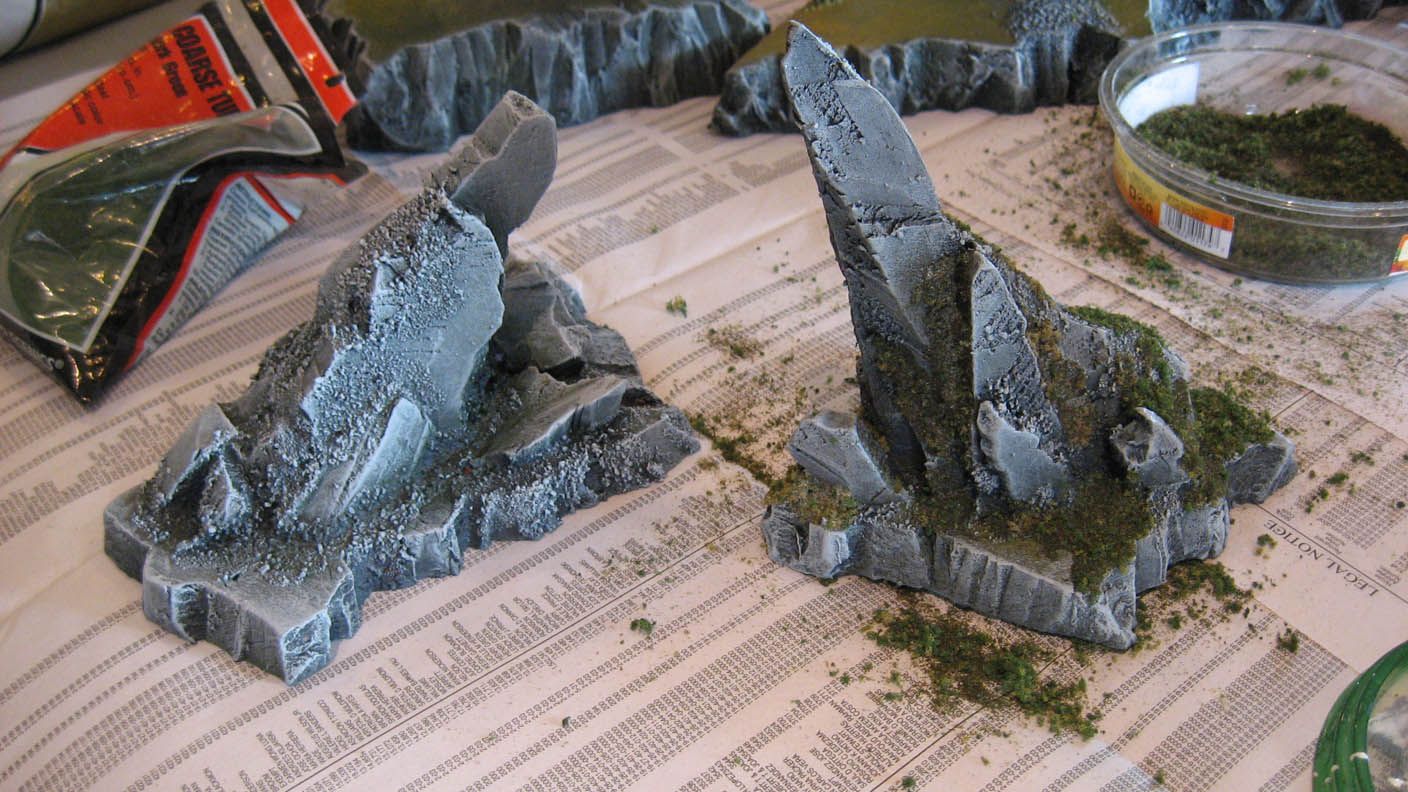
Once the flock is covering the 'rougher' areas where maybe the knife went 'astray', they really have a nice look to them!
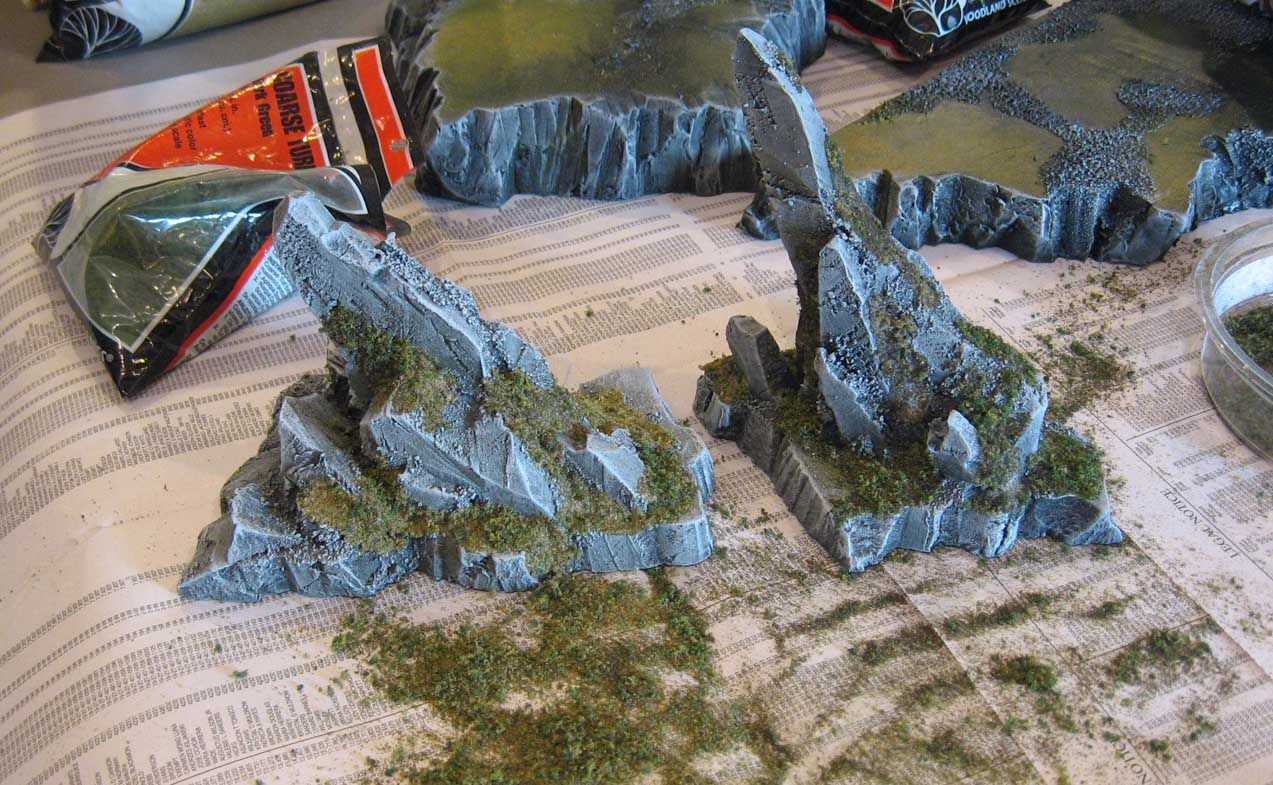
Here's Cathy working on the hills. We also had the flock go down the sides of the hills in some places...
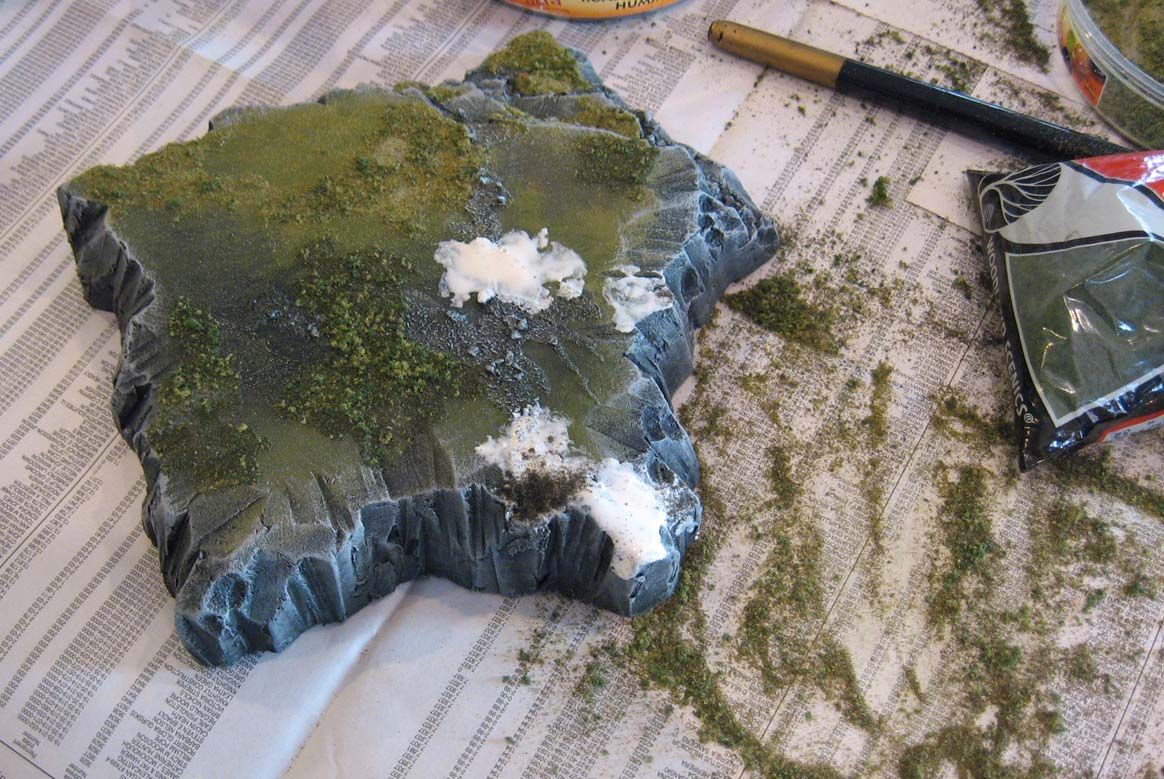
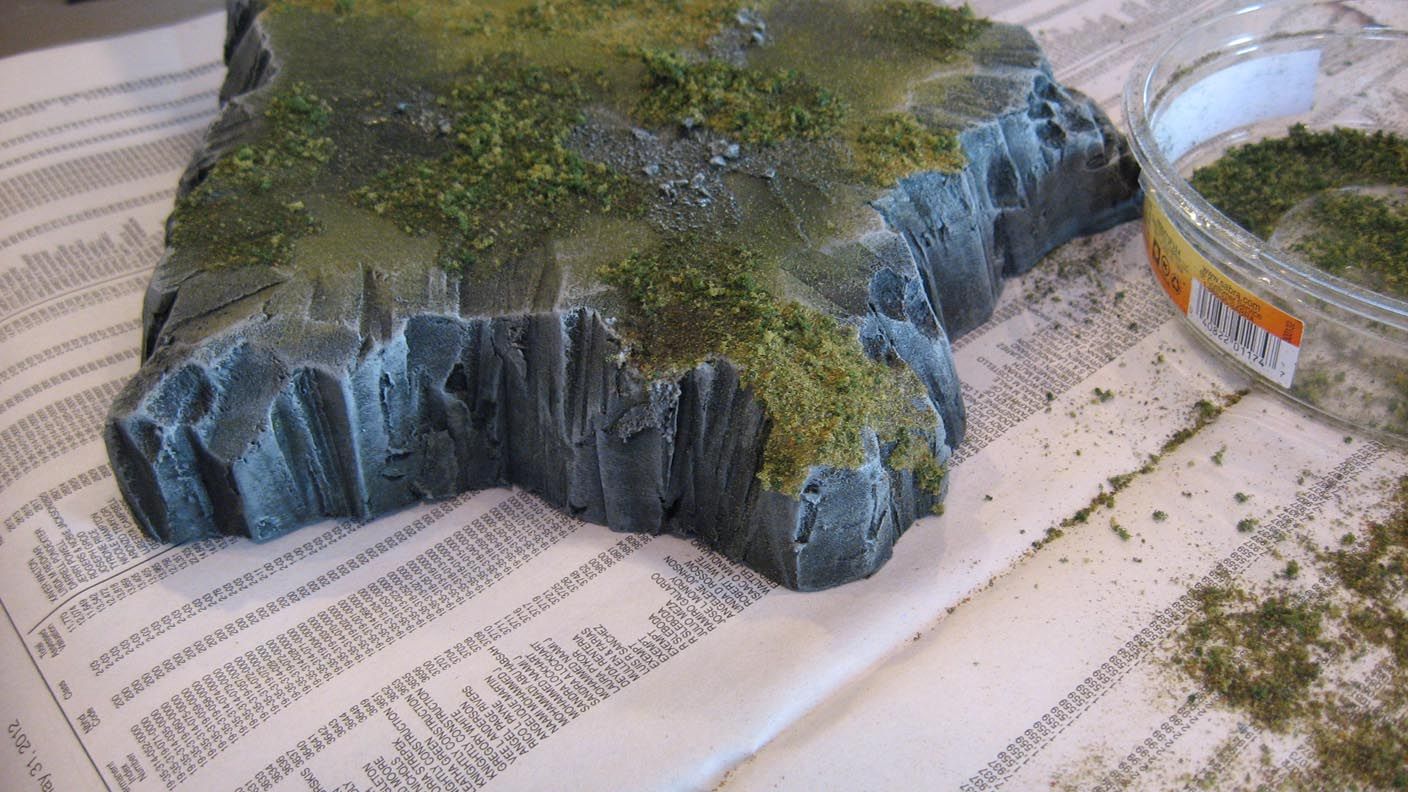
A close up on the hills:
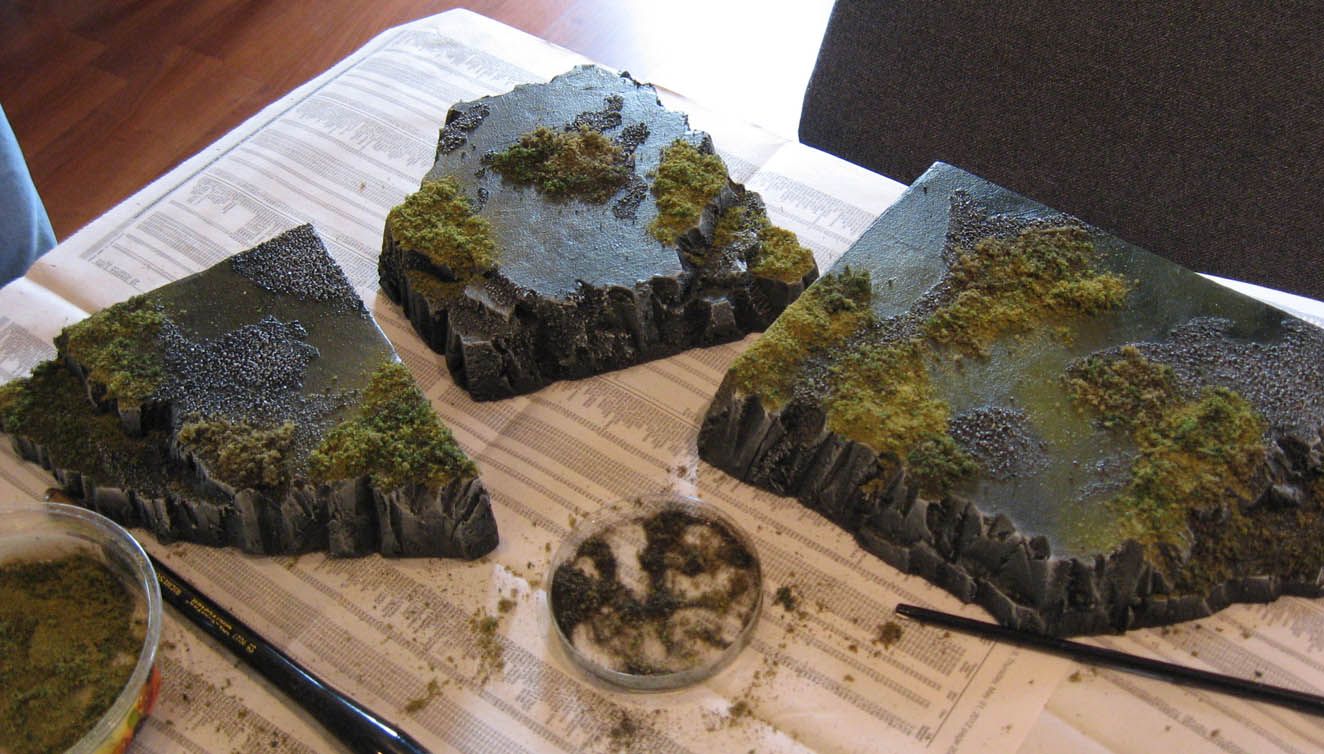
And the whole batch done! Time to clean off the table!
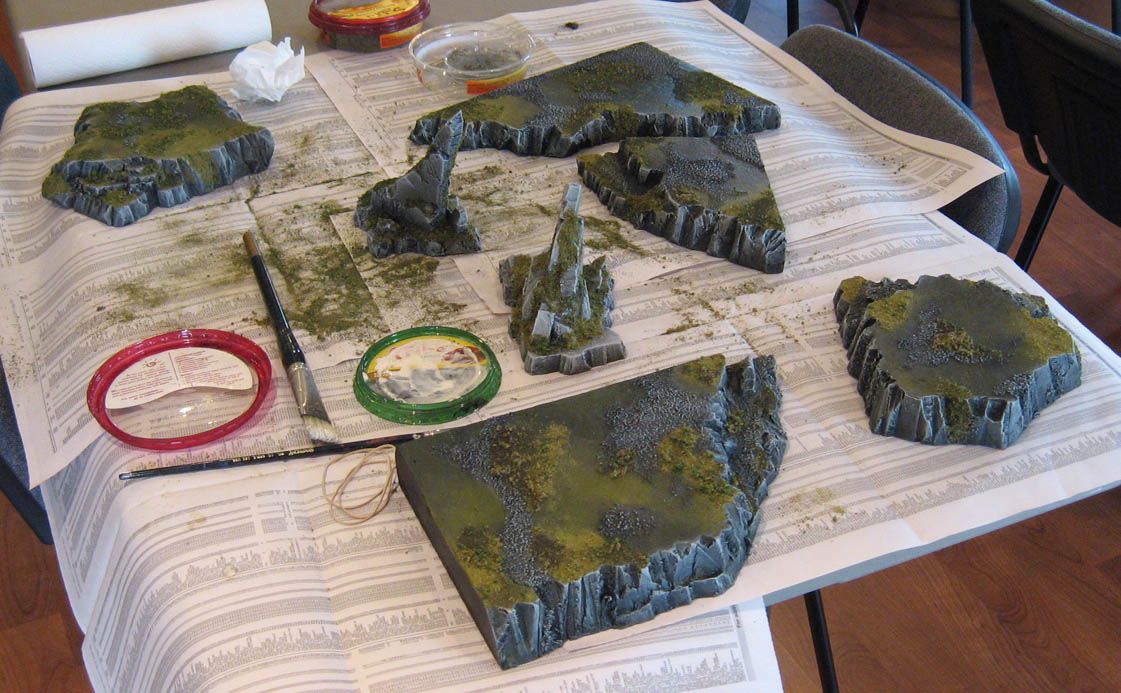
The finished pieces:
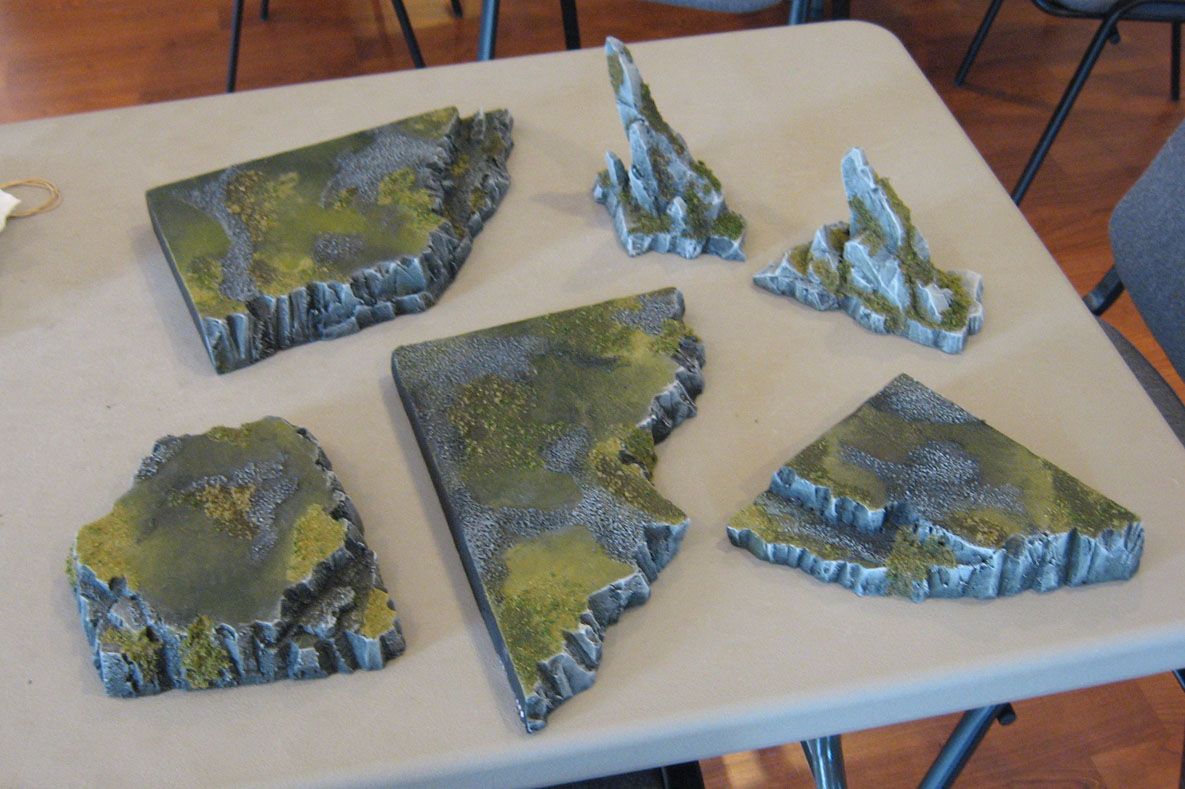
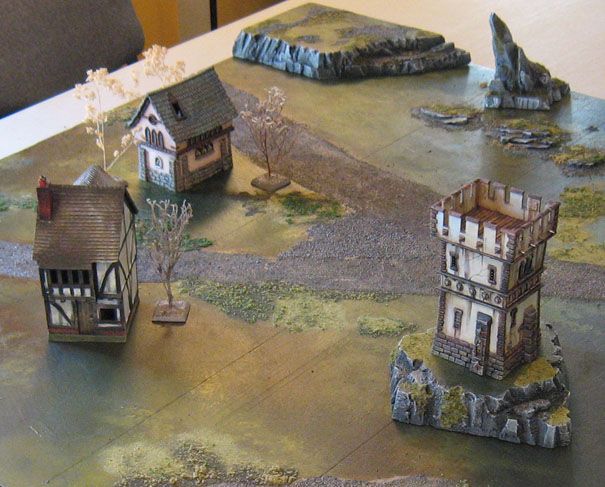
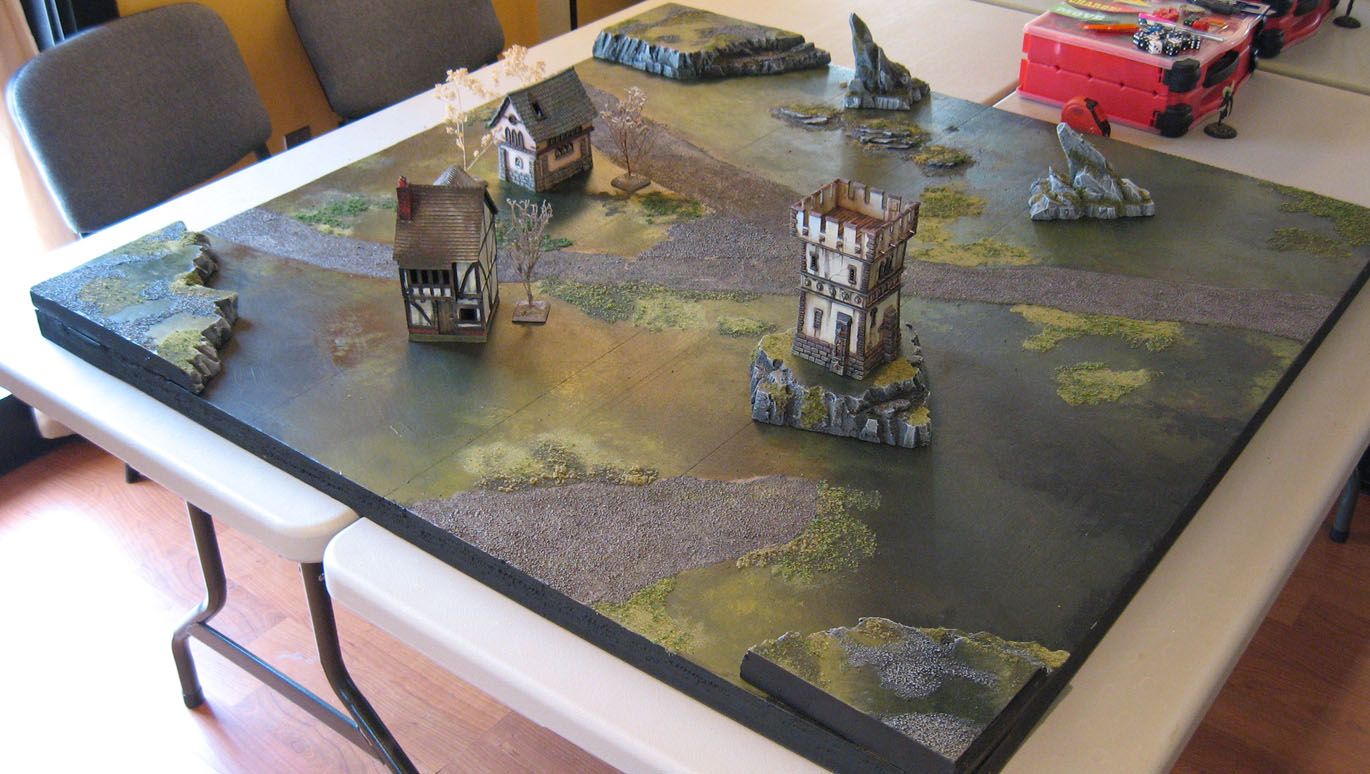
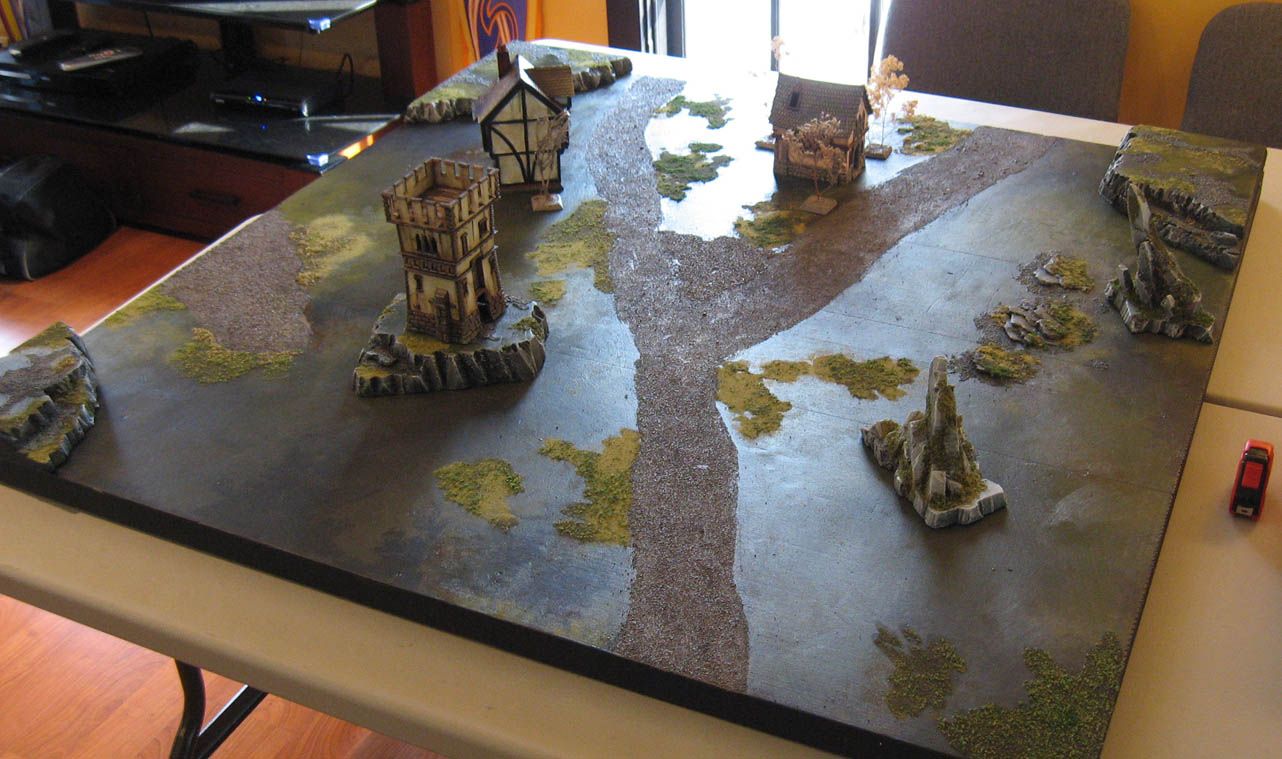
Finally, we add some of our own buildings and trees, and you have a nifty board ready for a battle!!
No comments:
Post a Comment