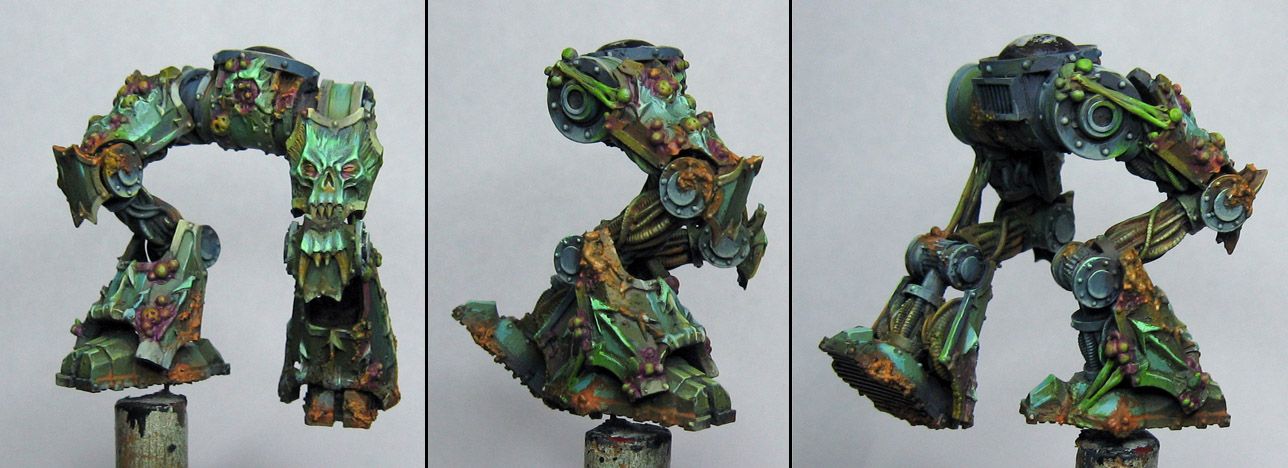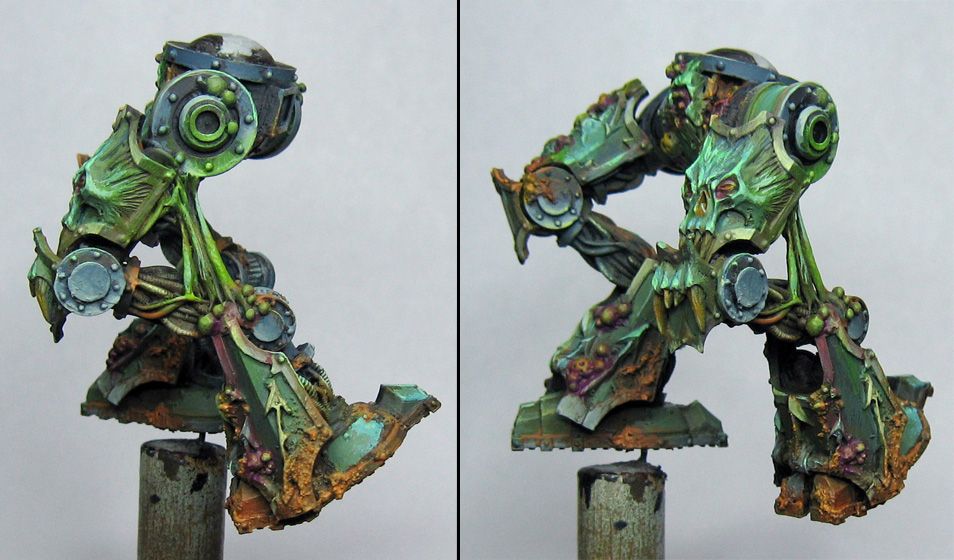
OK, we have some more images of the second round of painting. More and more definition of the lights and darks, now that the general color layout has been formed.

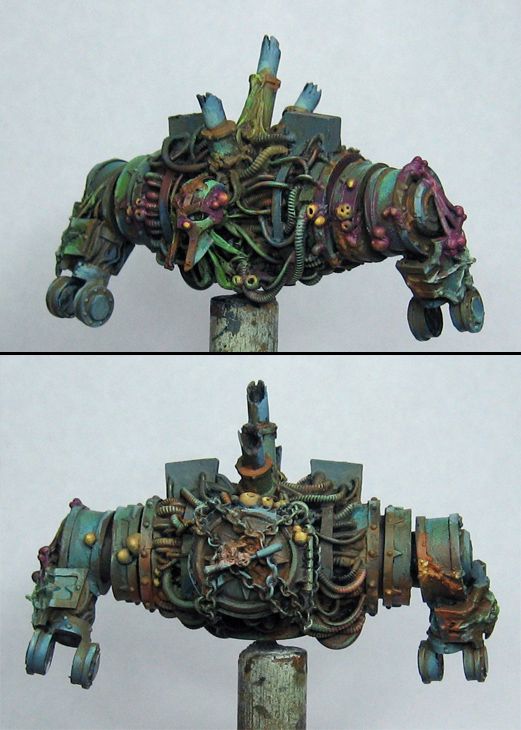
Even though most of the torso is covered by the massive shoulder armor, I figrued I would do as much as I could on all the cables and such before they disappear. :-)

I had to make sure that some areas had a least a hint of "metal" to them, so I used some Fenris grey and even a little thunderhawk blue in places to make sure that not all the colors were variations of greens and browns.

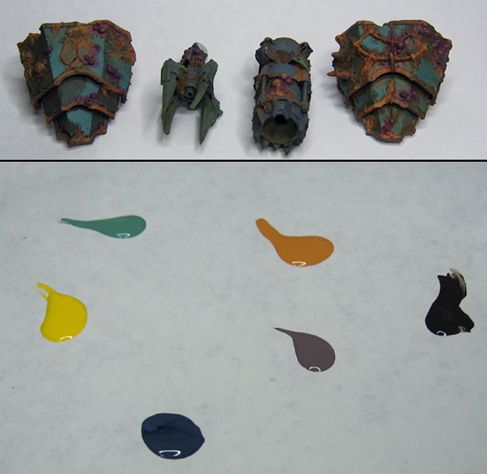
Here is a little shot of the palette as I began this next round. Pretty much the same as the first one. Also, the shoulder armor and weapons get some love...

More definition on the values of the torso:

At this point, I also trying to set up some of the complimentary colors, such as all the purples that I want around the sores and pustules.

Since these photos, various shades of pink have been added to those pustules.

More pics tomorrow, so stay tuned!
No comments:
Post a Comment