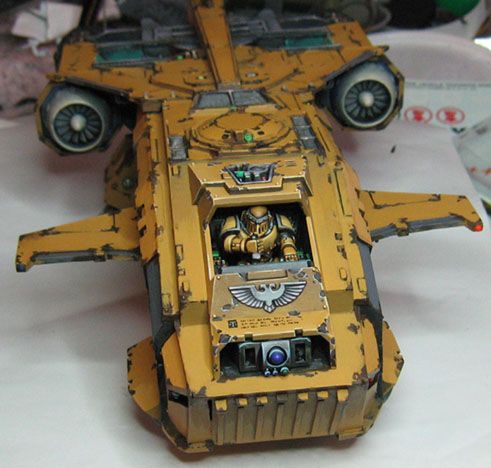
Well, loyal Wappellians, this was not supposed to be a step by step or a tutorial or anything of the sort. However, it seems to have become just that!
So without further delays, we have another set of WIP images.
This picks up wher we left off from the first set of images. I have now placed the pilot in the cockpit:
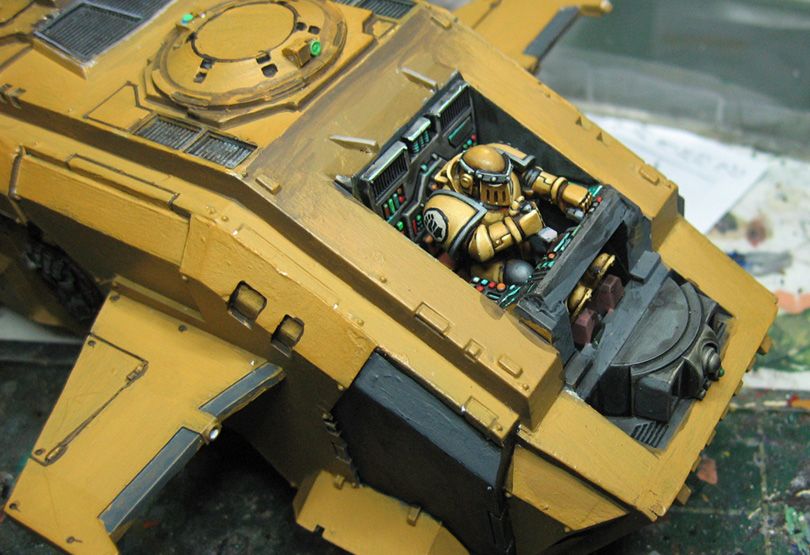
And I decided to do some glowing conduits, which would match the glowing colors I did on the Land raider for this same army...
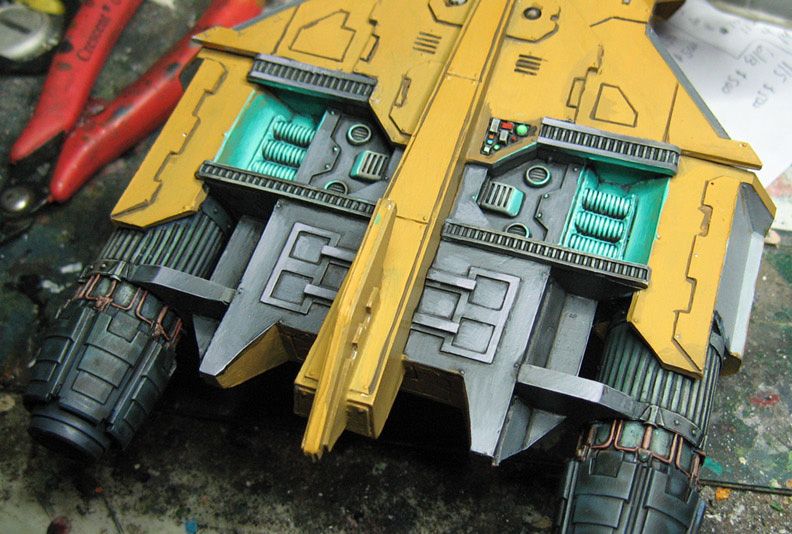
I also did some work on the engines, pulling out the copper pipes on the exposed cowlings...
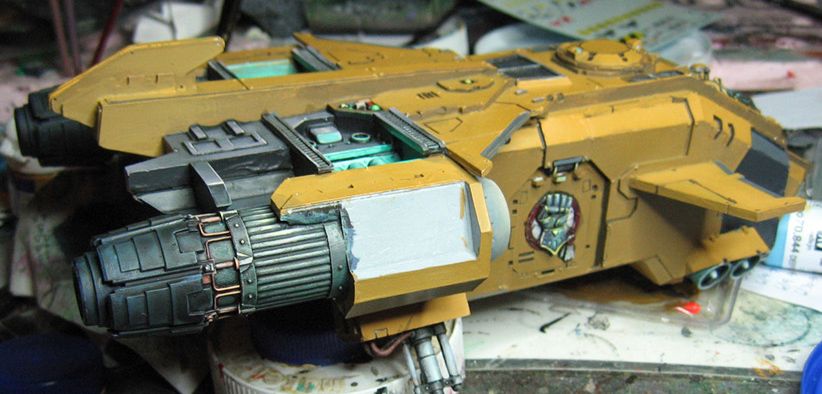
The following series of images shows how I lightened each plane gradually, making sure that the uppemost surfaces would end up the brightest...
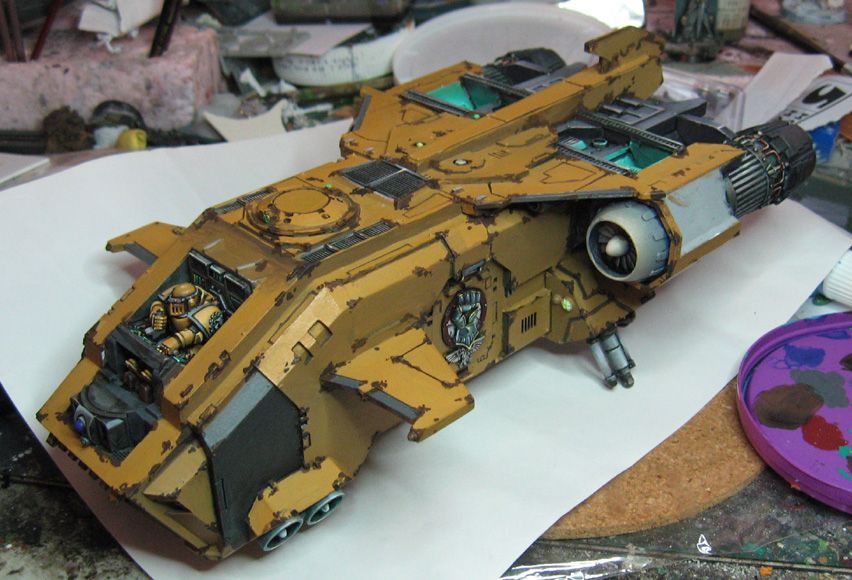
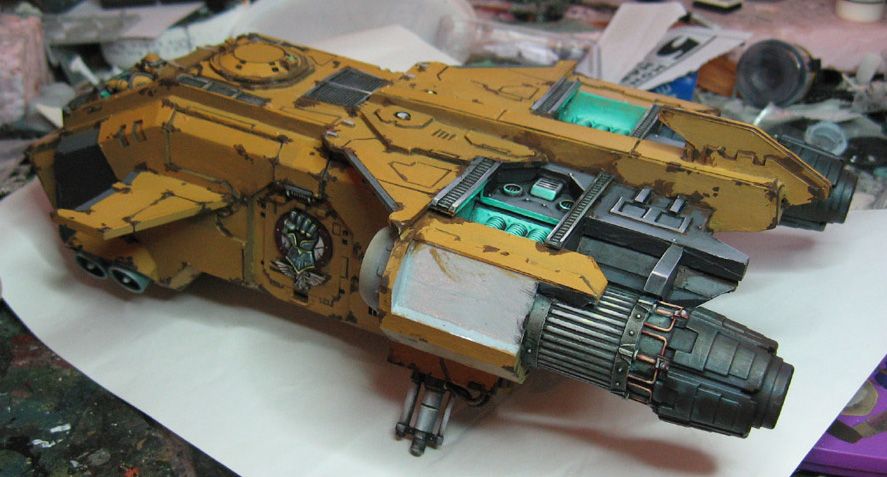
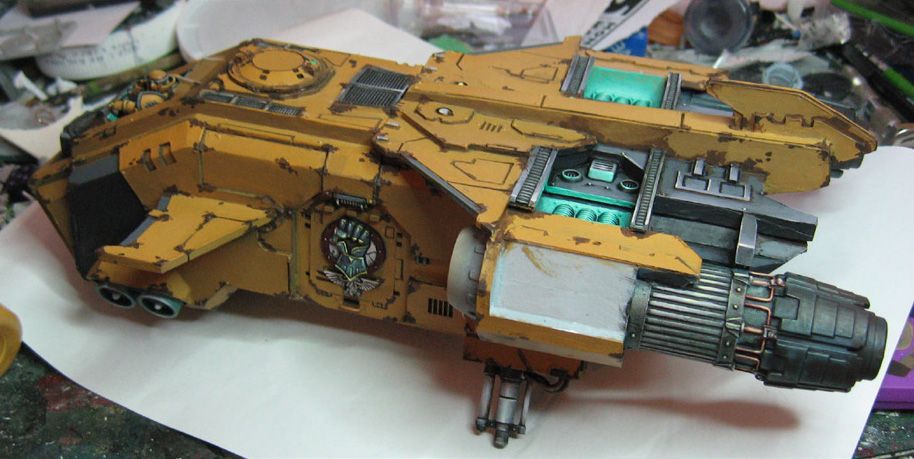
I also did some work on the door icons, as well as defining a bit more of the paint chips...
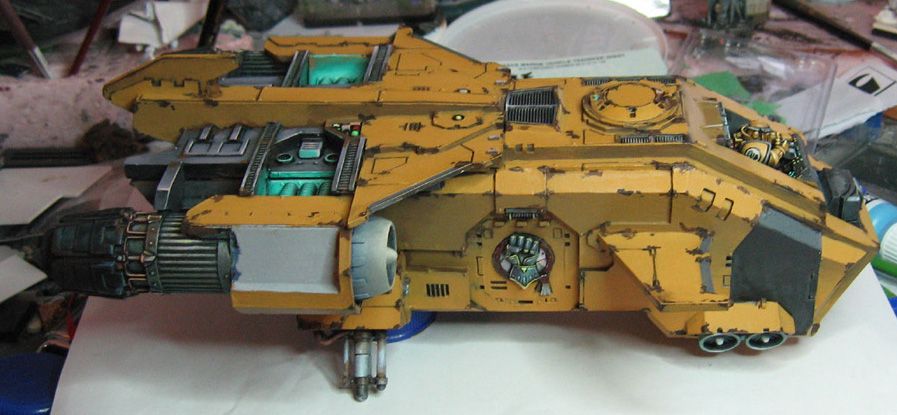
The lightening continues:
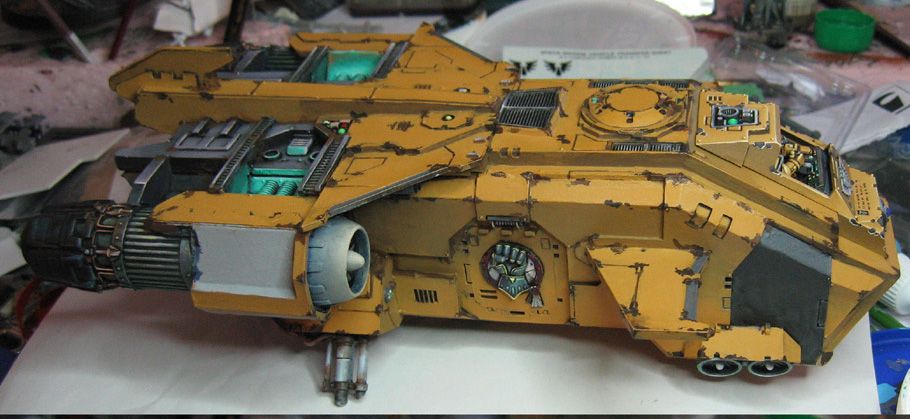
You can't see it, but the lower hull has also bee worked over during this stage. I continue to work lighter, no trying to establish a dark down to light shading pattern on the vertical sides of the hull.
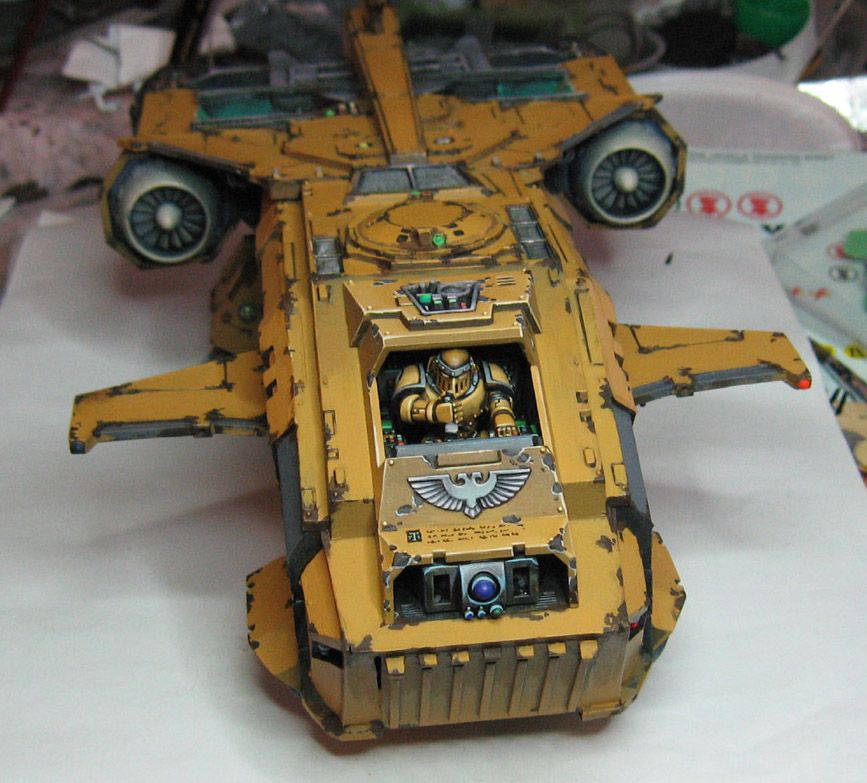
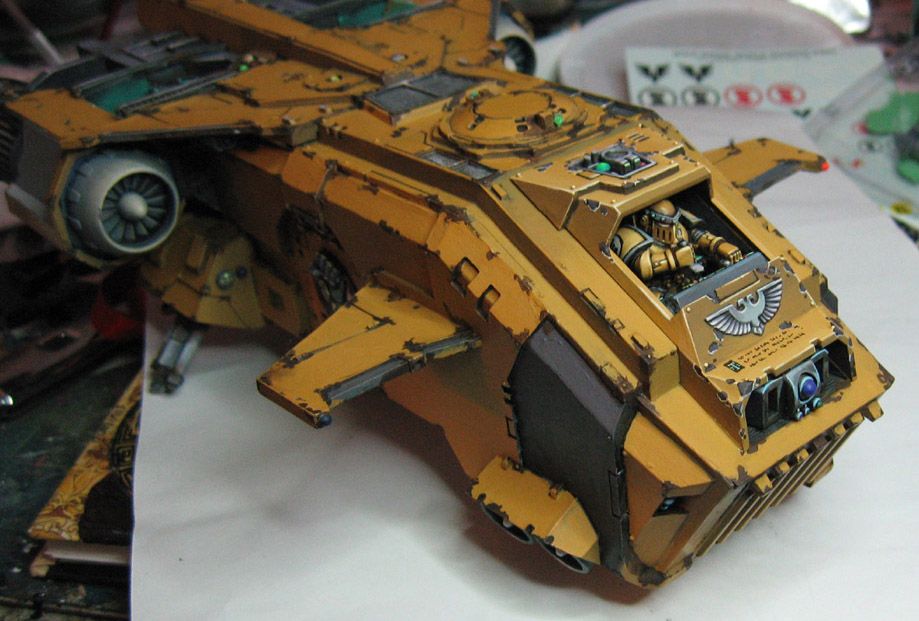
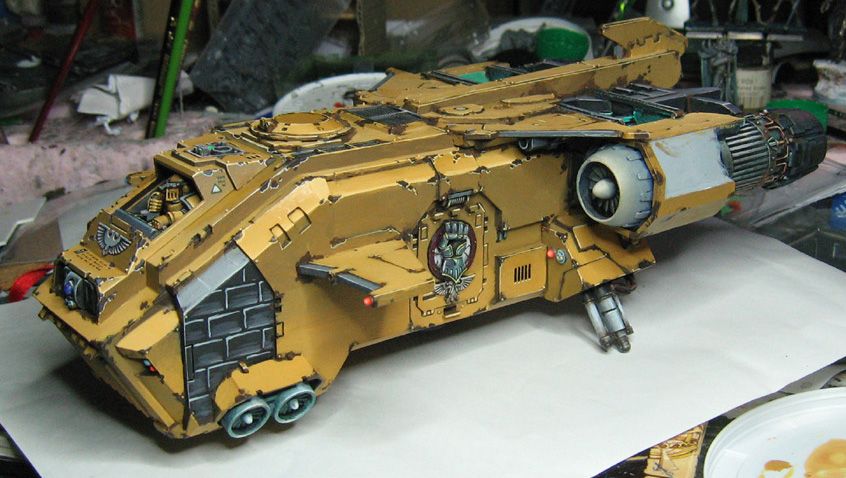
At this point, I have gotten the sky facing surfaces light enough that I can begin to work on the highlights.
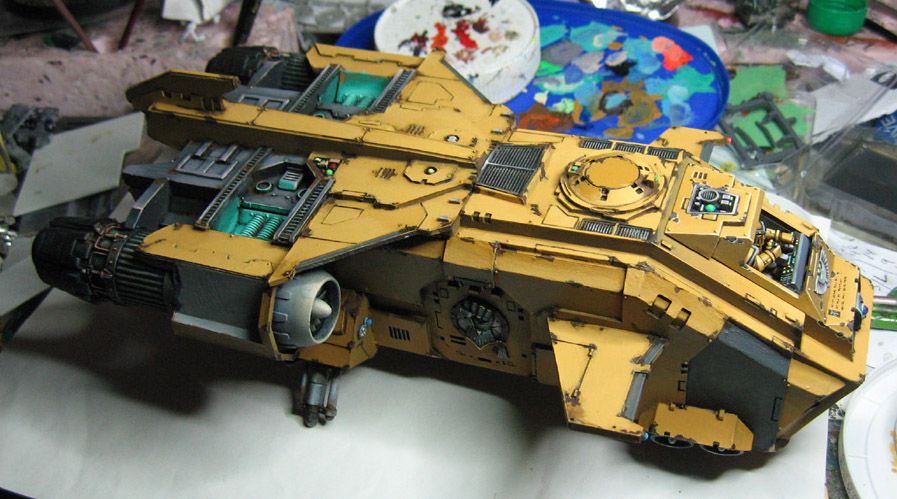
This shows the highlighting proceeding.
Stay tuned tonight for the weathering powder batch of images!
This is AWESOME! Can't wait to see more...
ReplyDeleteThanks!
DeleteThere will be the weathering powder post next, and that will be followed up by the final completed pictures. I can't wait to see those myself!!!!!!!!!!