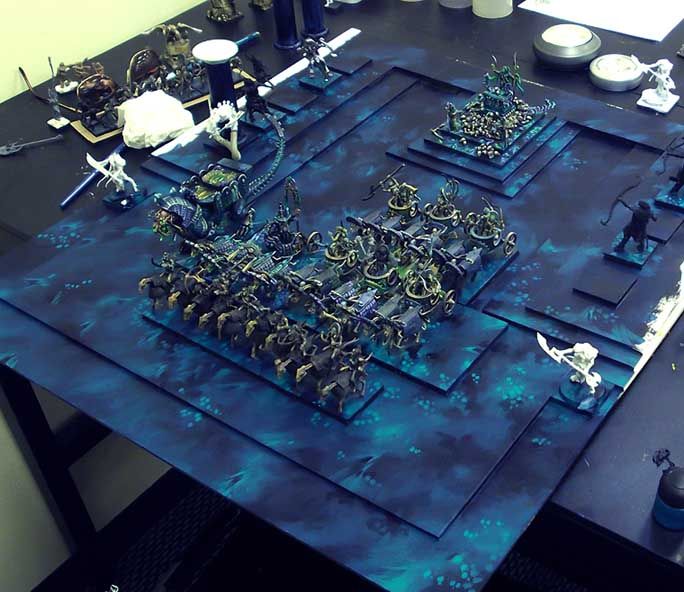
Since there are so many photos of the painting process, I will be doing two posts on the painting of the lower level of the army board.
I discovered while I painted this that the magnetic primer is actually very nice to paint on! It had a bit of tooth, but it was much more silky than my usual gesso. The gesso tends to create more striations, even when you apply it with a very soft brush.
I was able to get a lot of smooth transitions, and it was very fun!
Starting off, I placed the units where I wanted them to be, so that I could make the rest of the open spaces flow well with these units.

The first layers were pretty simple in the nature of the colors. I used a Paynes Grey acrylic paint, mixed with alternating turquois and Vallejo emerald. The Acrylic paint let me cover a lot of area quickly, and it also stayed wetter for longer, allowing me to do lots of blending right there on the board.

My first goal was to advance across the entire board, getting all the surface covered quickly.

Once the whole surface was covered, I could start to think about where I wanted those batches of skulls and demon faces to emerge...

You can also get a peek at the pillars, which I also primed during this stage:

Here I am starting to plan out where those areas of interest would be, trying to space them out a bit, so that the viewer could have a few places to rest their eyes!

Now the details begin to emerge. I am also putting the same colors and designs on the bases of the horse archers, the chariots, and the ushabti.

I also had to carry the base designs from the casket of souls out onto the board...

More definition is done on the demon faces, and the areas of skulls are mostly laid out...

Some of the lightest colors are used on the demon faces, getting them ready to determine where the eyes will go. I dug out my fluorescent paint to do the eyes...

Tomorrow I will post the next 10 images that show all the rest of the painting!!!
No comments:
Post a Comment