Tuesday, June 3, 2014

Martinsville Ridge


After the failed Panzer Counter Attack in the first scenario of the campaign, it was time to see who would gain control of Martinsville Ridge.

Here is the layout.  You can see all kind of heavy terrain, with one hill after another.  This should be ideal for the dug in, elite German infantry.

However, having been soundly defeated in the first scenario, there would be negative effects for the Germans before this fight would even begin.

This is due to the Victory Event Roll.  The more victories you rack up in a campaign, the more dice you have to negatively impact enemy units, or even his command structure!

I was able to weaken both of the Panzer units, as well as one infantry unit.  In response, enemy actions forced a few American units to fall back.


I was also able to replenish my reserve rolls.  A new tank unit entered the battlefield on my first turn.  While tanks do not do well against dug in infantry, they can be very brutal against exposed troops.


The Germans counter with a move towards the one unit of GI's that has found themselves virtually cut off behind enemy lines!


As that unit retreated, I attempted to move up armor to take advantage of some future card plays.


That lone forward unit of brave GI's manages to survive yet another assault, denying the Axis an early victory point.


As I have mentioned before, setting up future moves is vital.  That is happening here, even though no damage is being done to the enemy at the moment.


Patience pays off, as the German units are drawn to the American objective, seeking to deny an all important victory point.  Even more vital, they must take away the bonus points that are awarded to the US for holding such objectives between games.


Ah ha!  At long last, I get to use aircraft!  These work much differently than the standard air power card.  Your planes don't cause the same kind of damage, but you can do some very nasty strategic elements to your foe.

Denying him his cover bonus, as I would do often in this battle, can make your tanks truly savage.

How handy that I had an additional unit! :-)


Your planes are vulnerable, however, if you leave them too close to the enemy units once their sortie ends.


The exciting conclusion is on the way!

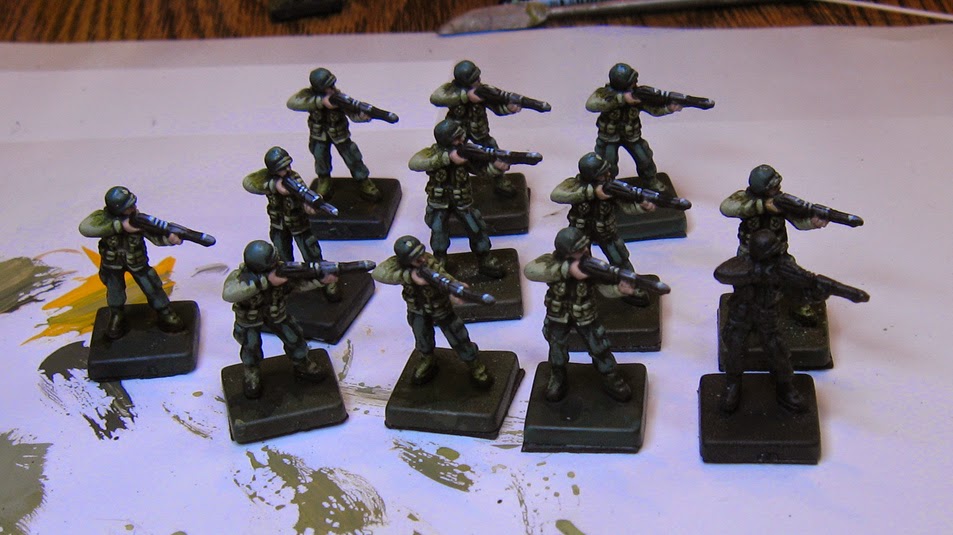
In the meantime, I wanted to show you the difference in the cinematics of an early game compared to this most recent adventure.

Even with a good portion of the figures painted, it is just not the same.  The terrain hexes, as I have mentioned, add a huge visual element.  It looks much nicer, but it is also a lot easier to play.  You can move the units around more quickly, and get a better sense of the battlefield in far less time!


Monday, June 2, 2014

A place to hang out


This is from the Military Pinup series by Hangar 18... the US Army Ranger girl.


I decided to put the jeep hood and the figure on a Secret Weapon plinth, with the thought that I could repeat the US star and the rivet patterns on it.

To do so, I cut up tiny slivers of plastic rod, which were then glued in place.


Ready to prime!!


I have been using a variety of Vallejo military inspired primers lately.  I enjoy priming green, and then letting some of that show through transparent layers of skin tones and so on.


A dark brown and an olive drab green were used for the initial layers.


Once the primer was covered, I started to mix in more of the lighter olive green.


An even lighter, grayed down green was used for subsequent layers, all the while working with the #6 filbert brush.


Then it was time to see what I should do with the iconography.  I didn't want the logo on the base to overpower the figure, so that would have to be worn away, and covered with rust, dirt, etc.


The symbol is ready for some preliminary weathering.


The symbol on the hood will also be worn away a bit.


A beat up craft brush was used to press in a few quick paint chips and other worn surfaces.


Sorry this is fuzzy!  The macro got turned off, but you can get the idea.  Rust and dirt streaks through the icon to tone it down.


More rust!  I will add some finishing layers with Secret Weapon weathering powders at the very end.


Mostly there.  The base is about 80% complete.  I wanted to see how that was going to look before I did too much on the figure.  Stay tuned for more!


A Curious Object indeed


This project will be one of the more unusual items I may ever paint.  This is the Krios Mechanicum battle tank.  The parts are not exactly like the usual Rhino and Land raider pieces!


There was no other way to deal with this but to paint all of the parts individually, and then deal with assembling them later.


There is going to be a lot of brass, bronze and copper on this.  Most of that will be done with tinting glazes, both dark and light.


You can see some basic work done on the gears and the interiors of the tracks.  I also need to think about the future weathering that will take place.


Many more colors will be tinted here.  More towards reds, purples, greens, and so on.


I know that some of these parts will be nearly invisible once this is assembled, but they all have to be rendered equally nonetheless.  That was another thing I knew would happen with this 'open' vehicle.


I chose some deep transparent reds to start out with the various sections of the hull that would be this shade.  It will become much brighter in some areas, but there will be freehand designs as well.

This should be a nice contrast to all the greens of the brass.


A hint of the brighter reds to come...


Here is the juxtaposition I mentioned.  Once some of the weathering gets involved, it will provide even more layers of contrast and intensity.


Lots of gears everywhere!  I predict a lot of green stuff, glue, and cursing in my future this week.  Wish me luck!


Sunday, June 1, 2014

The Green Tide


Well, a while back, there was another quick painting session on the American troops from the starter box.  Most of the Germans were essentially painted, and we needed to get caught up on the green guys!

This was going to be the typical Western Front uniform, with a color scheme we had established earlier.


It was very simple, with a grayed down light green for the coats, and a mid tone blue green for the pants and helmets.


Some basic colors applied on coats, helmets, spats and pants


With a quick skin tone applied, it was time to get into the shaded basecoat phase in earnest.


It's very different to be working on this many tiny figures all at once... you really have to adjust to it!


The darker glazing will be done with a combination of Reaper liner paints, some Vallejo shade colors, and Secret Weapon washes.


More light colors added to the coats...


A view with glazes applied.


The next batch gets more details...


This was just a few hours, and it was wild to see them go from green primer to this in such a short period!


A comparison to a primed figure :-)


The reward is seeing them out in the field... deep in terrain!!!


Pirates from Minx!


Here's another fun miniature from Minx Studios!  A pirate lady with a hand companion.


It was cast in resin, and was easy to put together.


Go check out the kickstarter from Minx Studios!  It's under way right now!!