Wednesday, October 17, 2012

Ready, aim fire! Orc archers for Gronde


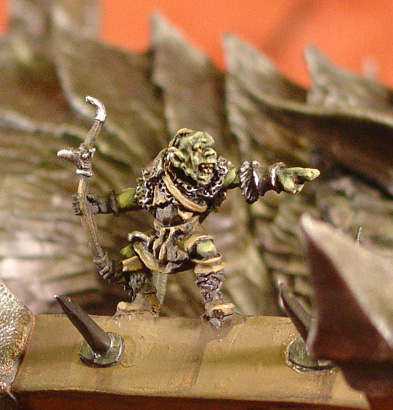
This was my last step before the final assembly.  I thought it was very neat in the Return of the King movie to have the orc archers firing back up at the walls of Minas Tirith.  I also had a handful of metal orc archers.  Of course, this would be much easier today with the plastic variety!

Normally I would have done my NMM on these, but with all the metallics used on the warmachine, it only made sense to carry that through on the archers as well.


I had to carefully pin them to the apex of each horizontal beam, and hope that the scale matched the way I anticipated it would.  From the images I had, they were very very close!


This is what it looked like before I attached Grond!


When you have some extra cave trolls...


OK, time for the promised Troll images!  They are not terribly fancy, but they were incredibly difficult to convert.  These were metal, of course, since this is January of 2005, long before the trolls became plastic.


Also, this was many years before I would even hear about razor saw, much less own one.  If I remember correctly, I had to gradually chip away at areas with giant metal files, and even a tin snips!  I had to green stuff a lot of the rough textures on the back of the hides.


Once all that was done, it was time to get them positioned on the diorama itself.  That was difficult as well.  I had done as much "dry fittig" as I could when I was converting them, but things always seem to be a bit off when you secure the piece to the larger construction.  It's hard to factor in the anchors and other items meant to secure these guys to the display board.  All it takes is a tiny fraction, and it gets magnified in a hurry.


So, a few views of the trolls helping the beasts of burden!


Tomorrow I will post the images of the orc archers, and then there will be a few more posts with the entire finished diorama!


Tuesday, October 16, 2012

ROAR! Here come the beats of burden...


Well, for something as huge as Grond, it's gonna take some hefty monsters to haul that thing around!

I didn't have as many reference photos as I do today, so I had to make my own monsters in my own vision.


At the time, I really liked the dinosaurs from the VOID sci-fi game, of the Viridians faction.  These two monsters were sculpted to look similar to those.  As usual, sculpey was used to make them.


I think the actual Grond in the movies was pulled by 3 monsters, but I only had space for 2.


They had to be completely sculpted and painted prior to attachment to the main display base.


These views will give you a better idea on the scale of the dinos!


I used some twine to make the ropes attaching the yokes on the beasts to the frame of Grond.


Tonight's late night post will show the converted Trolls... Stay tuned!


Something "Gronde", part 2!


With the 300,000 views no in the rear view mirror, we begin the journey to 400k.  What better way to start than with more 'Gonde'.  Here are some images of Grond after it was painted.


It was a major challenge to paint, not only for some of the very heavy textures, but also a lot of hard to reach areas!  It made me very nervous to continuously turn it upside down to get at those places!  It weighed a lot, and there were dozens of actual spikes sticking out of it.


I had used tiny little brad nails as spikes, which looked very realistic, but was also realistically sharp!!!


Lots of tin bitz used on this, to say the very least. :-)


Stay tuned later today, when I post the images of the sculpted dinos that pulled this bad boy!


Monday, October 15, 2012

300,000 page views calls for something Grond!


Well, as the 300,000 page views mark arrives, I thought it was time to start bringing out the big guns!

This was the most complicated overall sculpting job that I ever attempted.  It was the last of the big dioramas.  This is only one piece of the giant puzzle.  You are seeing all sorts of sculpey types being used here.  The white sculpey was used for the elements that required the most detailed sculpting.  The colors of sculpey were stronger, and used for the wheels and the pylons.


There are large metal armatures that run throughout the support pylons and Grond himself.  To give you an idea of the massive size, Grond alone weighed over 2 pounds... and he was hollow!!


I used jewelry chain to hang this from the pylons.  There was a lot of trial and error to get this to hang level, but also swing back and forth.


In later posts, I will show the two converted trolls that are pushing it from behind.


I also sculpted a pair of dinosaur type creatures to pull this.  The whole thing had to be mounted on a board over 2 feet long and 15 inches wide.  After this enormous project, it was time to step away from these epic constructs. :-)


If I were to do this over again, I would be able to make it with far less sculpey.  It would weigh a lot less, and be less fragile.


Stay tuned for further posts that show the painting of all the different elements, including some orc archers standing on the top level... just like in the Return of the King!

Once again, I want to say a huge thank you to all of the people who have been taking the time to look at this blog.  It makes it all worthwhile!  I hope to continue posting things that make you want to keep coming back :-)


Sir Broderick and the Bronze Goddess


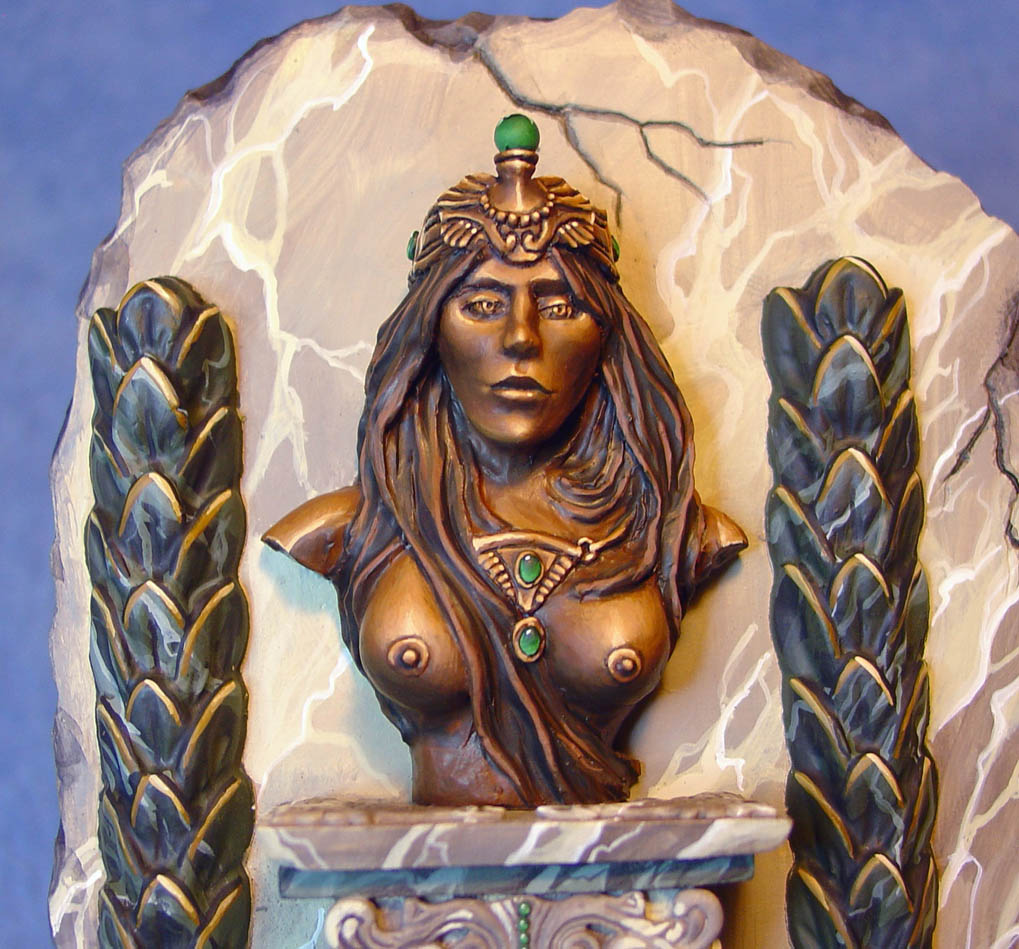
For this final post on the Bronze Goddess, I have some images of the miniature that went with the diorama.  He is a Reaper figure.  Here are some close up shots of the Bronze Goddess...


And some close ups of the Sir Broderick miniature...


Painting the Bronze Goddess


OK, here are some images of the diorama after it had been painted.  I knew that I needed some contrast in colors, so I chose the Dark Green marble which would  contrast nicely with the bronze goddess herself!


It can be a bit of a challenge to vary the "grain" of the marble, which can show individual pieces or slabs of marble very clearly.


My next post will have close up pictures of the goddess and of the miniature.  Stay tuned!!