Sunday, September 9, 2012

Painting the rest of the Great Osprey

Photobucket

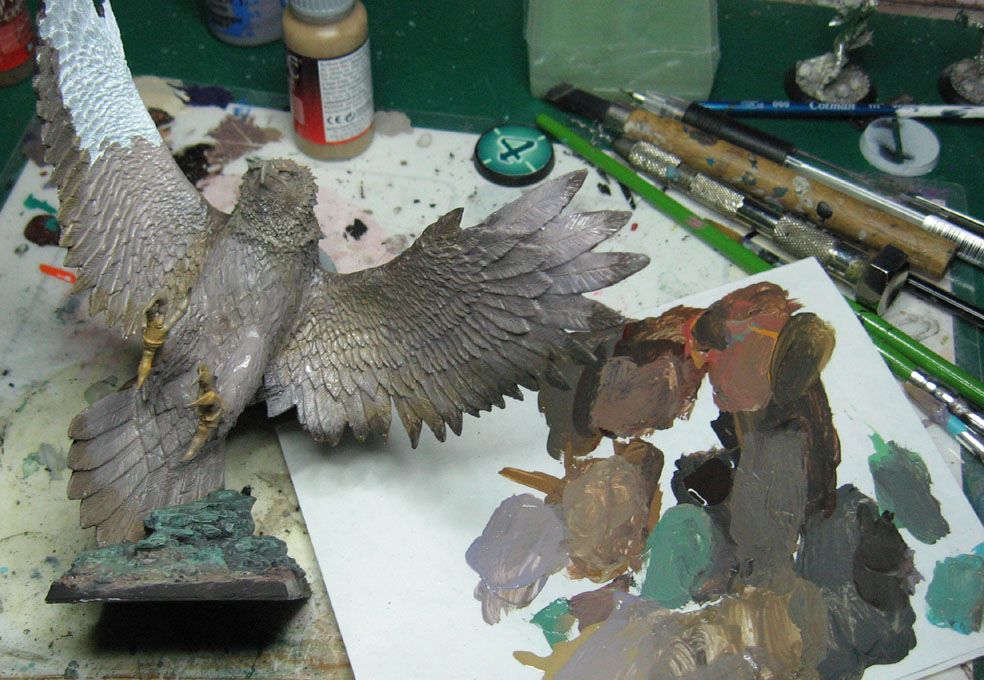
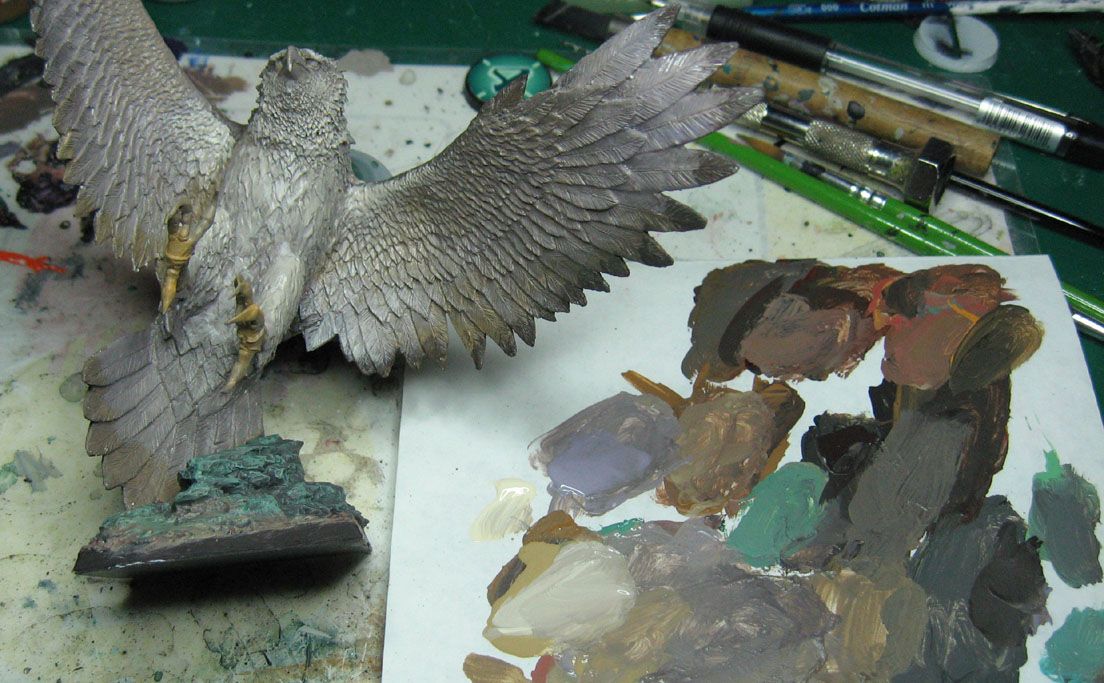
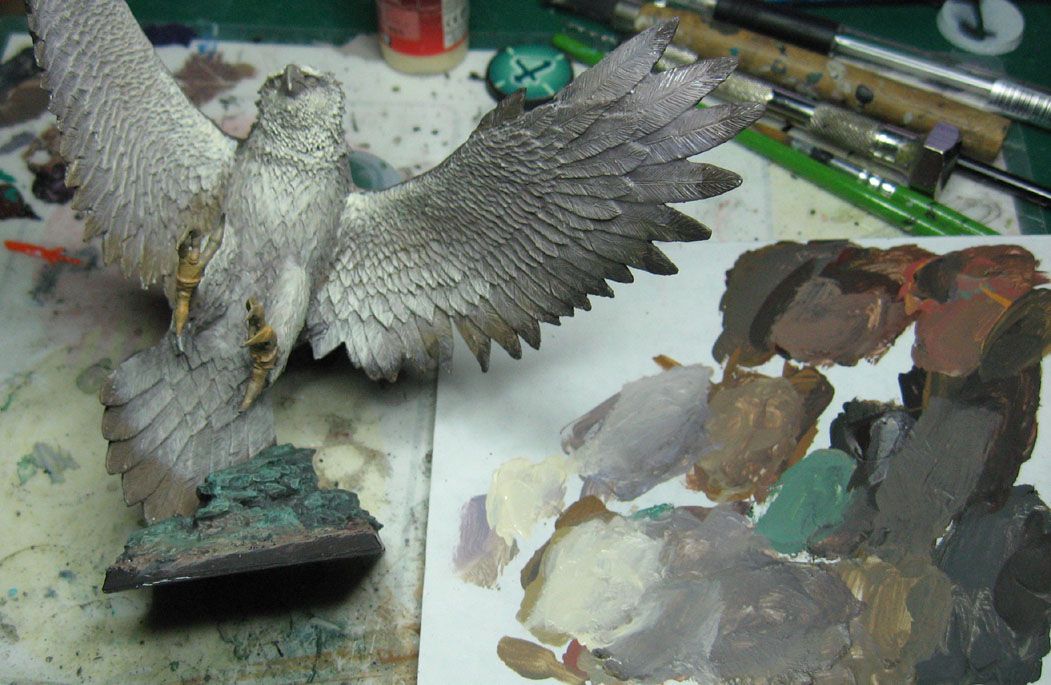
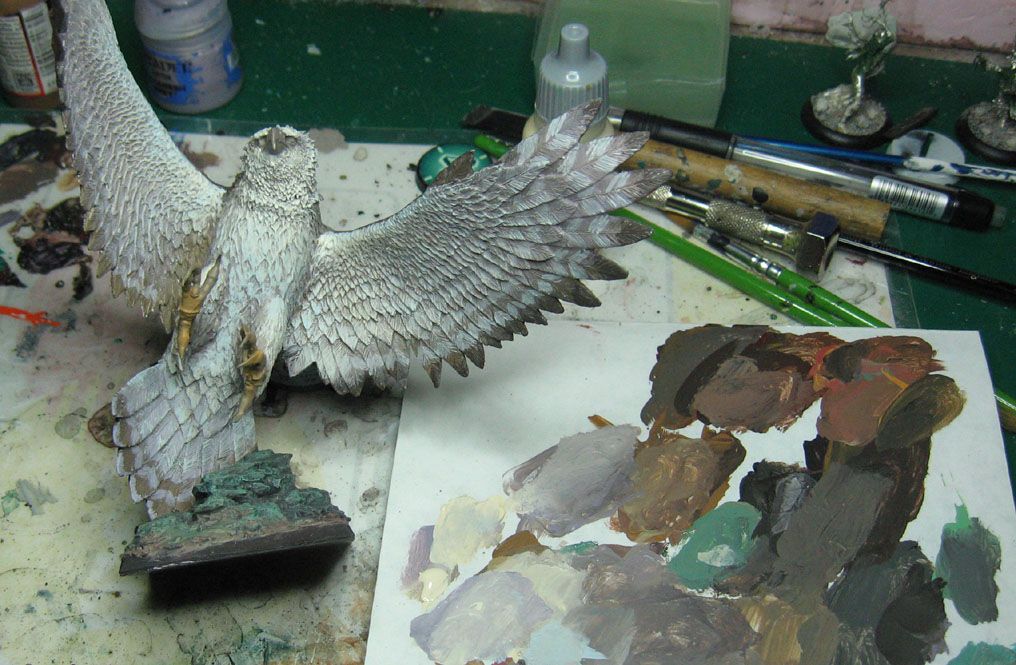
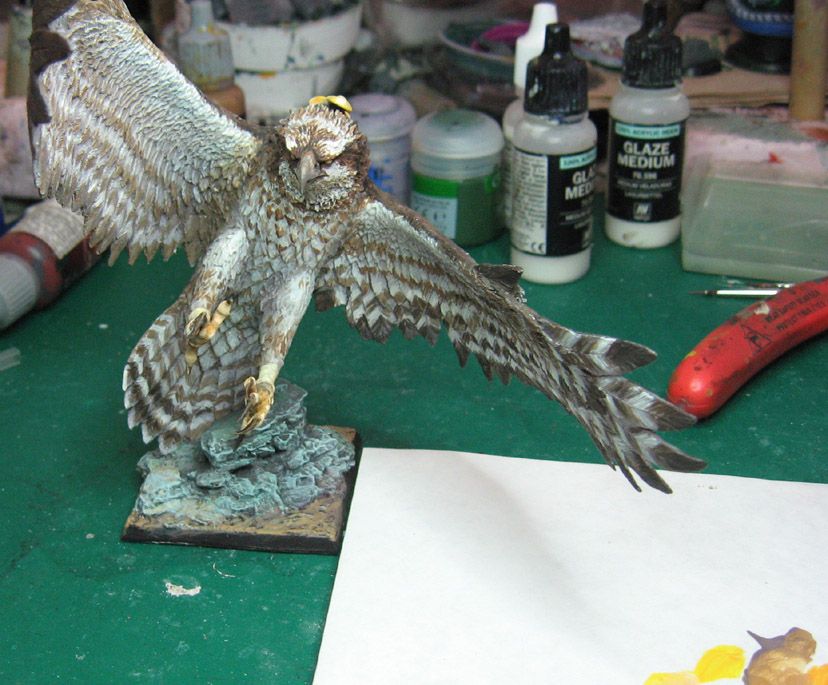
Here is the last set of images I shot of the painting process for the Osprey.  Once all the lightest colors had been established, I began doing some glazes and washes in a very controlled fashion to get all the wing textures.

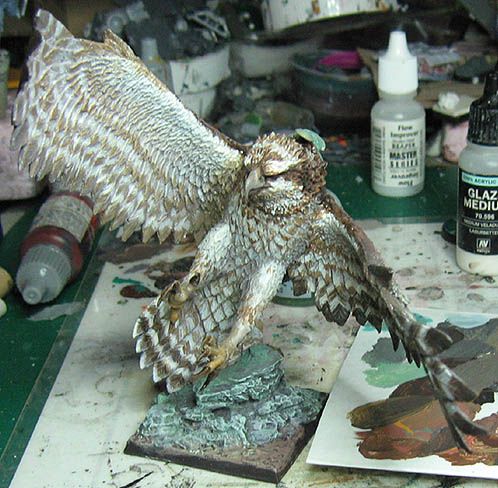
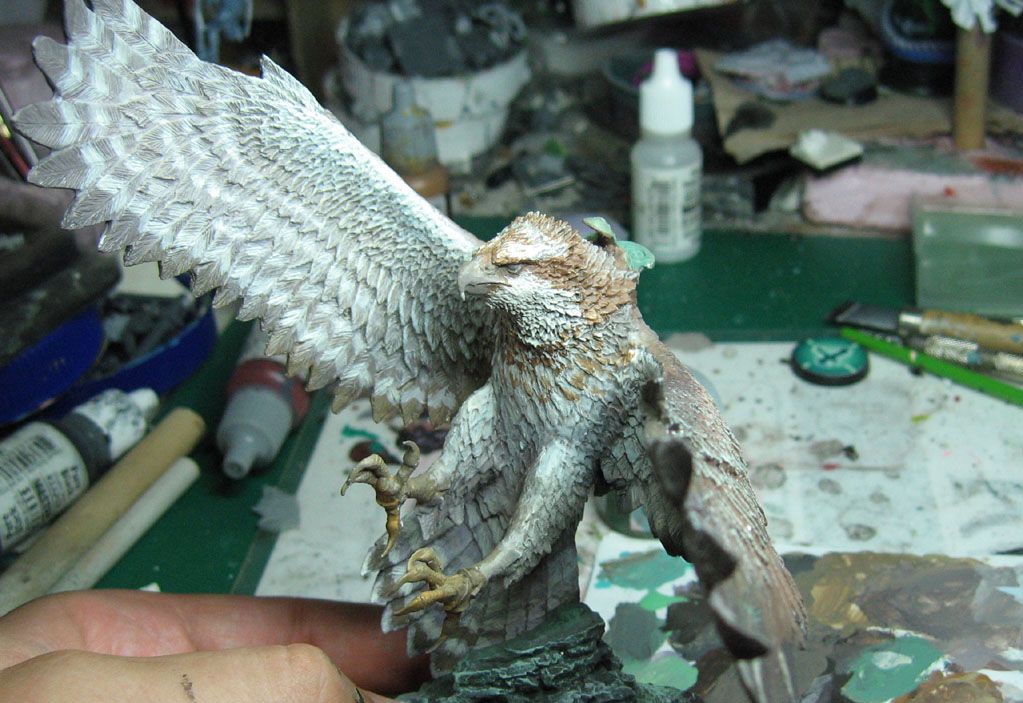
This image shows some washes on the back of the wings:
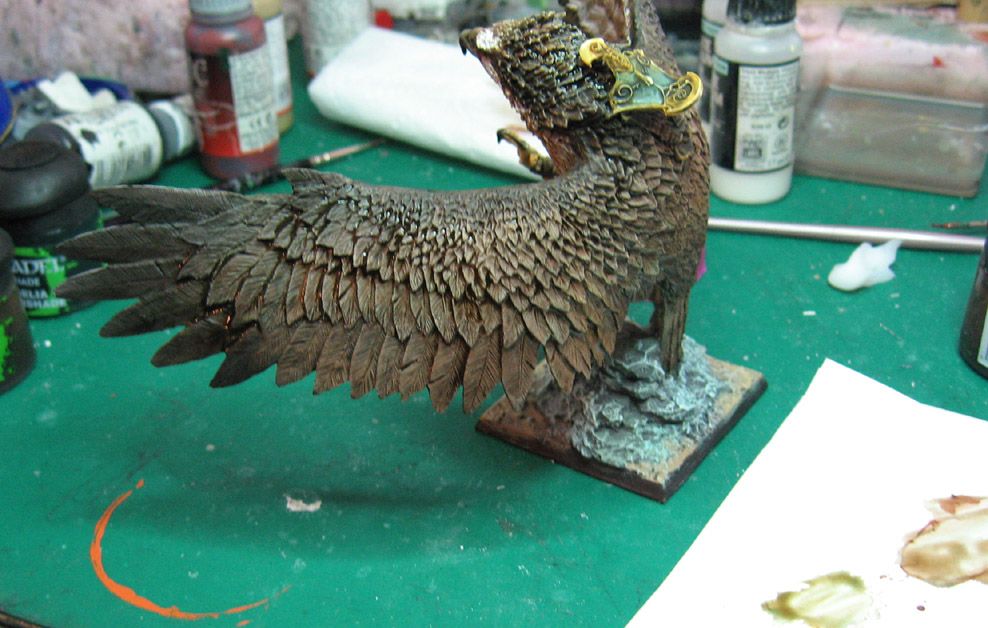
Photobucket

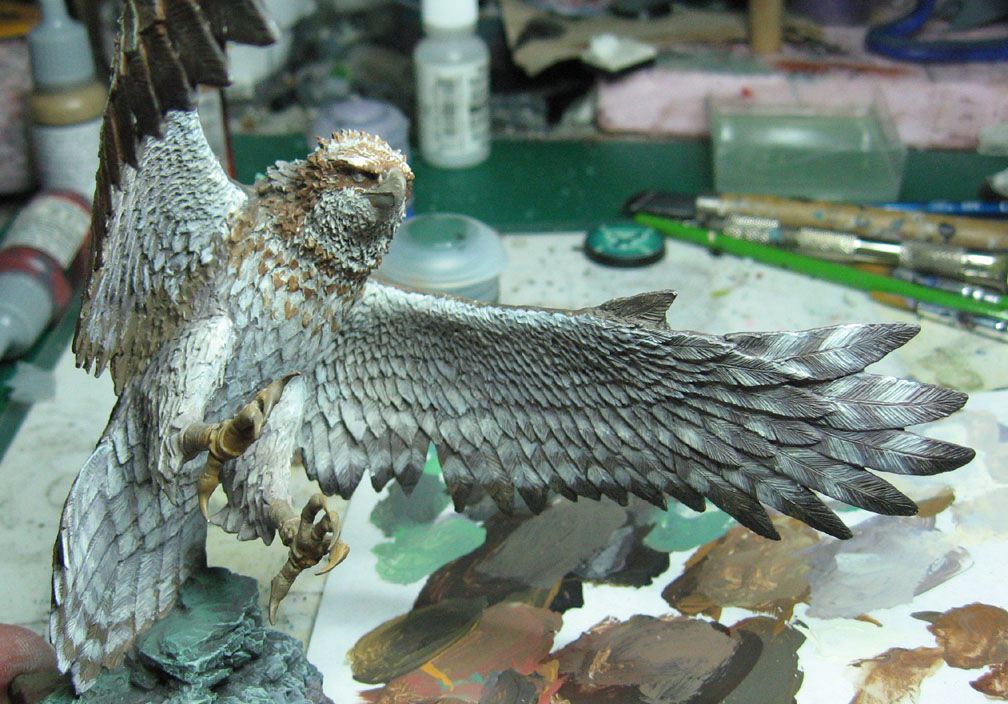
You can see that all the the dark markings have been done on the interiors of the wings:
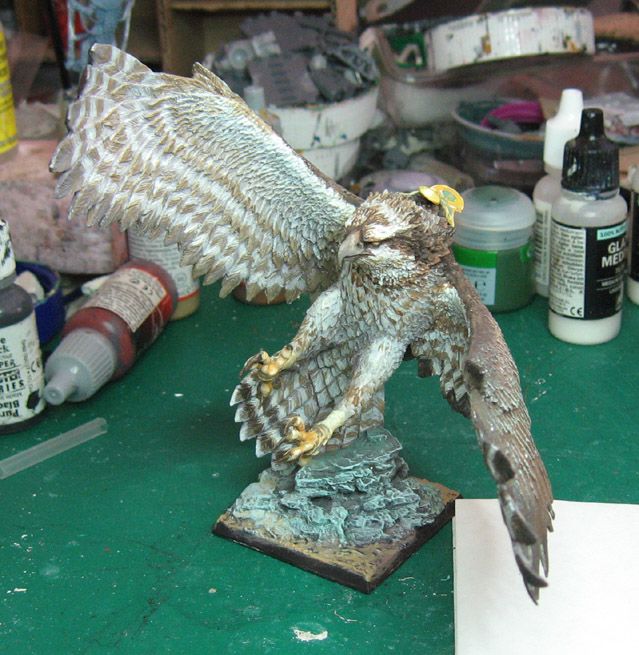
Photobucket

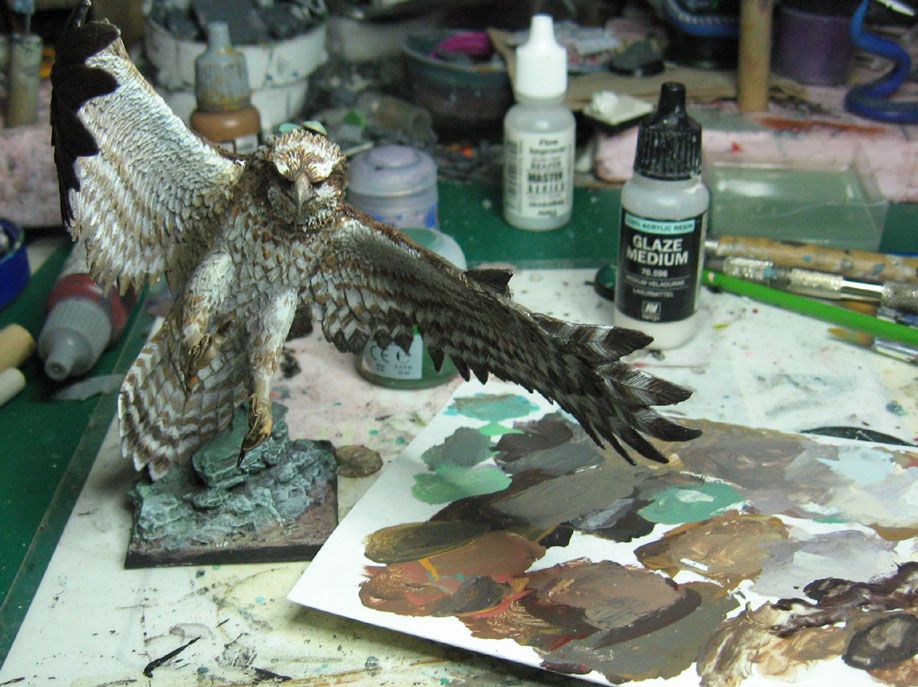
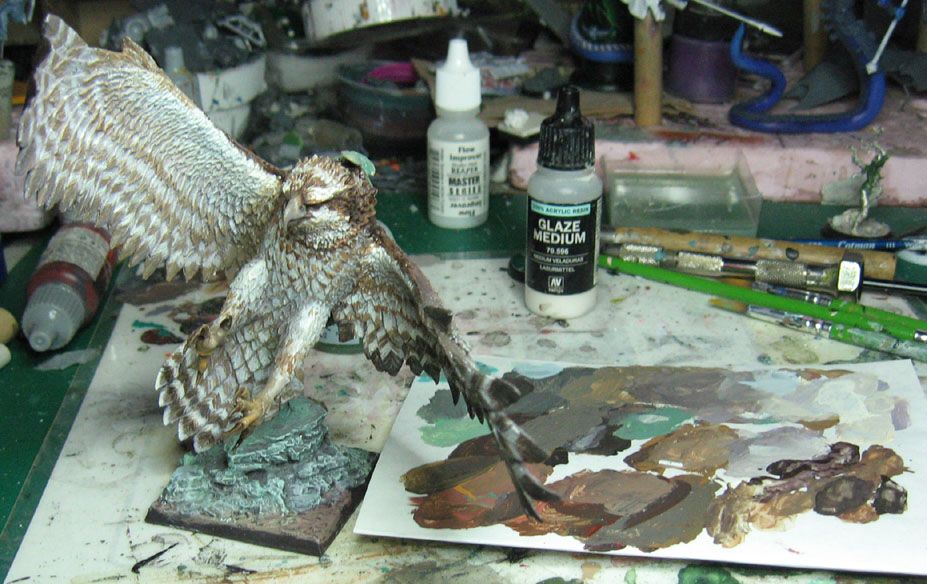
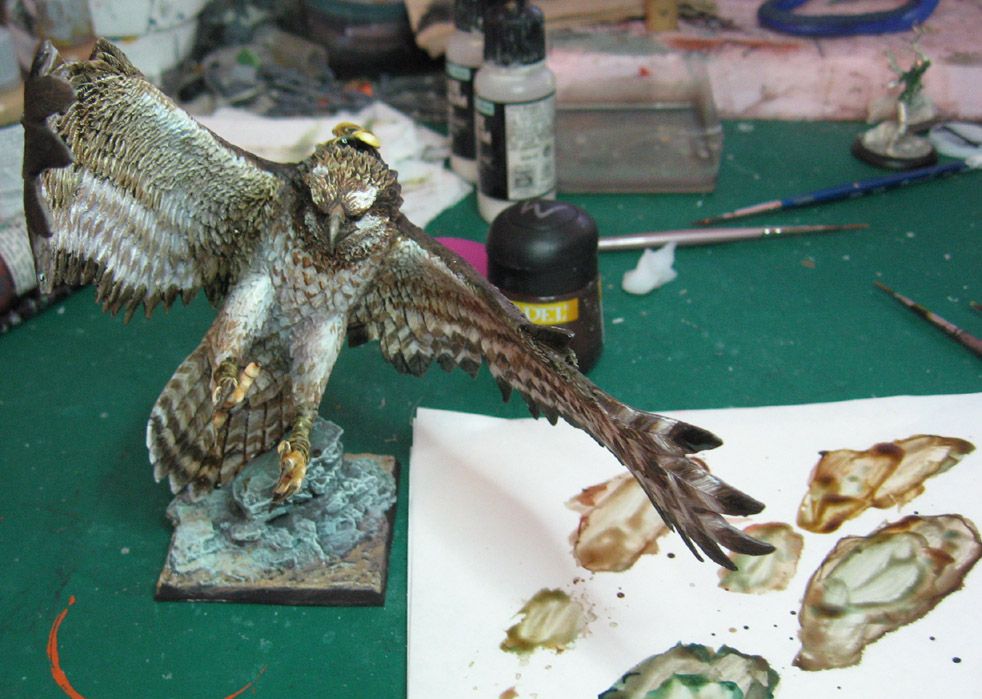
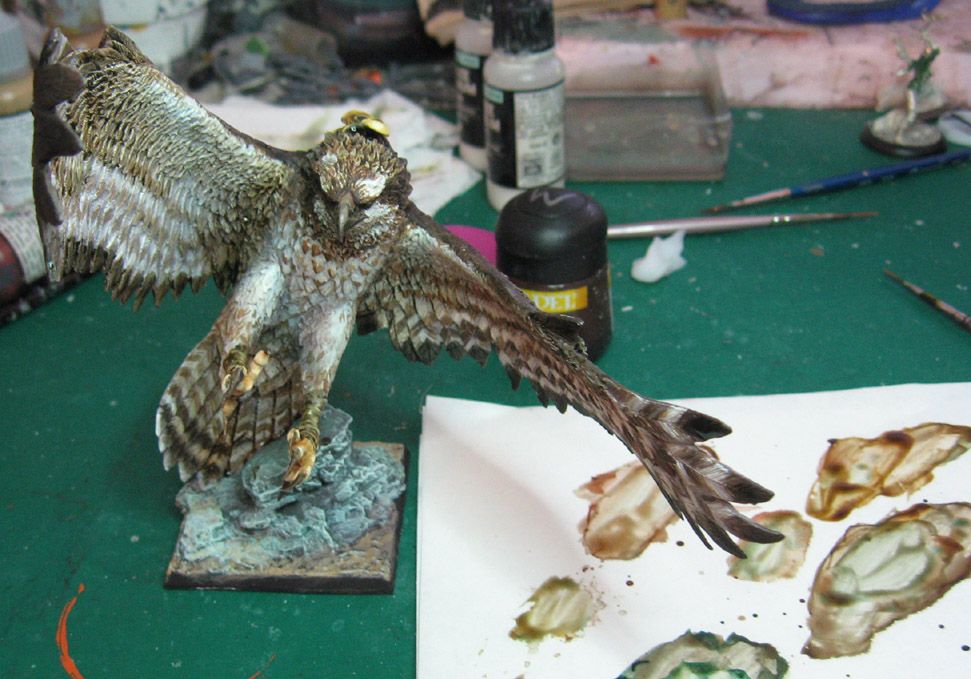
This view lets you see the palette, and some of the various wash and glaze colors.  I like to mix mine, creating just the right shade that I need.
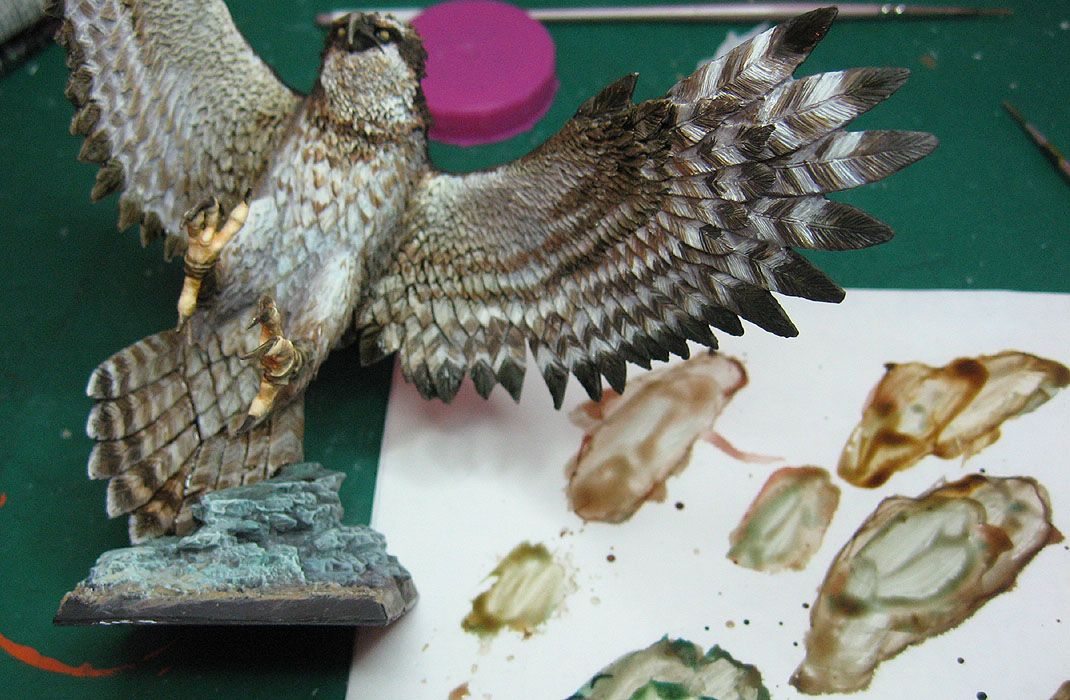
Photobucket

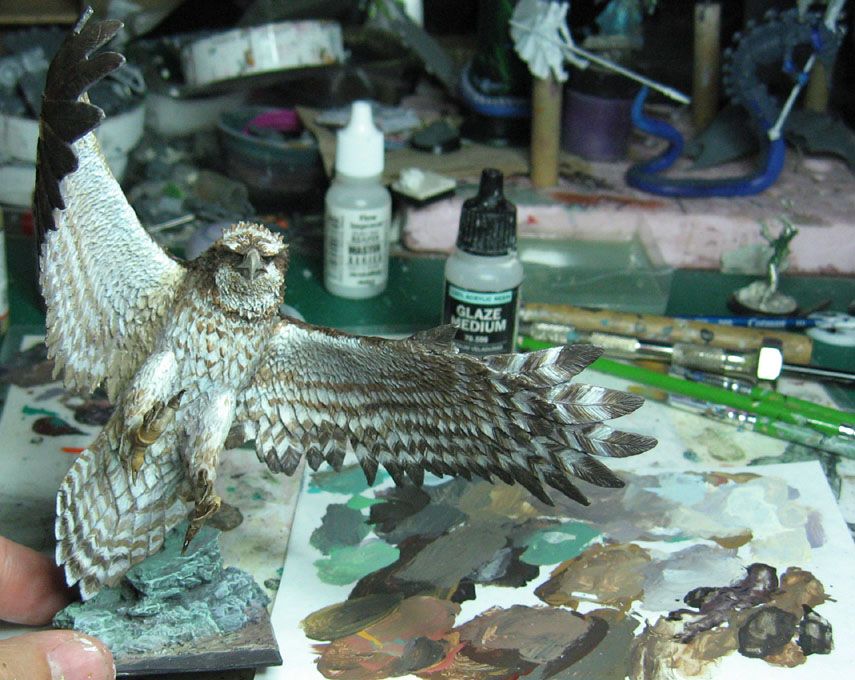
I also did a lot of different glazes on the face.  After those were done, I could start doing things like the eyes, etc.
Photobucket

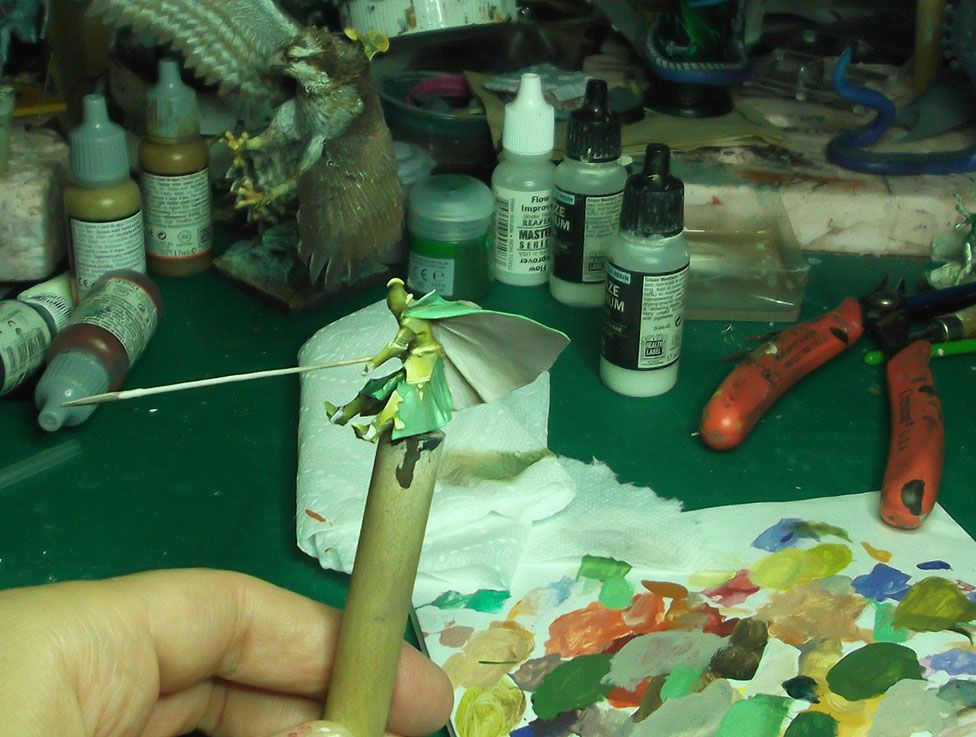
Here are a few views of the rider:
Photobucket

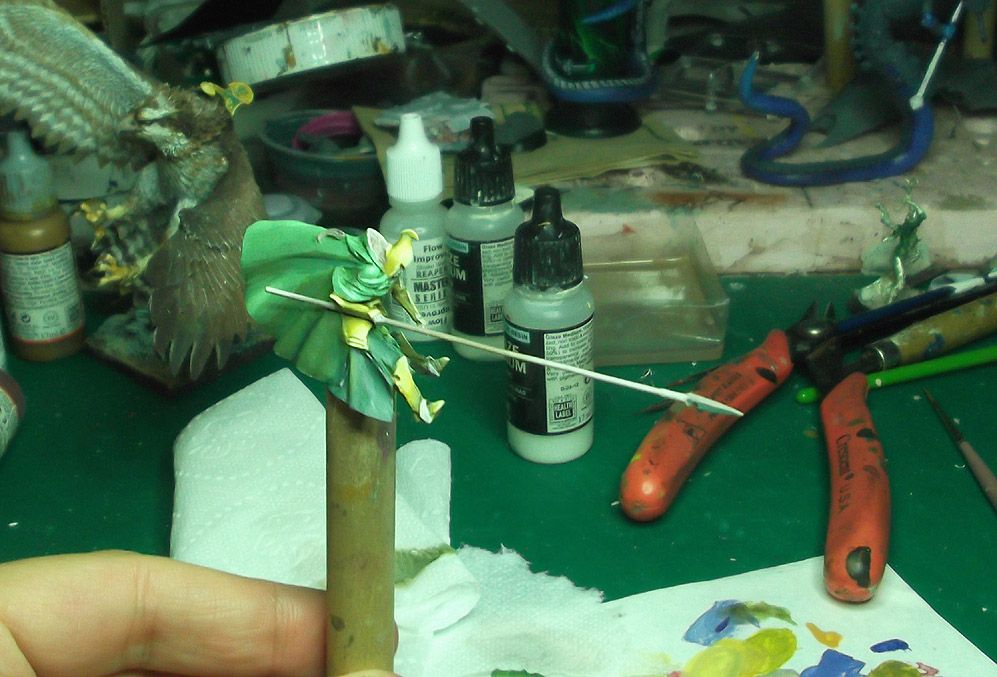
This was done the usual way for me.  Working rapidly with a bigger brush, using glaze medium so that I could do some wet into wet blending.
Photobucket

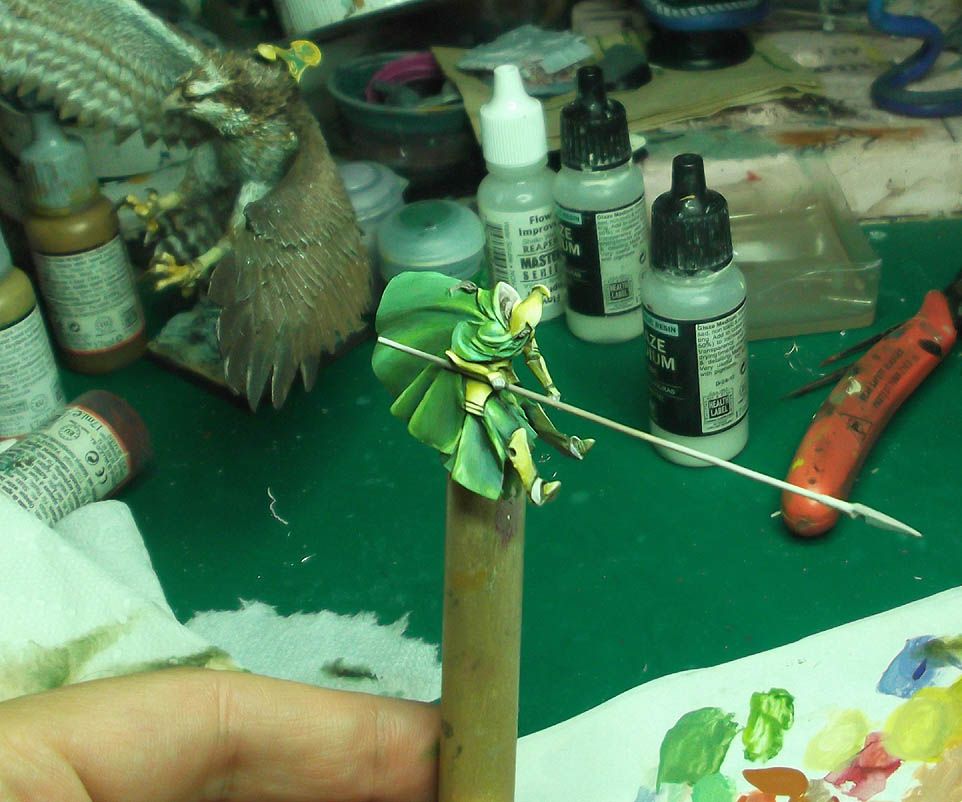
Once the middle and light tones are set, I started to shade the dark areas.  I wanted to be sure that my shade colors were a much cooler green, so I mixed mostly blue into them.
Photobucket

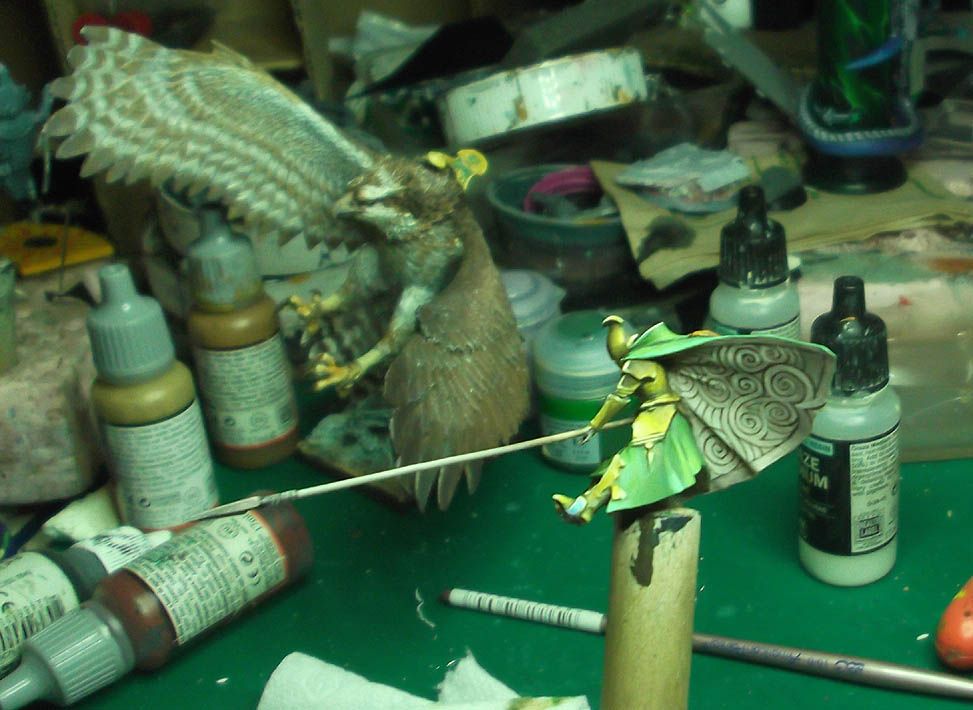
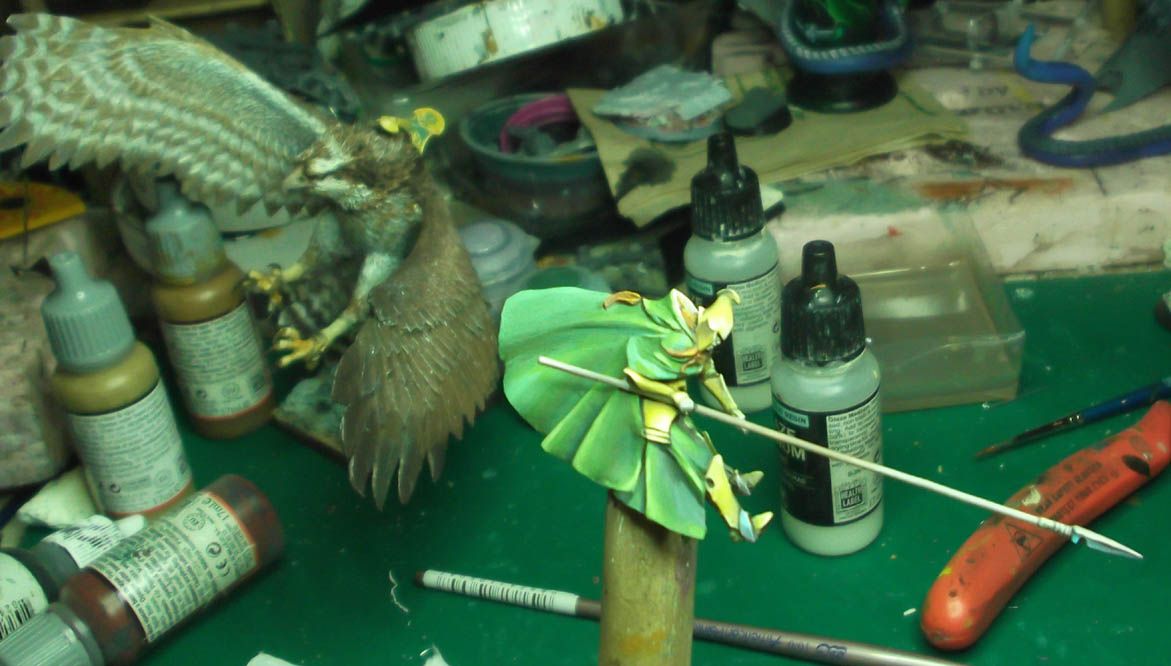
For the golds  I tried to make the highlights cooler, and the shadows warmer in order to reflect the browns of the feathers on the bird.  I made sure that the highest contrast areas would be on the angled surfaces of the armor.
Photobucket

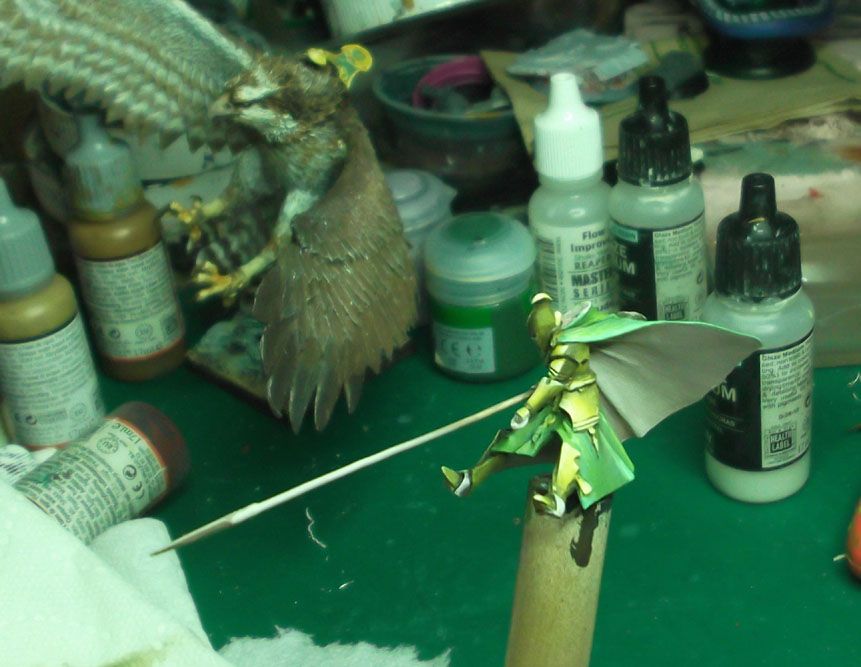
I did a similar thing to the blade of the spear, and made sure I had my lightest colors done so that I could make some freehad designs on the iside of the cloak.
Photobucket

Here is a view of the design...
Photobucket

So, all that's left is to show you the pictures of the finished piece!  There was some additional freehand on the outside of the cloak, and the light markings added to the back of the wings.
Bedtime Story

Photobucket

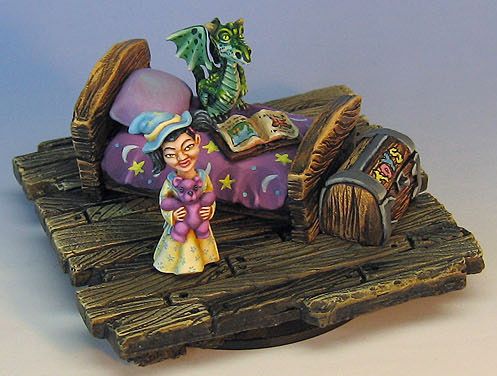
Here's a mini-diorama I did a few years ago for Newbold World.  It was a charity auction piece.  I sculpted the floor, bed, and toy chest, mostly from sculpey.

Photobucket

Photobucket

Photobucket

Photobucket

Painting your Great Osprey: The early stages...

Photobucket

Here is the promised stage by stage post on painting the Great Osprey!

For this piece, I primed it white:
Photobucket

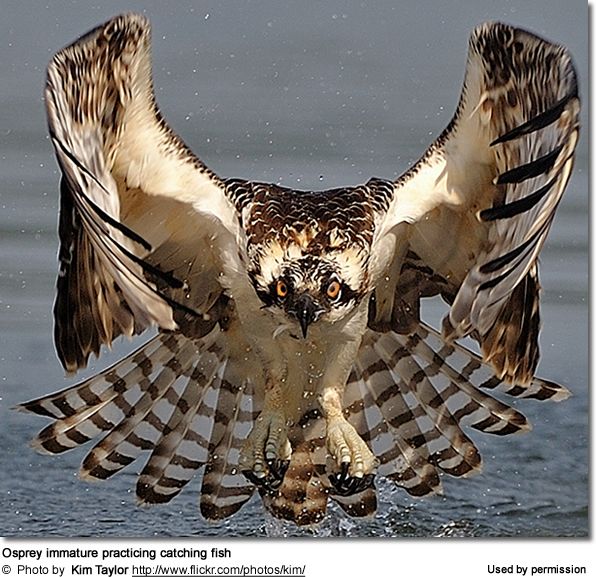
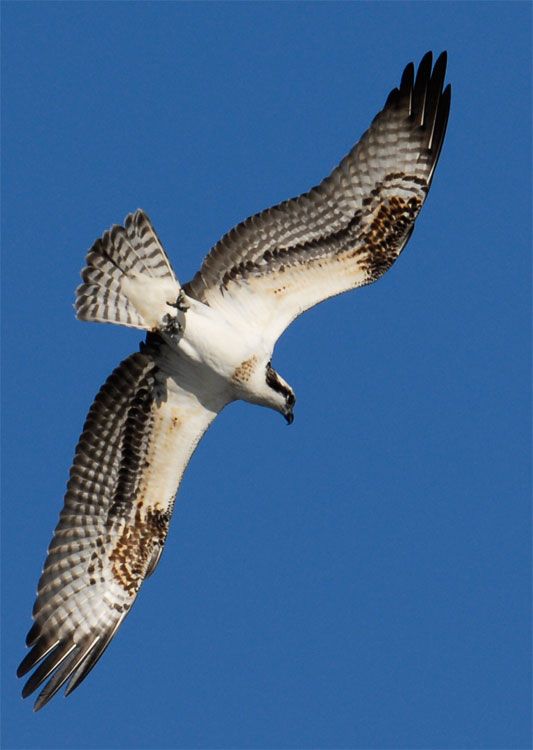
Here are some reference pictures that I was working from:

Photobucket

Photobucket

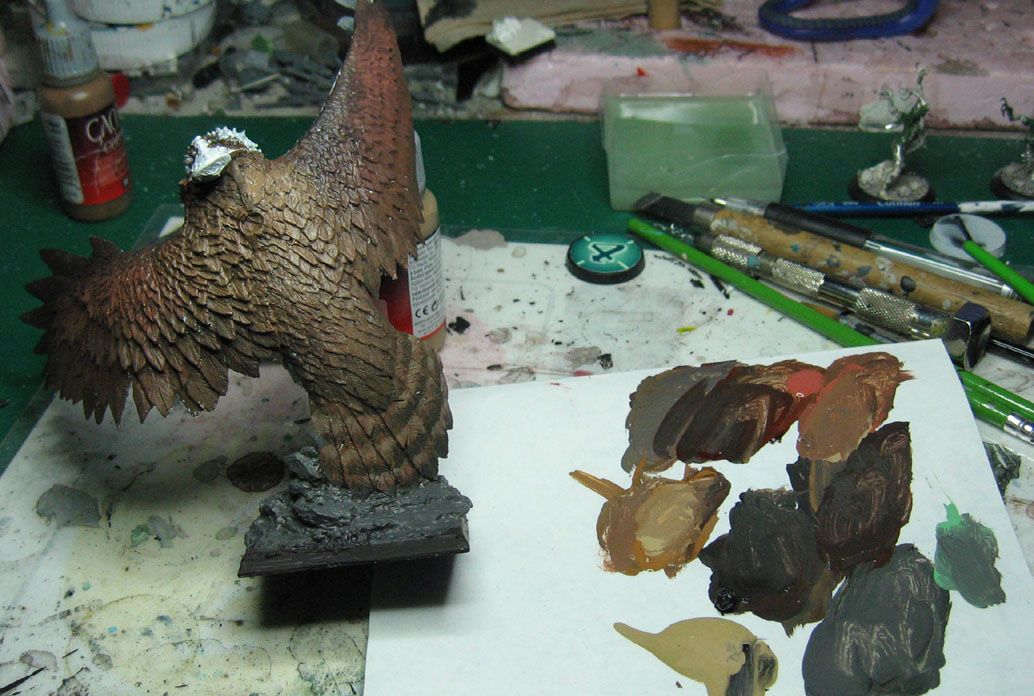
I tried to keep my palette in the pictures, to give you a decent idea of what color I was using.  I started out by working the back of the bird, establishing the warm browns...

Photobucket

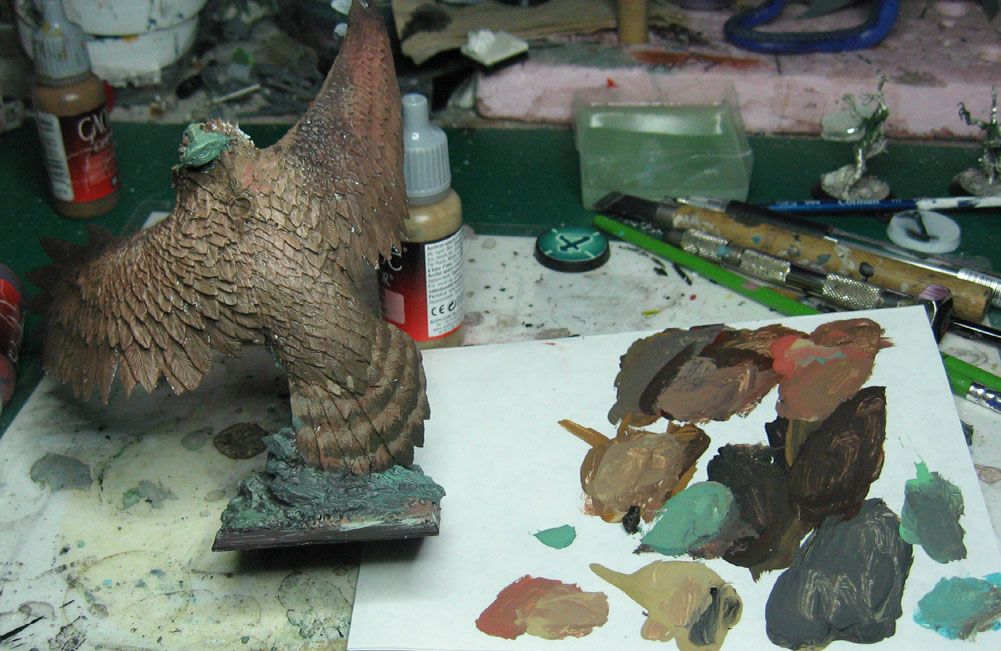
Even at this point, I was trying to get some gradations, where the feathers would be a lighter, more yellowish color, moving towards cooler, darker wing tips...
Photobucket

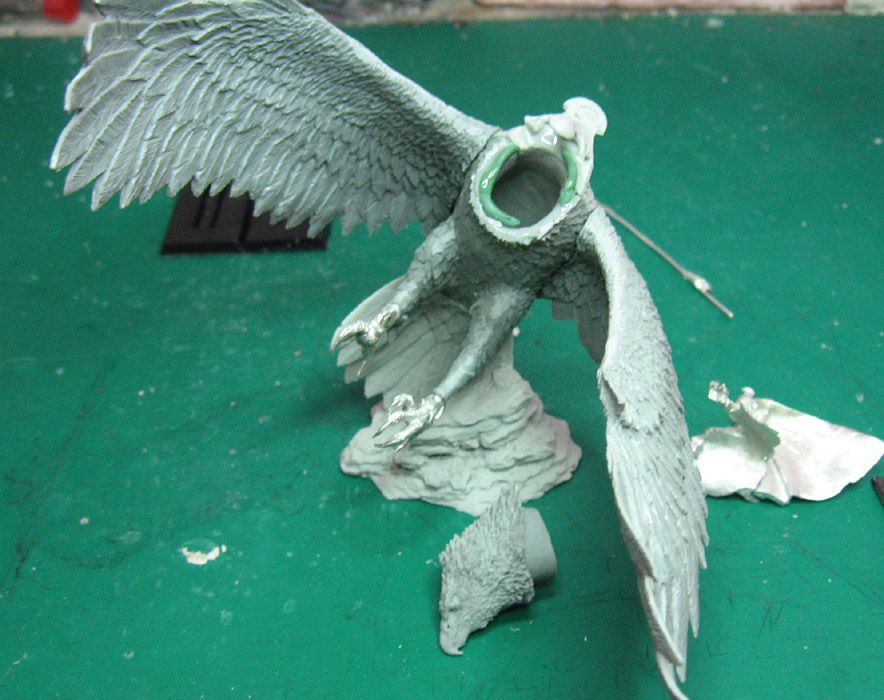
Continuing to fill out the back of the wings, working it darker and darker, with browns and a bit of blue mixed together.

Photobucket

You can also see that I was setting up the alternating light and dark patterns on the tail feathers.
Photobucket

Time to work on the front feathers! 

Photobucket

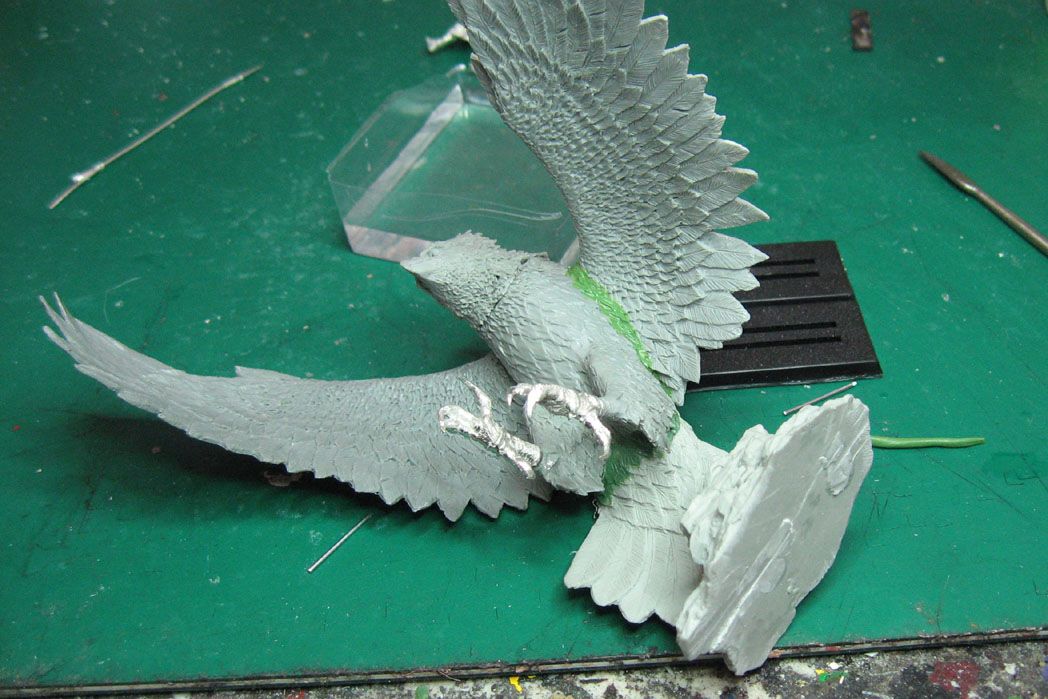
I was using some tan and purple/grey color to get things started:
Photobucket

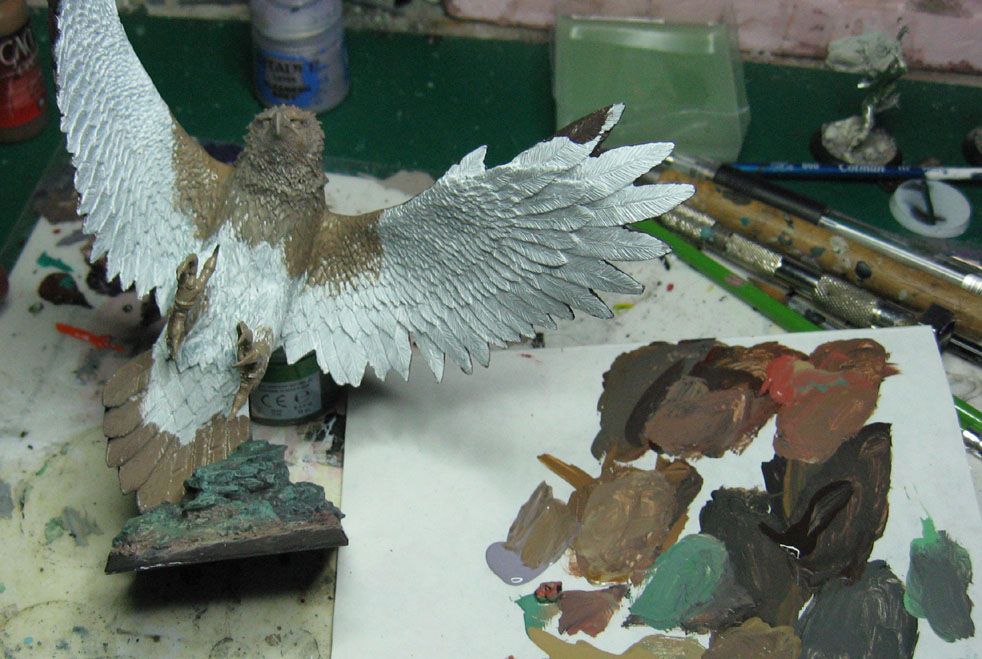
Once I had everything covered, I started to lighten some areas, using a yellow white n some places, but a cooler blue/white in others.
Photobucket

I established some more highlights, and began to set up the darker markings on the face and wing edges.

Photobucket

Not to forget the base!  I started with a dark grey with a bit of brown, but used a bright turquoise to lighten it.  The idea is to get some contrast from the warmer colors being used on the bird itself.

Photobucket

These next few images really show the markings develop:
Photobucket

Photobucket

Once all the making and highlights are set up, I will be able to start doing a few glazes and washes to darken it.

Photobucket

I did a little bit of dark lining around the edges of the feathers on the wing interiors, using a few different shades of dark brown.  Some were cooler, and others were more reddish.

Photobucket

OK, stay tuned for the next set of images, where we finish off the bird, and paint the rider!

Photobucket

Saturday, September 8, 2012

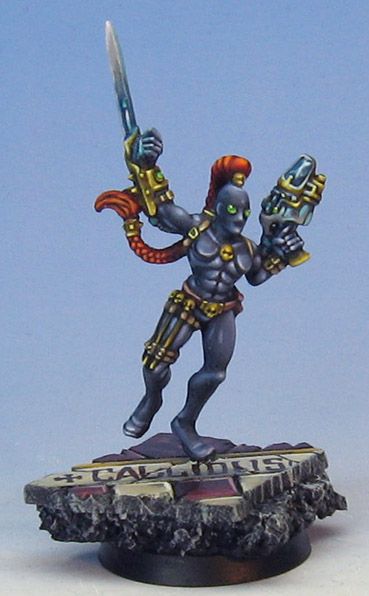
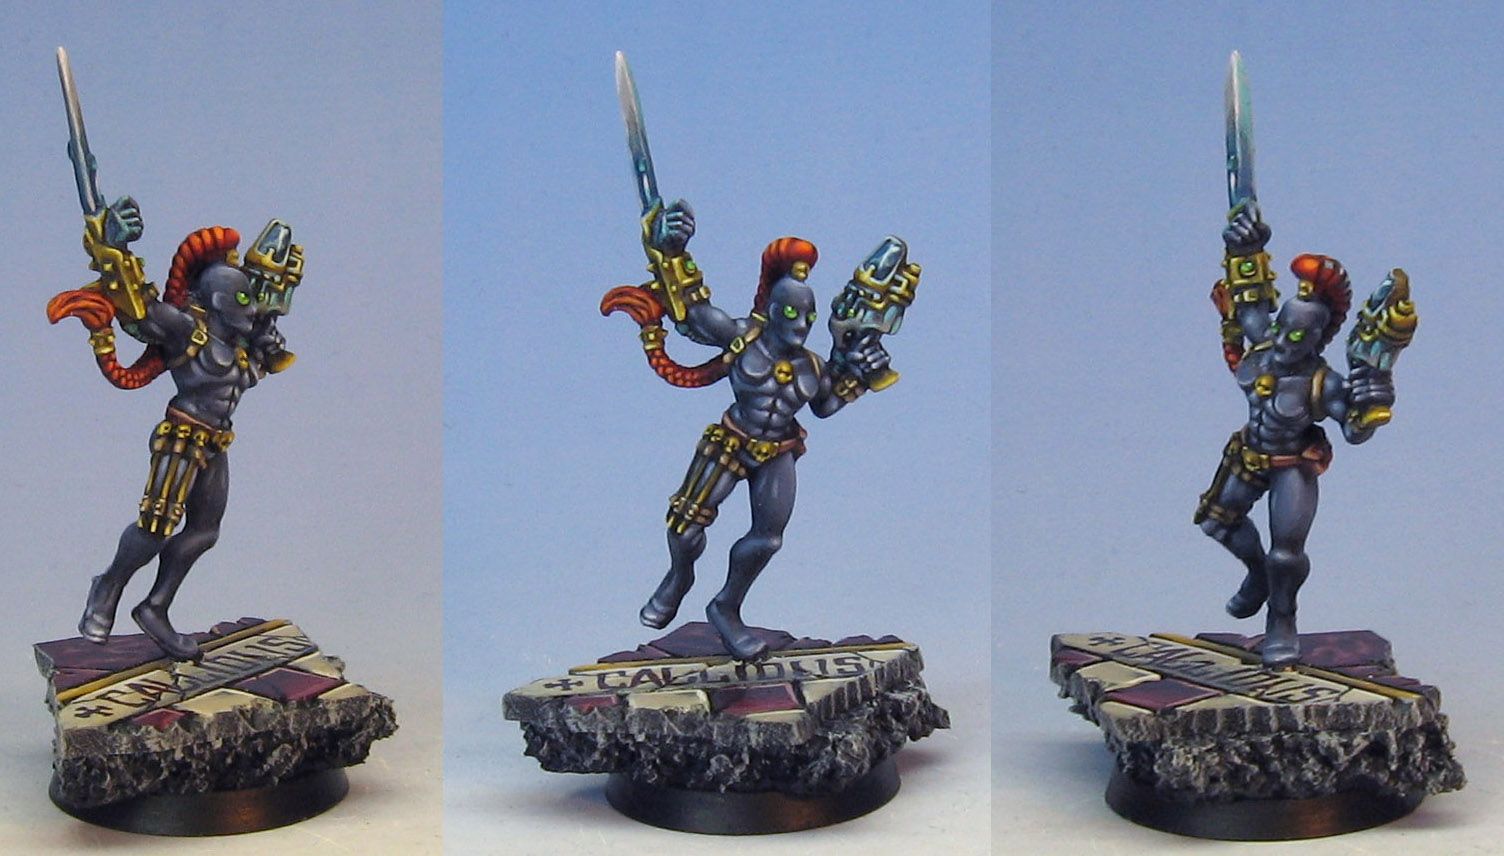
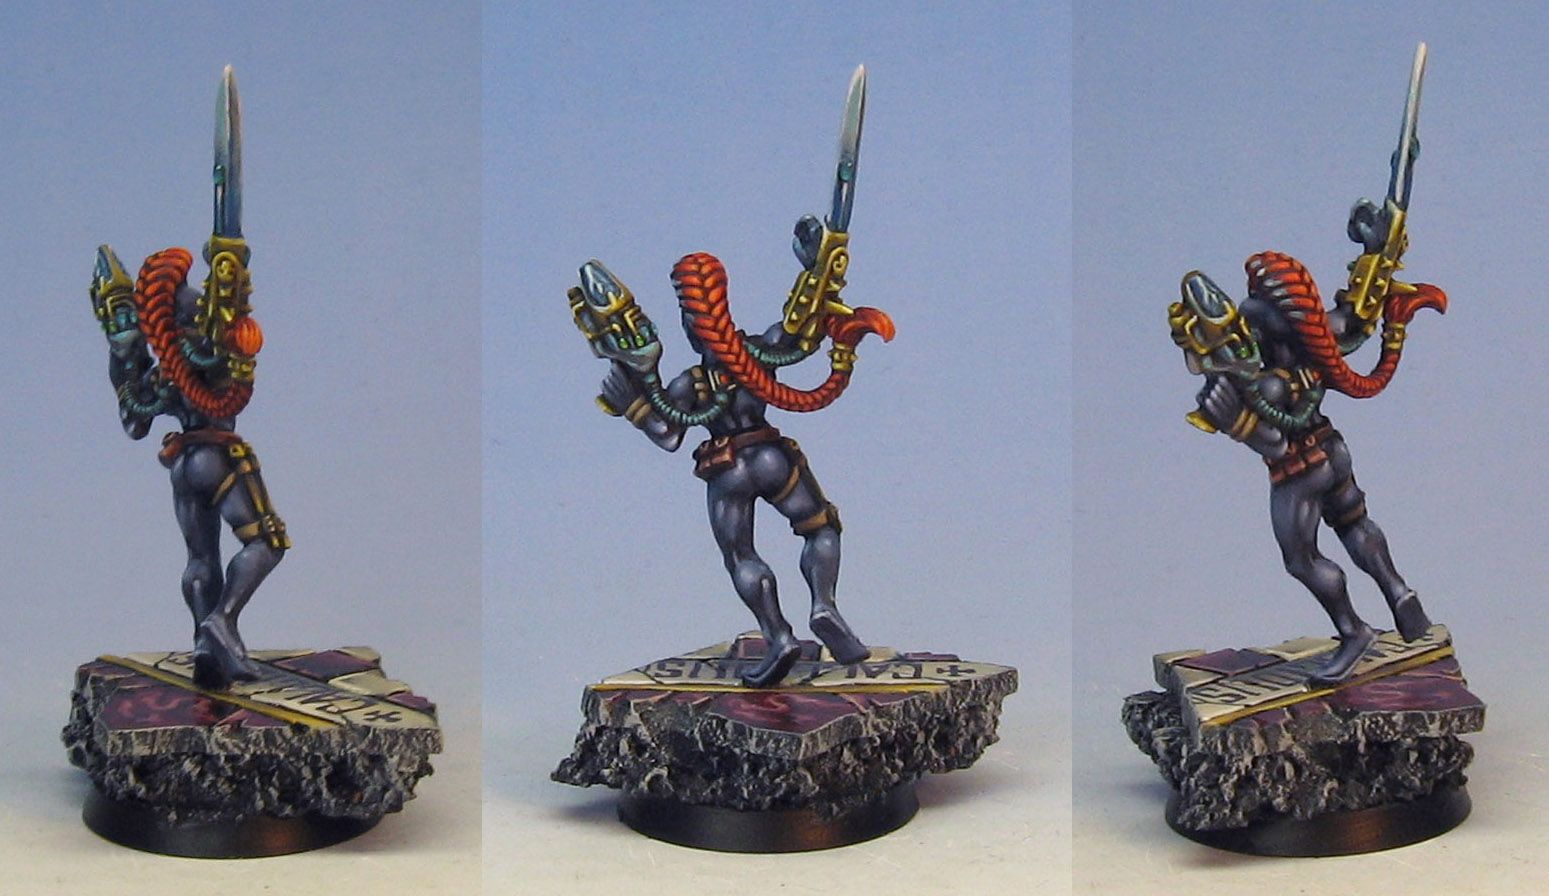
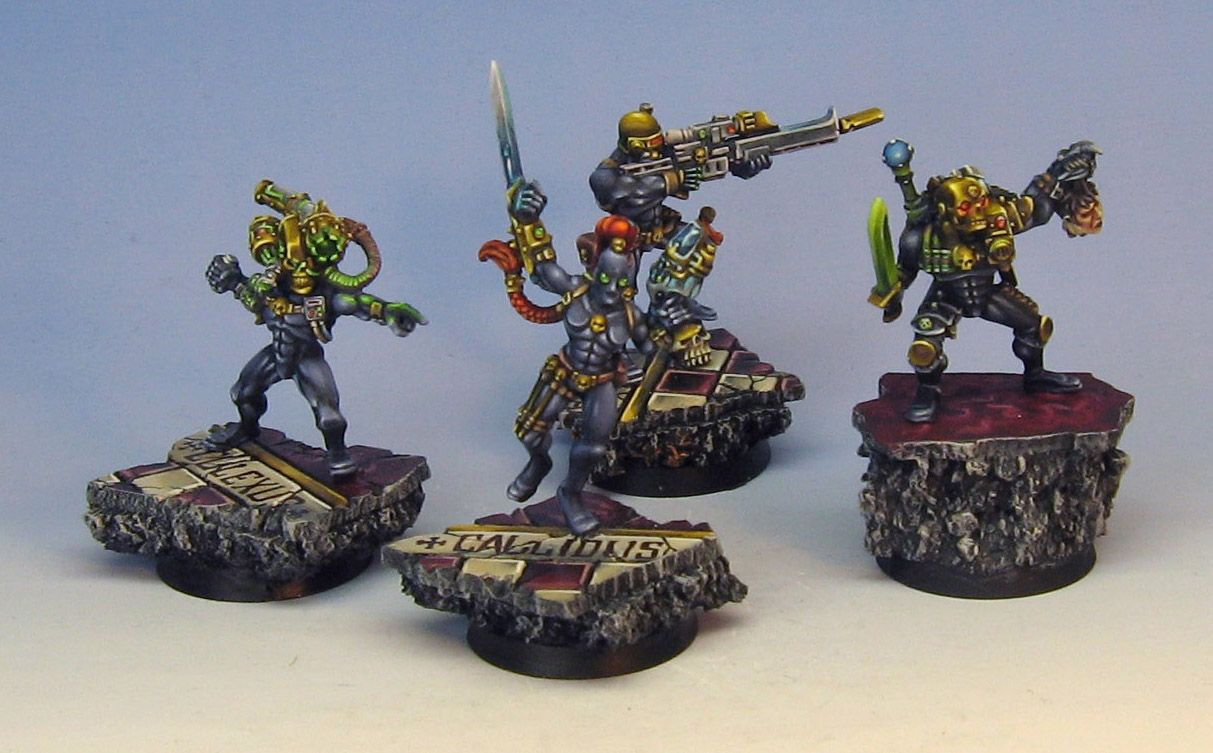
Callidus assassin

Photobucket

This was my second favorite assassin after the Eversor.  I loved popping up right behind a unit and blowing their minds, so to speak. :-)  A nasty trick to be sure...

Photobucket

Photobucket

Here's the whole gang together!

Photobucket

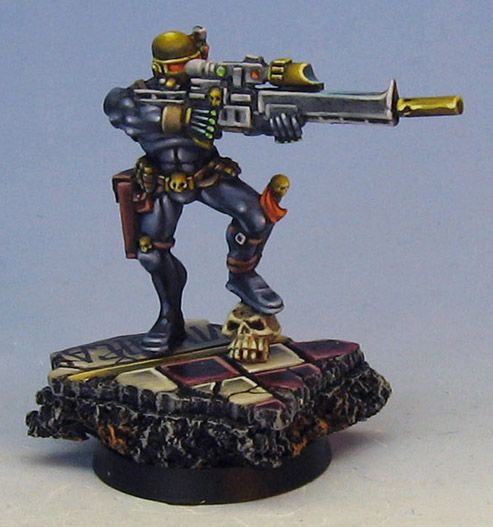
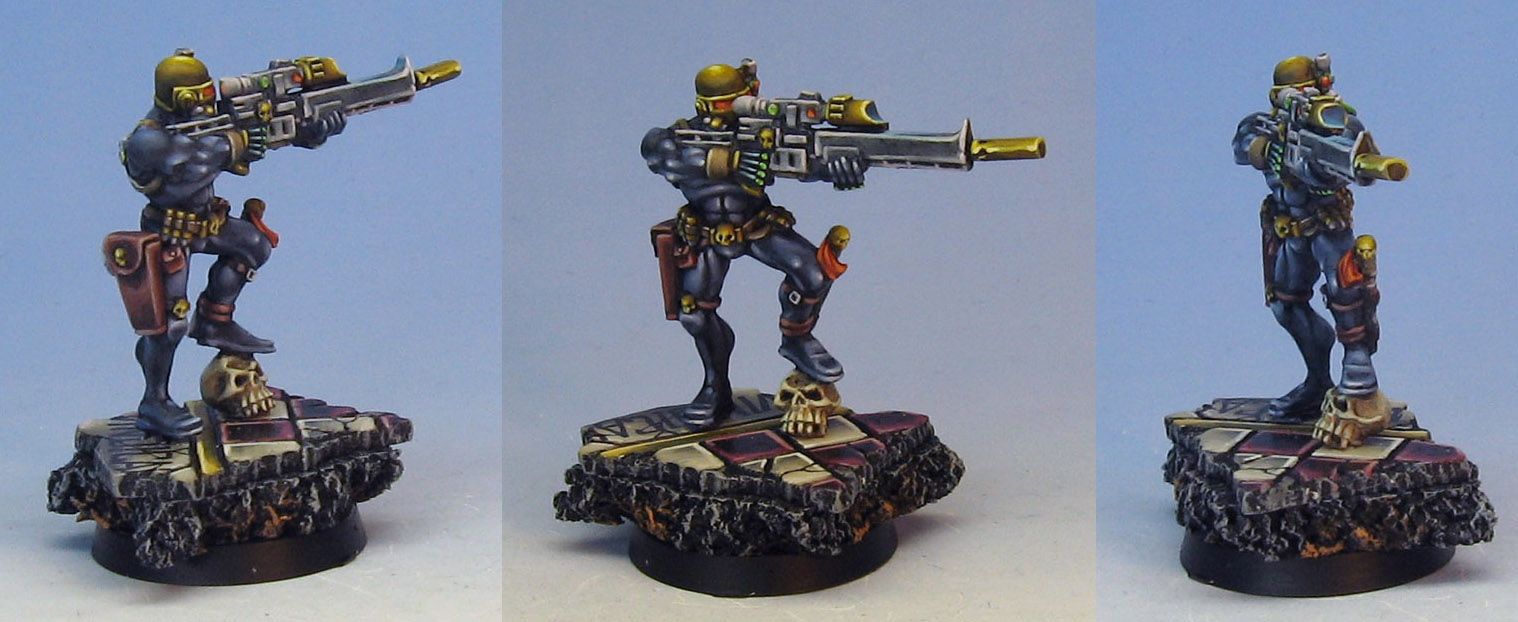
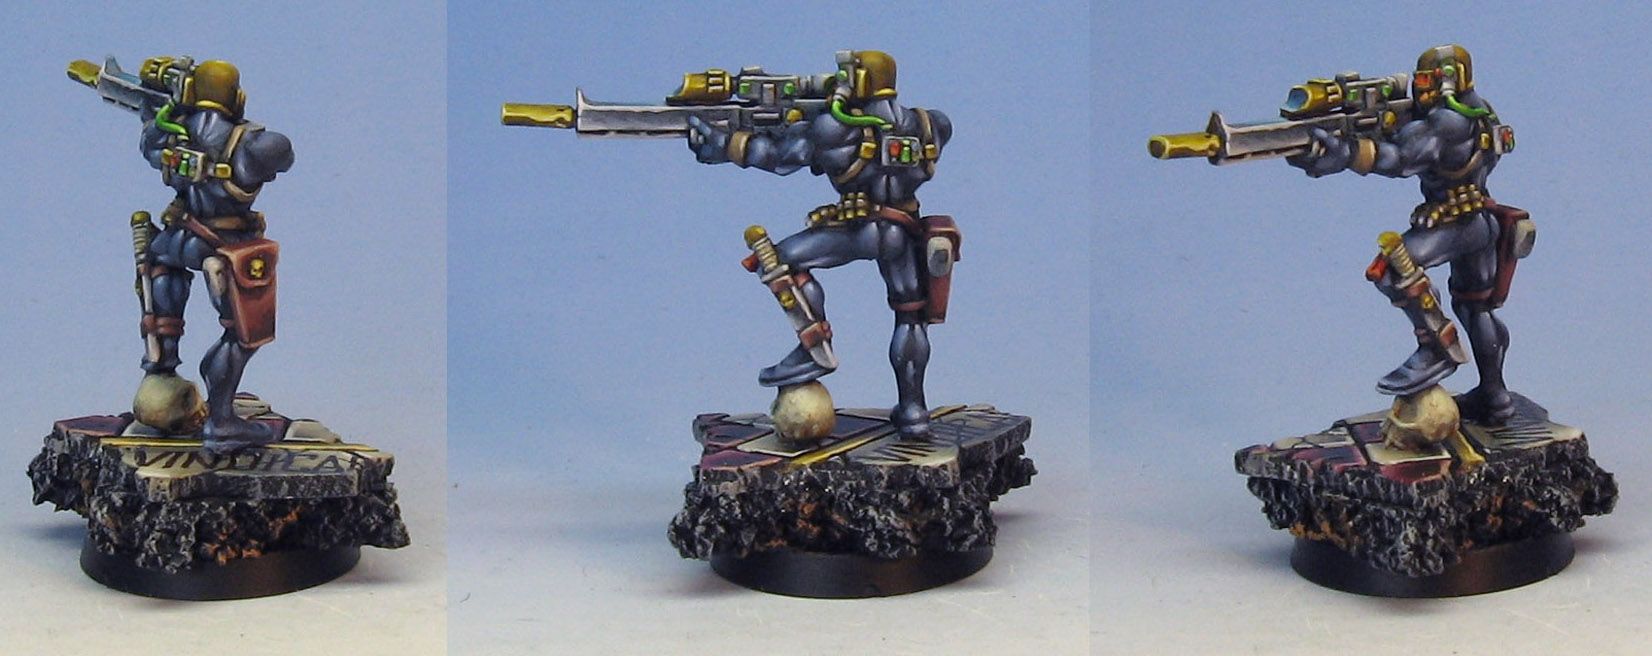
Vindicare Assassin

Photobucket

This was my least favorite of all the assassins... probably because I could not roll higher than a '1' for any shot that it took :-)  Back in the Demonhunter days, it could not move and shhot, either, so it was pretty easy to avoid!

Photobucket

Photobucket

Assembling your Great Osprey

Photobucket

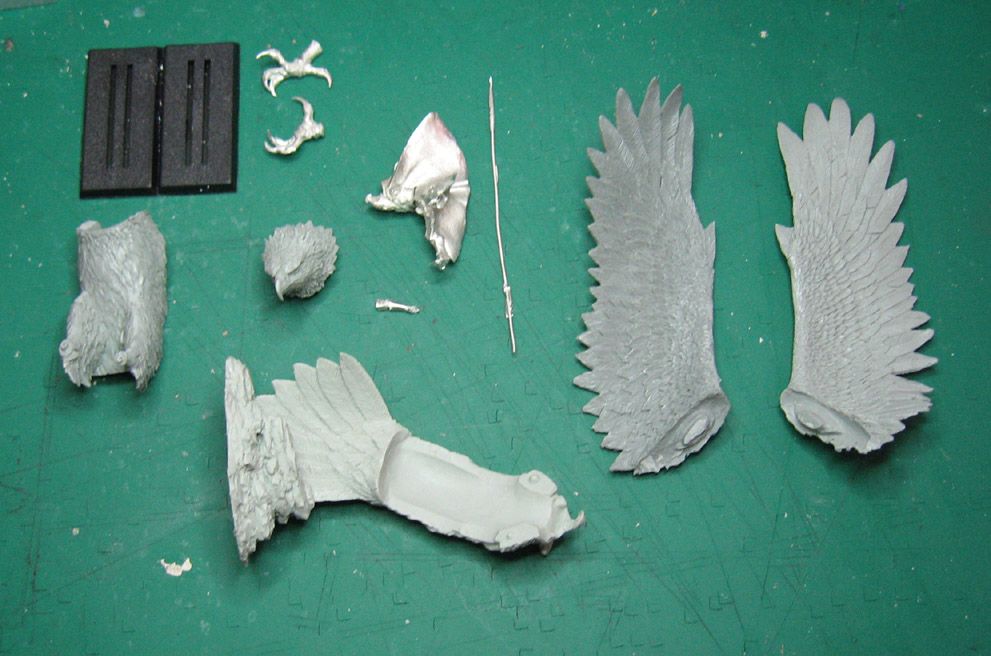
Now that the Great Osprey is available for purchase on Coolminiornot.com, I figured it was time to do a series of posts on how to build and paint your new miniature!

Photobucket

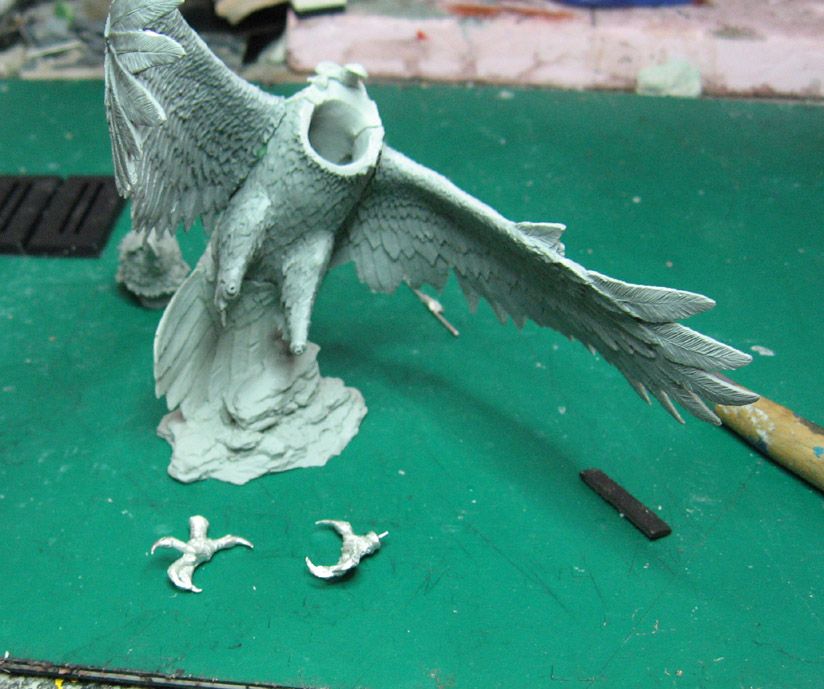
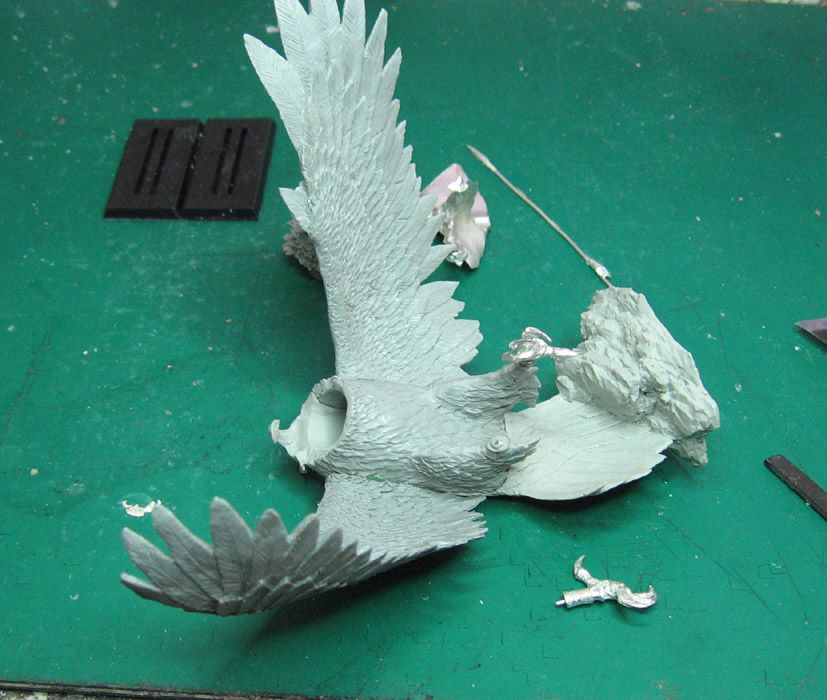
First, all of the parts need to be washed.  These days I use dish soap in warm water.  Once that is done, it is time to take care of mould lines and other casting byproducts.

Photobucket

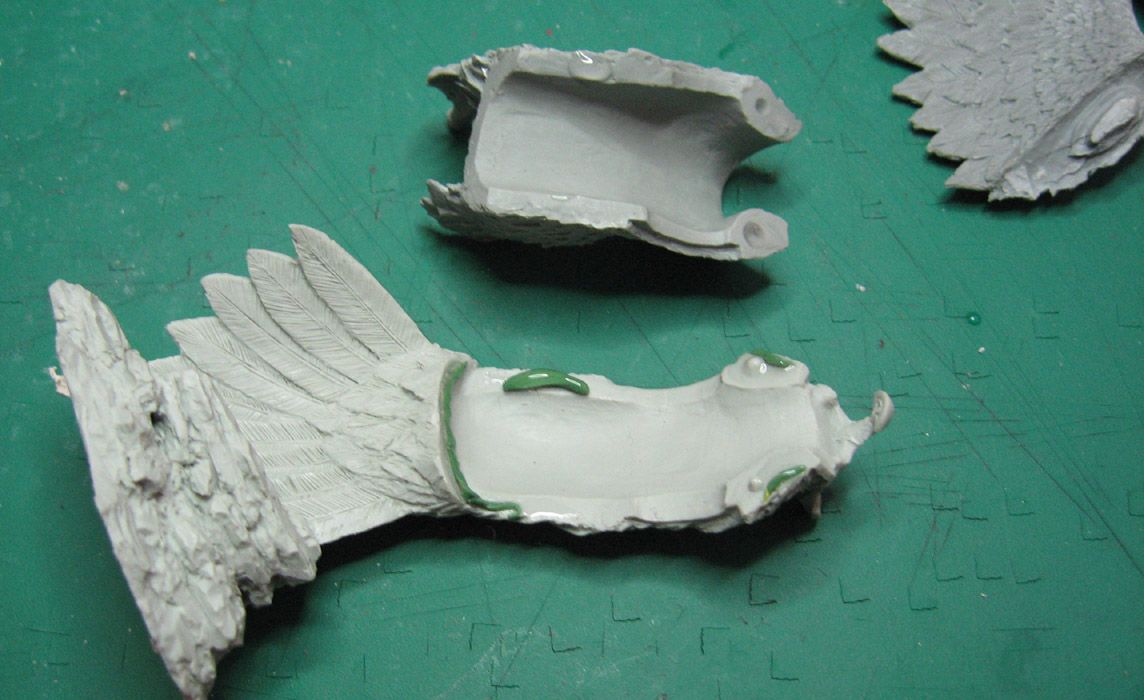
Now you can get down to putting it together.  Last year, I started using a technique called "glue/greenstuff/glue" to assemble pieces that may have odd shapes, such as these!  It also works well on small parts, or pieces which you just can't pin.

This image shows that technique.  You can see the ring of green stuff around the area where the wing will go.  There is glue underneath that, and glue on top.  When you press everything together, the glue fills in the gaps, creating a stronger joint.

Photobucket

The same for the other wing:
Photobucket

The wings are finished, so now I pinned the metal feet and got them ready to attach:
Photobucket

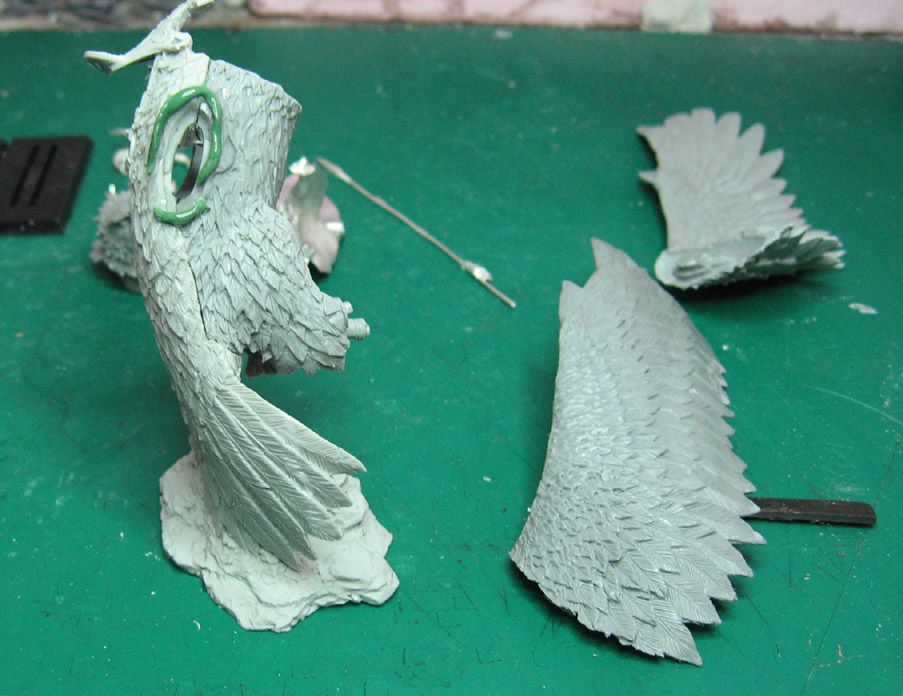
I used green stuff in the glue process here as well, to make sure there was no instability.

Photobucket

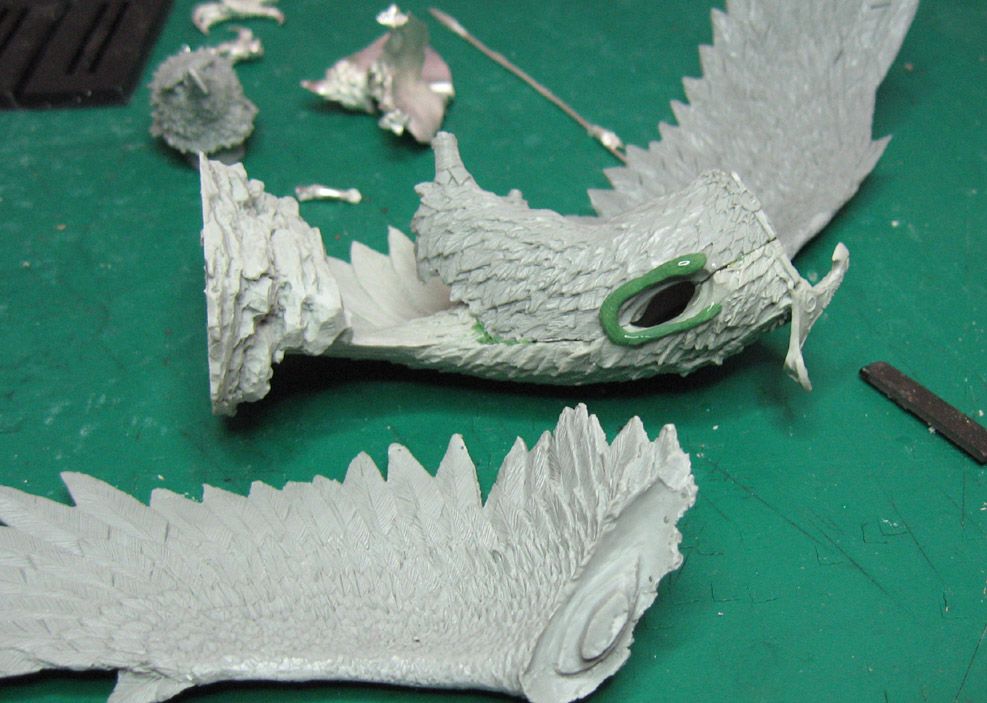
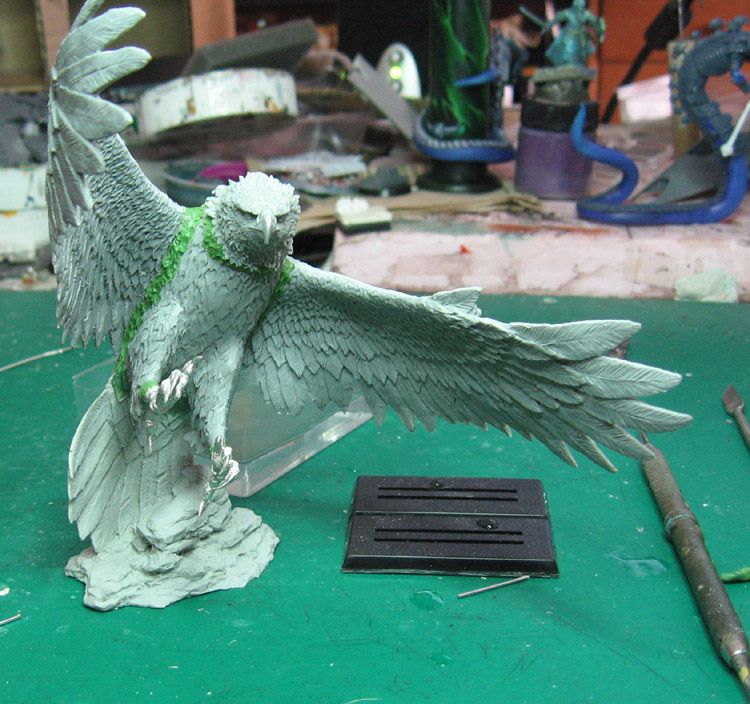
Once so many of the pieces of the body have been assembled, there is even a greater possibility that gaps will be created.  I made an even thicker green stuff ring to make sure that there would be a solid joint, and that there would not be any gaps.

Photobucket

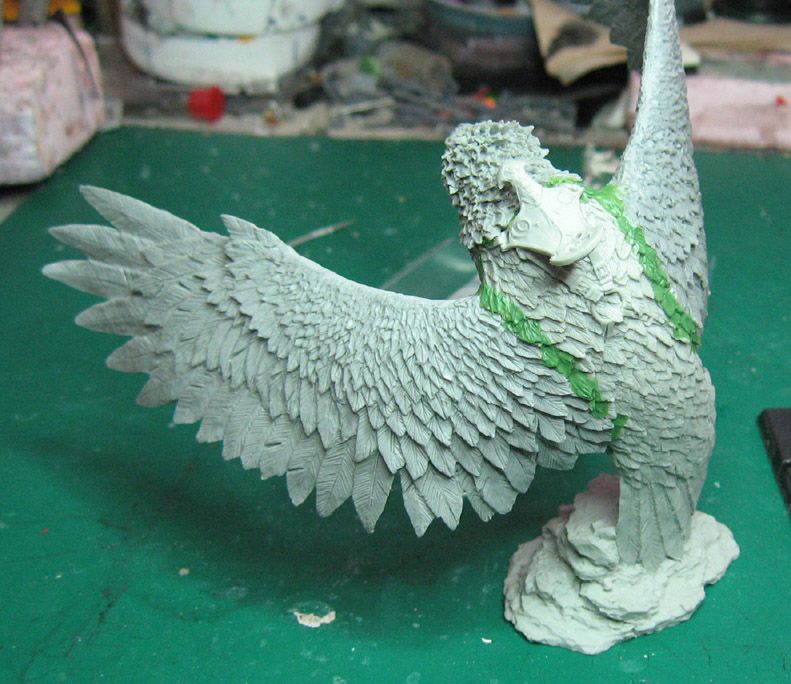
Now that all the parts are attached and set up, it is time to do the finished green stuff work.  This will make sure that all the feathers  appear to fit seamlessly together.  I started with the "inside" joints, so that I would not smash the soft green stuff as I moved on to the next joint!

Photobucket

I worked my way around the wings and the head, sculpting feather texture where needed.

Photobucket

Photobucket

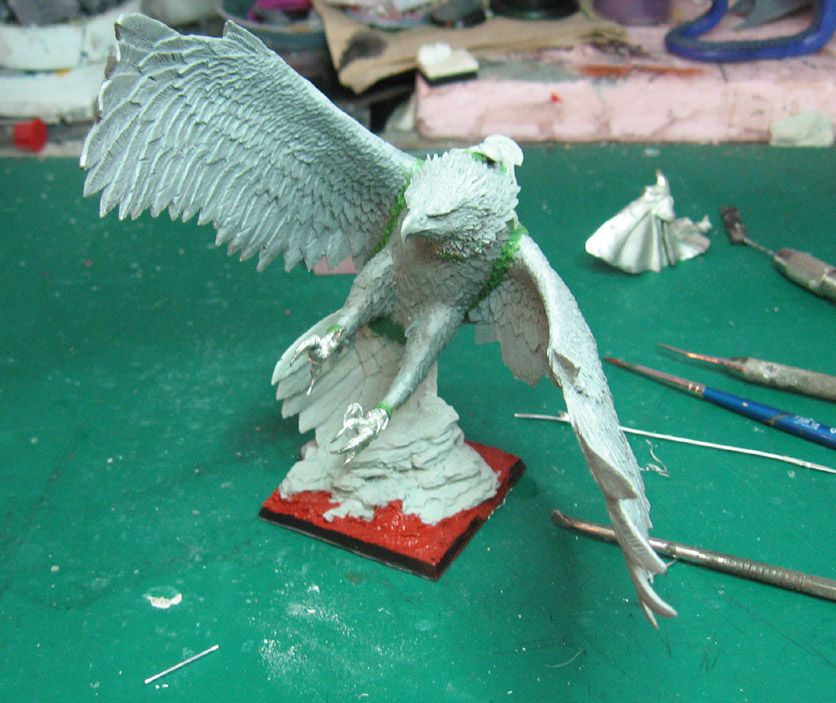
OK!  All the green stuff work is done!  Time to attach it to the base.  I put this bird on a Warhammer base, using oxide paste to fill out the corner areas.  Cathy discovered that if you use a flat sculpting tool to apply the paste, you can create a slate texture, as opposed to the more natural rough sand.

Photobucket

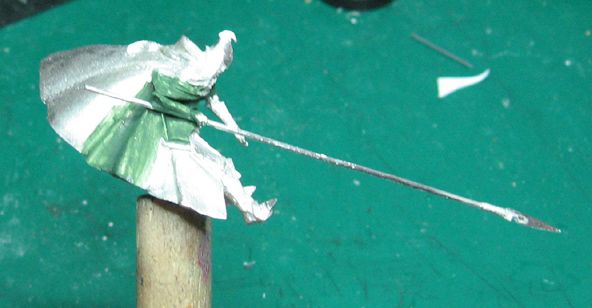
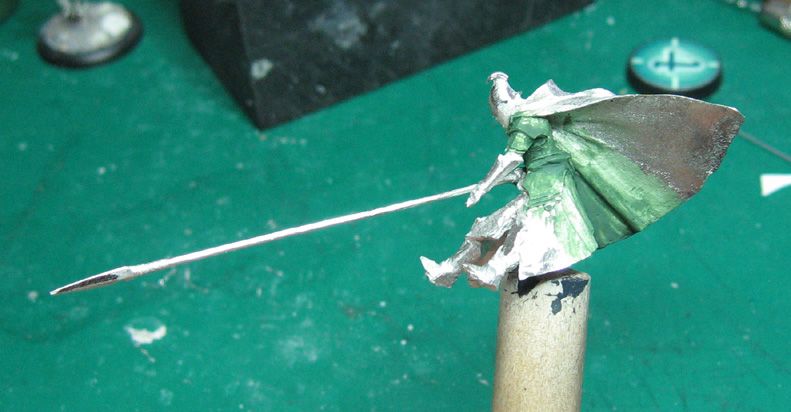
Lets not forget the rider!  Here are a few images showing the green stuff work:
Photobucket

Photobucket

And a preview of the next set of images... Painting the Great Osprey!

 Photobucket