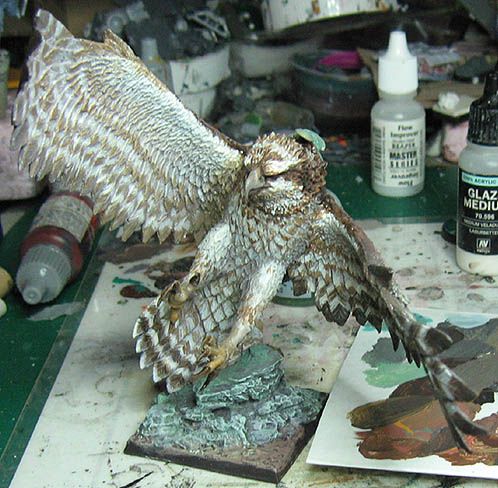
Here is the promised stage by stage post on painting the Great Osprey!
For this piece, I primed it white:

Here are some reference pictures that I was working from:
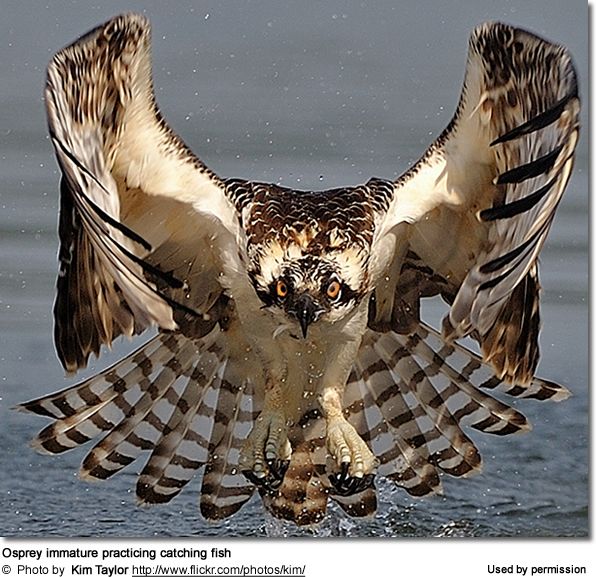
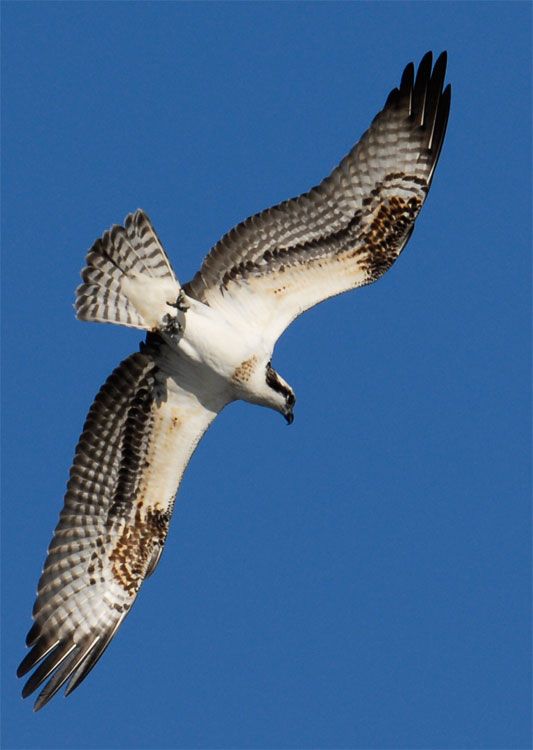
I tried to keep my palette in the pictures, to give you a decent idea of what color I was using. I started out by working the back of the bird, establishing the warm browns...

Even at this point, I was trying to get some gradations, where the feathers would be a lighter, more yellowish color, moving towards cooler, darker wing tips...

Continuing to fill out the back of the wings, working it darker and darker, with browns and a bit of blue mixed together.
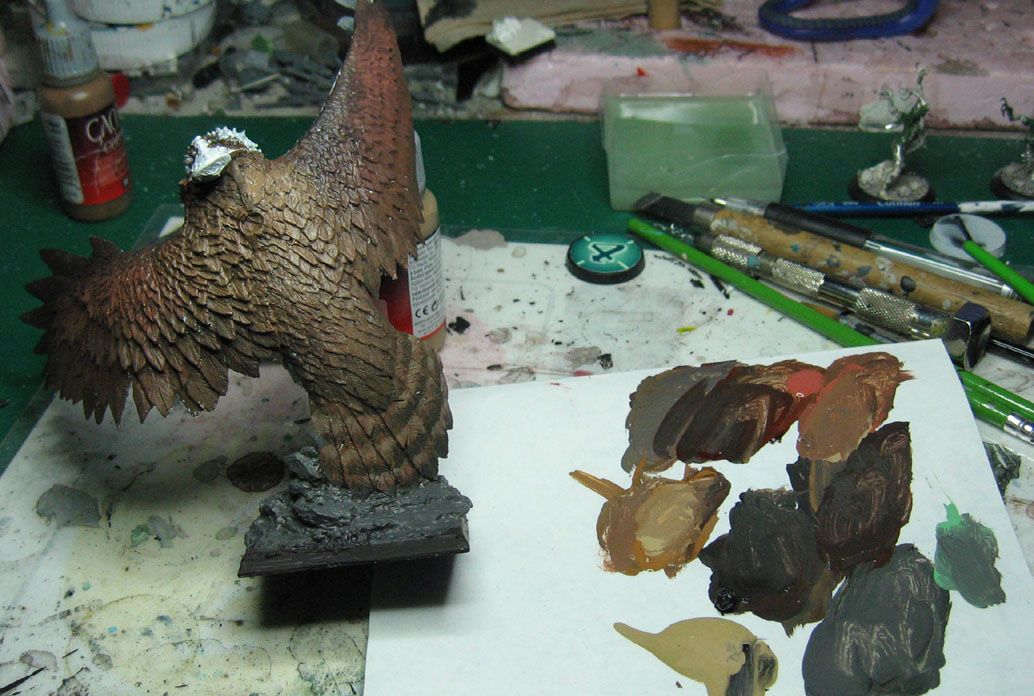
You can also see that I was setting up the alternating light and dark patterns on the tail feathers.
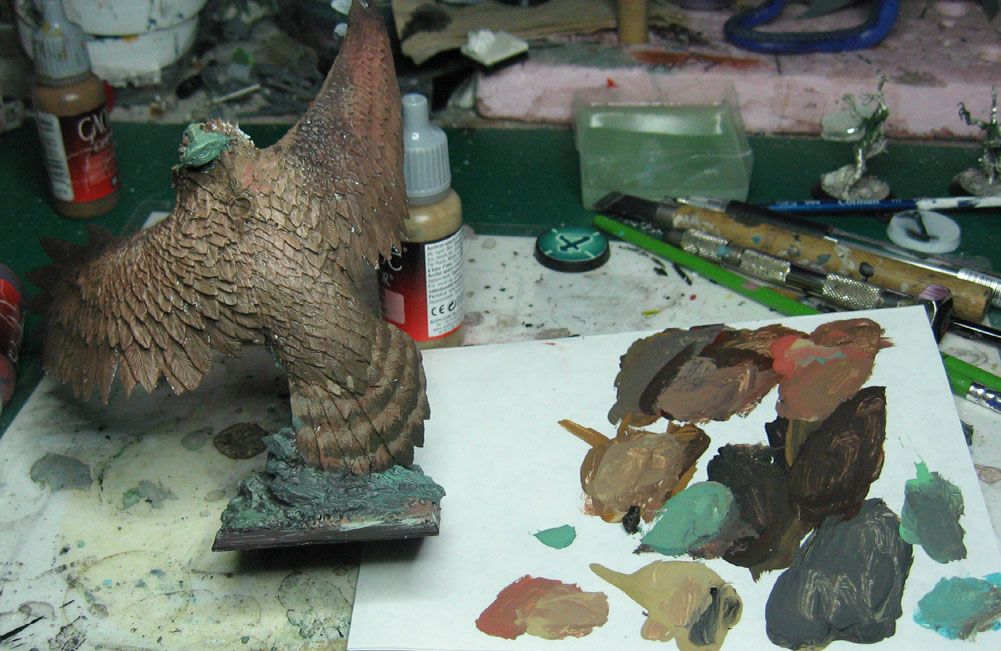
Time to work on the front feathers!
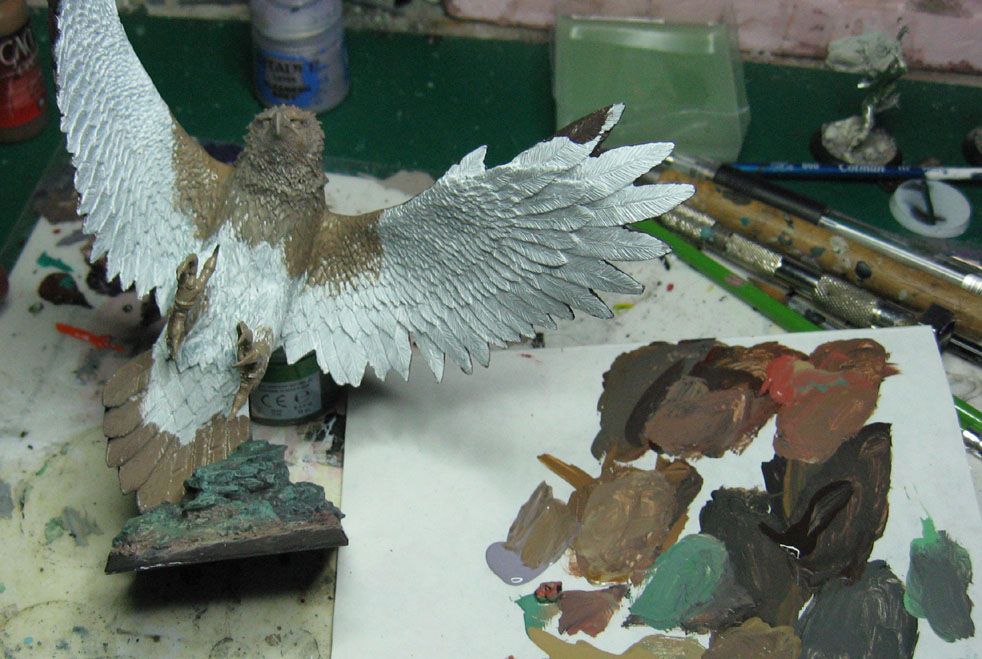
I was using some tan and purple/grey color to get things started:
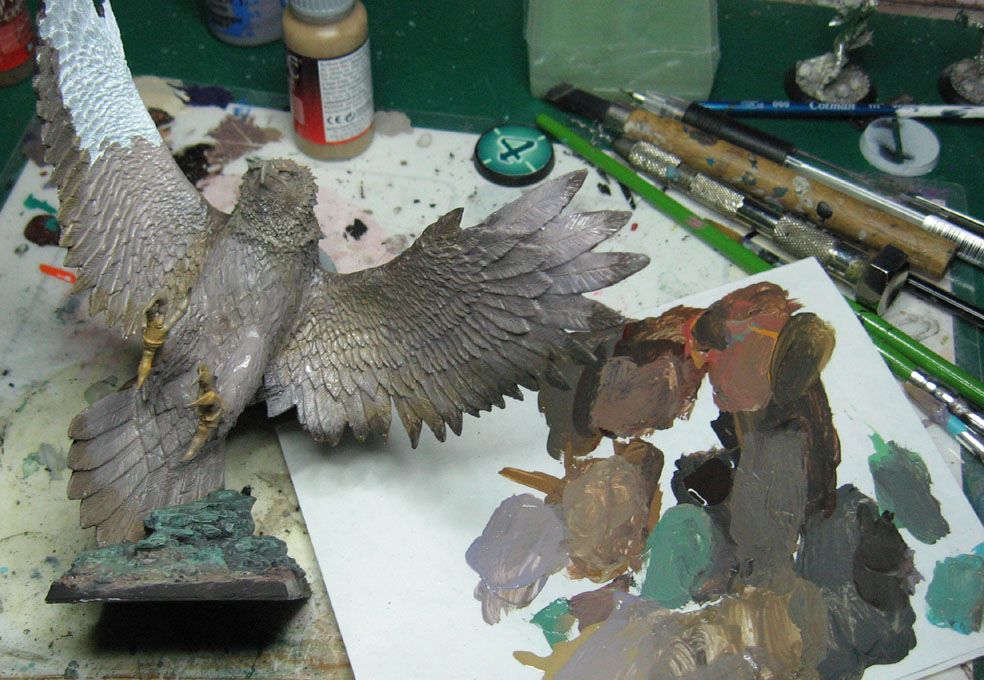
Once I had everything covered, I started to lighten some areas, using a yellow white n some places, but a cooler blue/white in others.
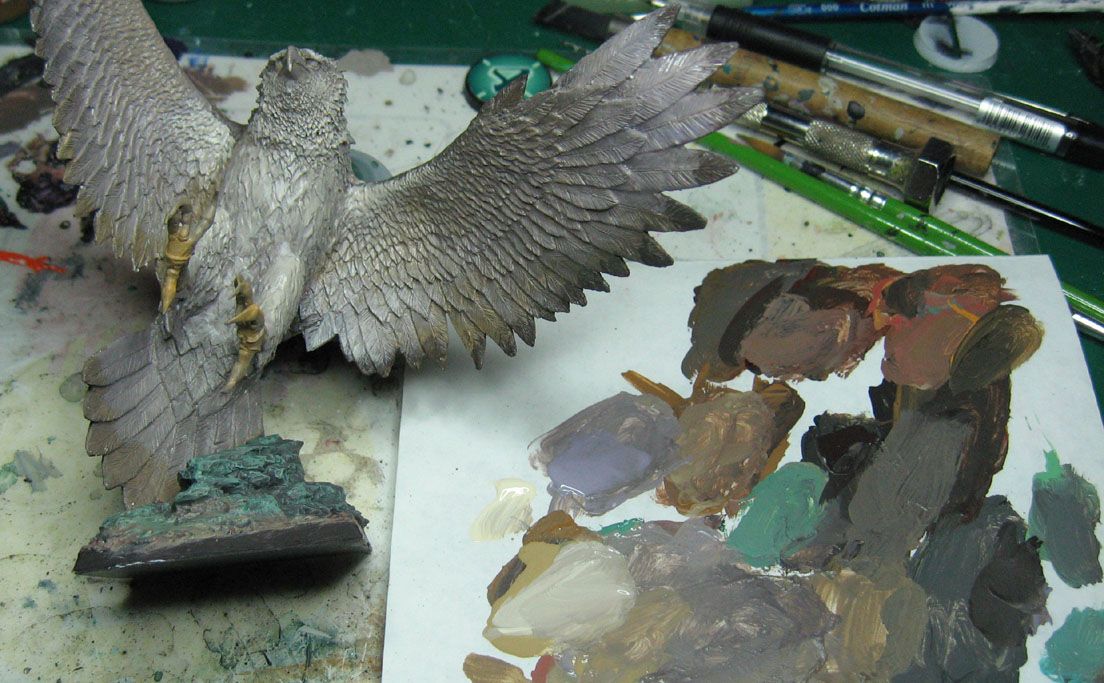
I established some more highlights, and began to set up the darker markings on the face and wing edges.
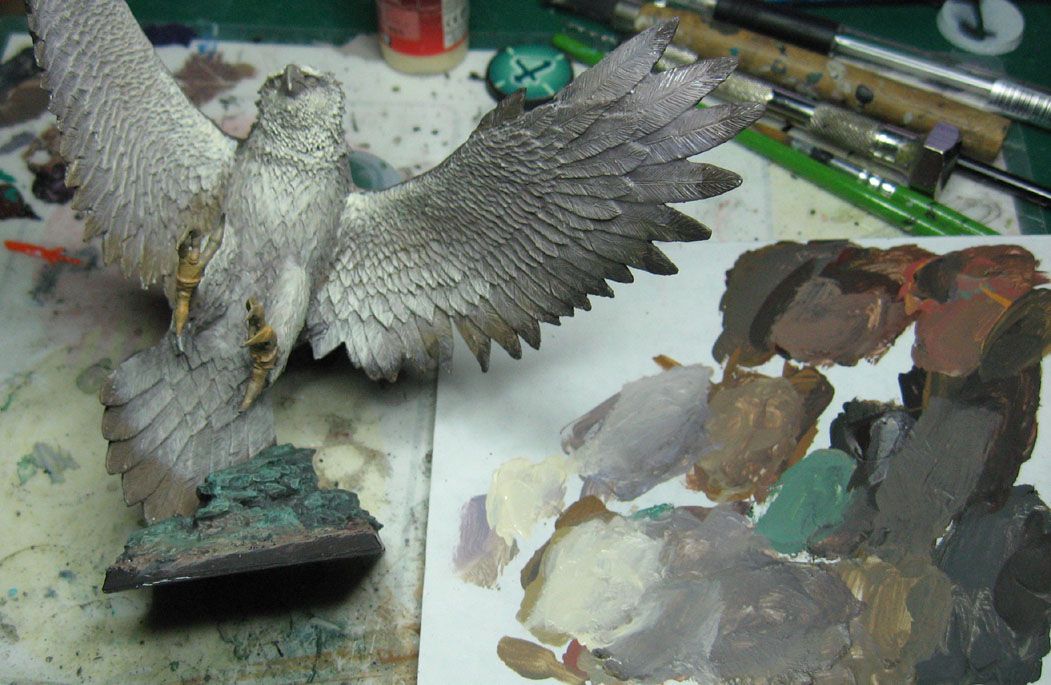
Not to forget the base! I started with a dark grey with a bit of brown, but used a bright turquoise to lighten it. The idea is to get some contrast from the warmer colors being used on the bird itself.
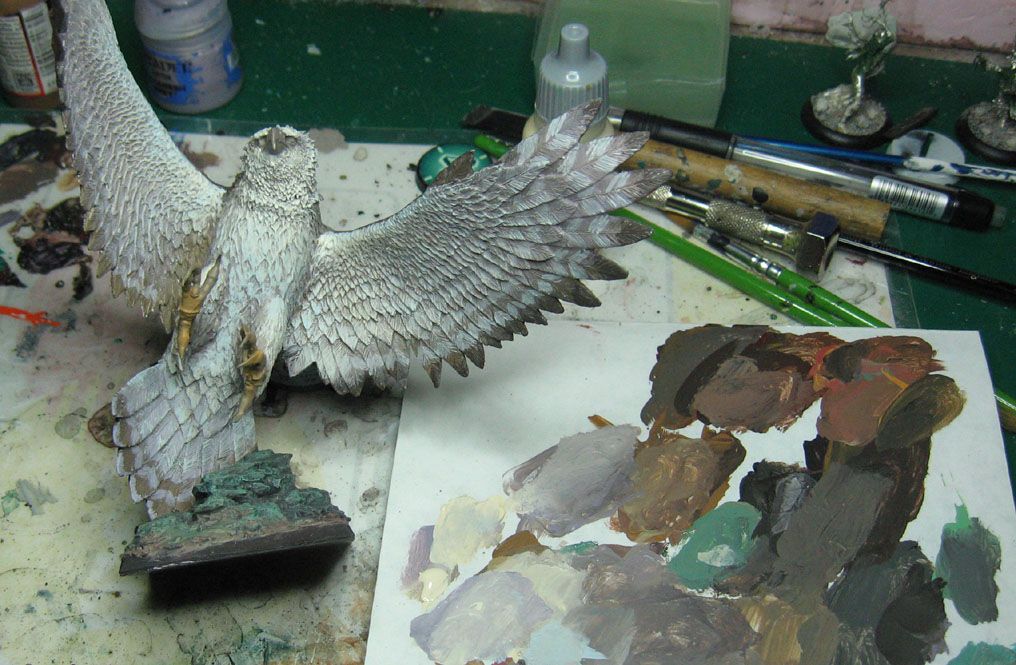
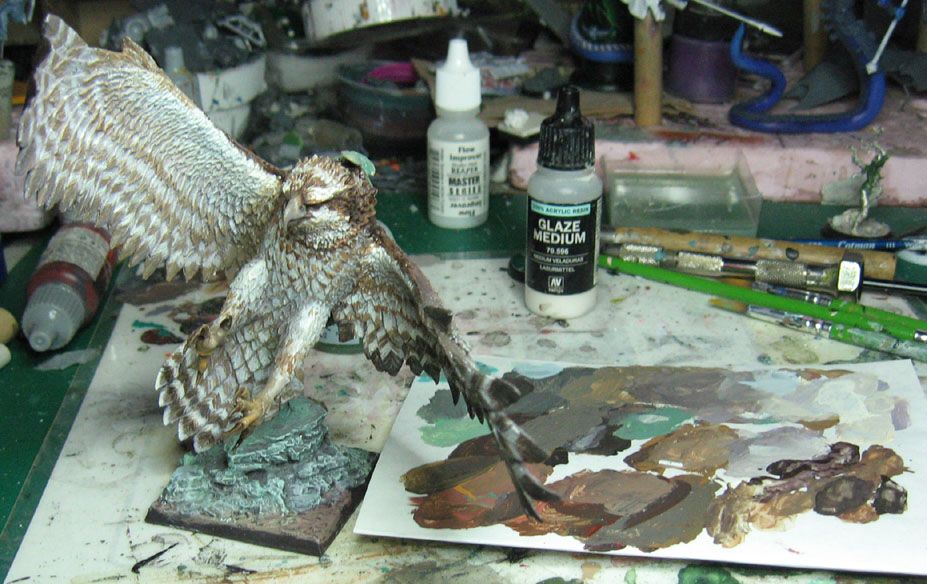
These next few images really show the markings develop:
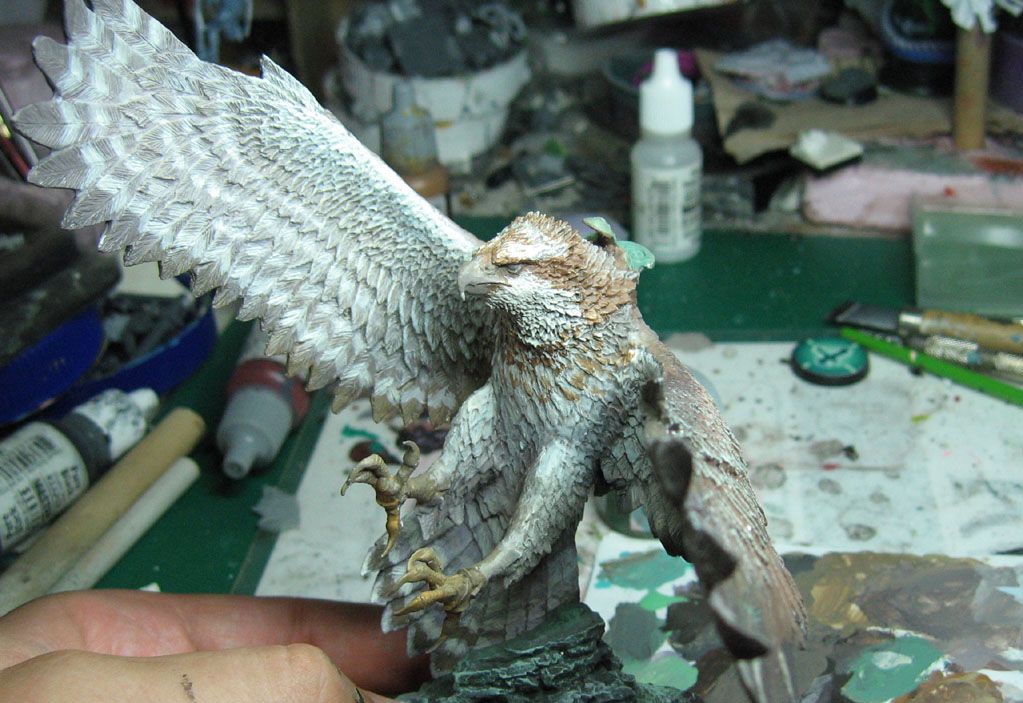
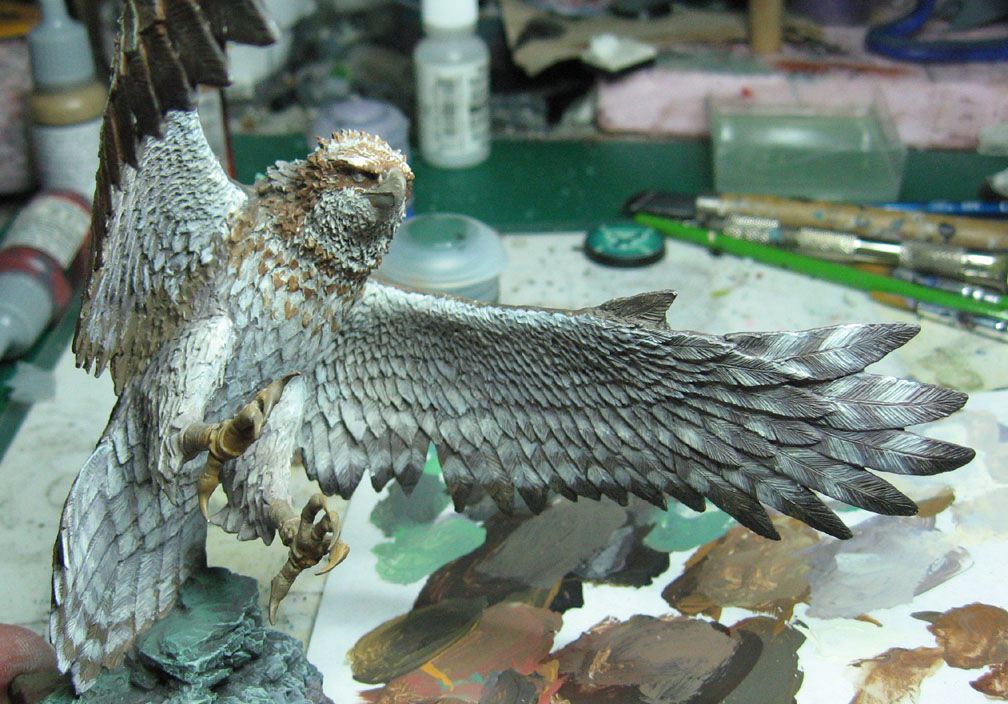
Once all the making and highlights are set up, I will be able to start doing a few glazes and washes to darken it.
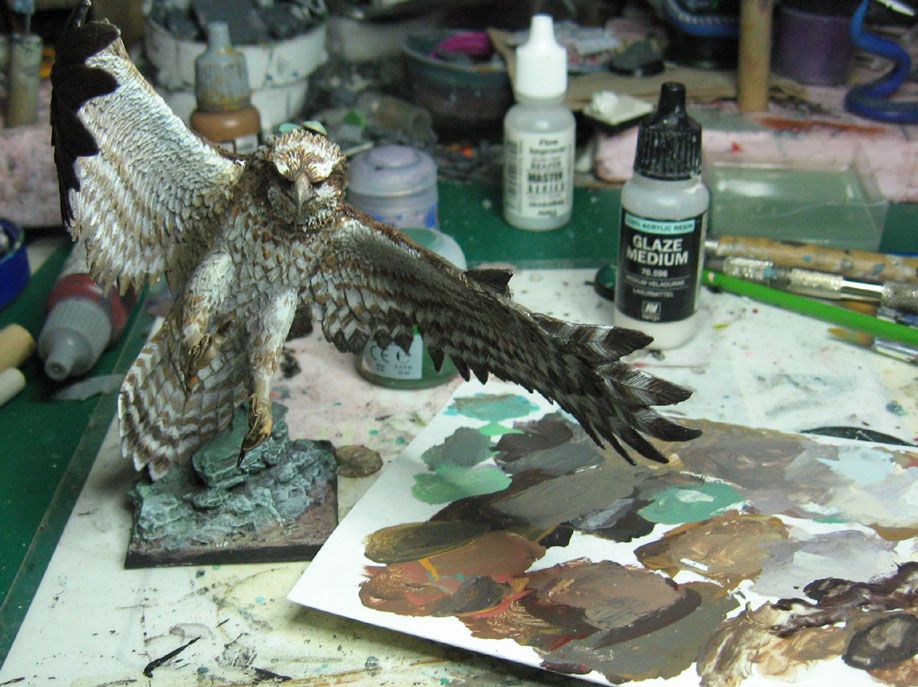
I did a little bit of dark lining around the edges of the feathers on the wing interiors, using a few different shades of dark brown. Some were cooler, and others were more reddish.
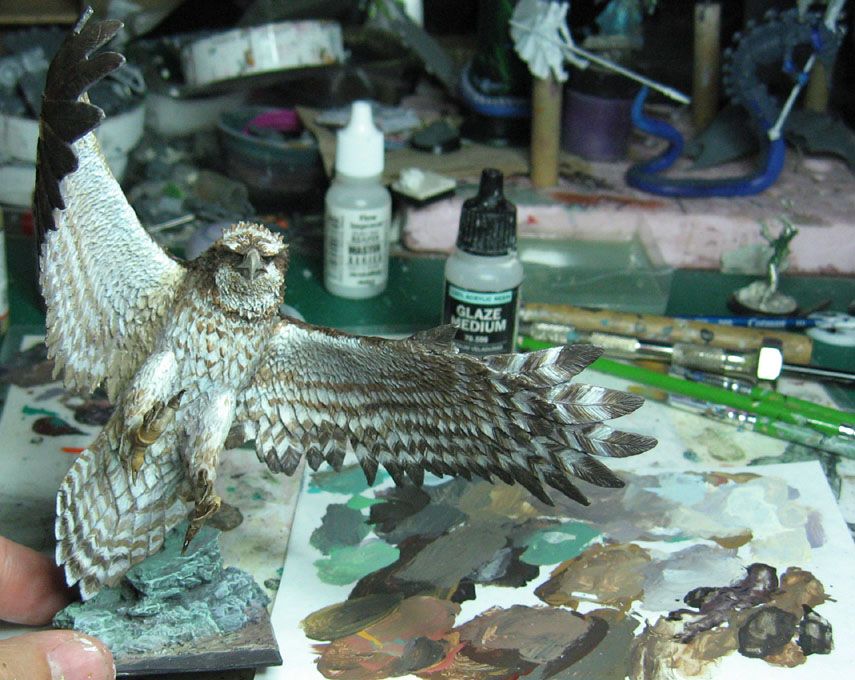
OK, stay tuned for the next set of images, where we finish off the bird, and paint the rider!
No comments:
Post a Comment