
One more episode for the painting of the Mierce Miniatures beastmen. The series began with "Primer Painting" using the Badger airbrush and the Stynlrez primers. You can find that here:

After taking care of the metals and other elements, it was time to use the Secret Weapon weathering paints to actually weather something! Yes, even I sometimes use things for the purpose they have been intended.
I usually start off with Old Rust, which is also a favorite skin tone wash too.

As you can see from this trio of images, you can use those washes a bit like oil washes, in that I apply them mostly in crevices, and then wipe away at the edges. This is done in a bit more of a watercolor style, with slightly less control exerted because oxidation takes its own course.

This is a good example of how the washes work. I let them gather in some parts of the application, but pull away at those edges either with a dried out brush or one of the makeup applicators.
While it is still somewhat wet, I add a slightly lighter rust color, and allow that to mix together on its own. This is really the unique aspect of the Secret Weapon paints. They are really meant to do this kind of spontaneous mixing, just as I did on the banner from the last episode.
A third and lighter layer of the rust series can be added, which I usually allow to mix with the other two. That is another intent of the paints, and that is to mix together. You can still apply them in "normal" layers of opaque color, which I do all the time. It's just nice to have this option!

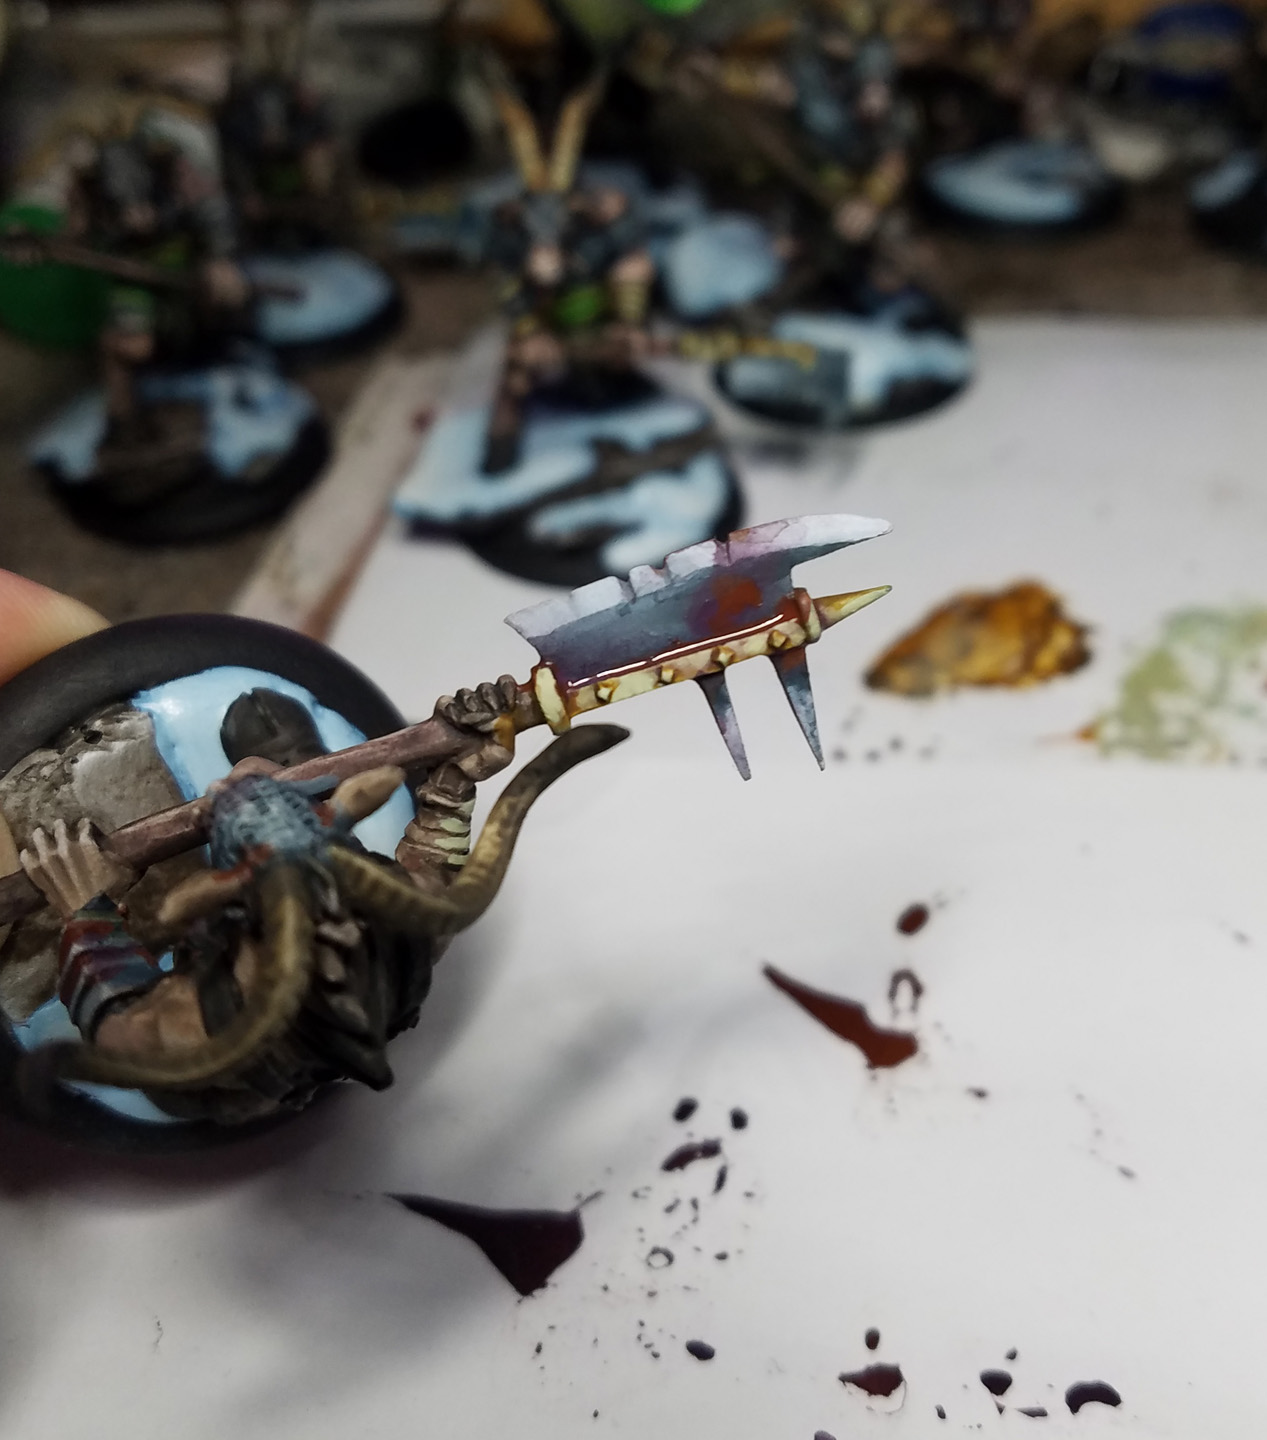
You can see what the various rust layers look like together. As I mentioned in the previous post about the metals, I made them darker and a bit more blueish so that these subsequent layers of oxidation would show up a little more.

Once that weathering was done, it was time to go back into the metals and add some more lights... using a mix of the lighter Secret Weapon grays and a few lighter Reaper colors. I wanted to get in all the rust before this stage. It follows my normal process of working "globally", where I try to get as much of the surfaces covered in colors and values as soon as possible.
This creates context, so I know just how dark or light one area should be in relation to another.

I even took those darker blues and mixed them with the yellow rust, which created a bit of a 'patina' color. I put this on a few of the bronze/copper bits.

I started to finalize some of the shading on other areas, such as the lion cloths, skin areas, the deepest darks in the furs, and a few highlights on the horns. There are a lot of different shades of brown, so I tried to make variations in those broader areas of color by making some more greenish, more reddish, etc.

It is only at this point that I start to add in any of the brightest highlights. This plays off all my years of 2D art, where such details were never added until the end. As always, it is about context, and having all the rest of the color/value range in place, I know exactly how much is needed.

I have a few of those brightest highlights here, on the weapons and armor. You can see how the armor is meant to play off the snow colors!

I hope that this series was helpful. I know that it can be difficult to translate all the information on these techniques in pictorial/text format!

This is why I am trying to do more of the facebook live sessions, so people can hear and see these things live on their screens. To make some "space" to allow for more time, the Patreon page was set up. Apparently you can do live streams just for the patrons, and I am trying to set that up.
Apparently you have to have a bunch of specific settings on your you tube channel, and then get 'approval' from Patreon that those are in place.
Here's a link to the page. Anyone who pledges to the page gets a chance to win the painted Nocturna miniature which will be raffled off in December!!

My god! Really good
ReplyDeleteThanks so much! It was neat to be able to document these!
DeleteI'm always a sucker for beastmen. Good stuff James.
ReplyDeleteHeHe, there's probably more on the way! :-)
Delete