
You have seen some pirate theme bases before on the blog, but I thought a fresh article could still be useful!
As usual, the wood carving tools will be essential. They are also very very inexpensive! The carving tools generally come in a set of ten or twelve, with a number of different edges. A few of them are fantastic for carving sculpey... and even hard to reach mould lines on resin figures.

The other handy tools are exacto knives, pliers and this scoring tool designed for carving into plasticard.

I have baked sculpey in a variety of shapes. The sheets were pulled through a clay extruder (aka pasta machine), while the tubes were rolled on a ceramic tile. Everything was baked on the ceramic tile in a regular oven.

Let's get started! I usually break off pieces of sculpey that are similar in size to the base they will cover.

Save those extra pieces! These are always handy when you want some extra broken tiles or shattered bricks...

I marked out the planks with a pen, so that I would know where to trim the edges. Be sure to vary the width of the planks where possible.
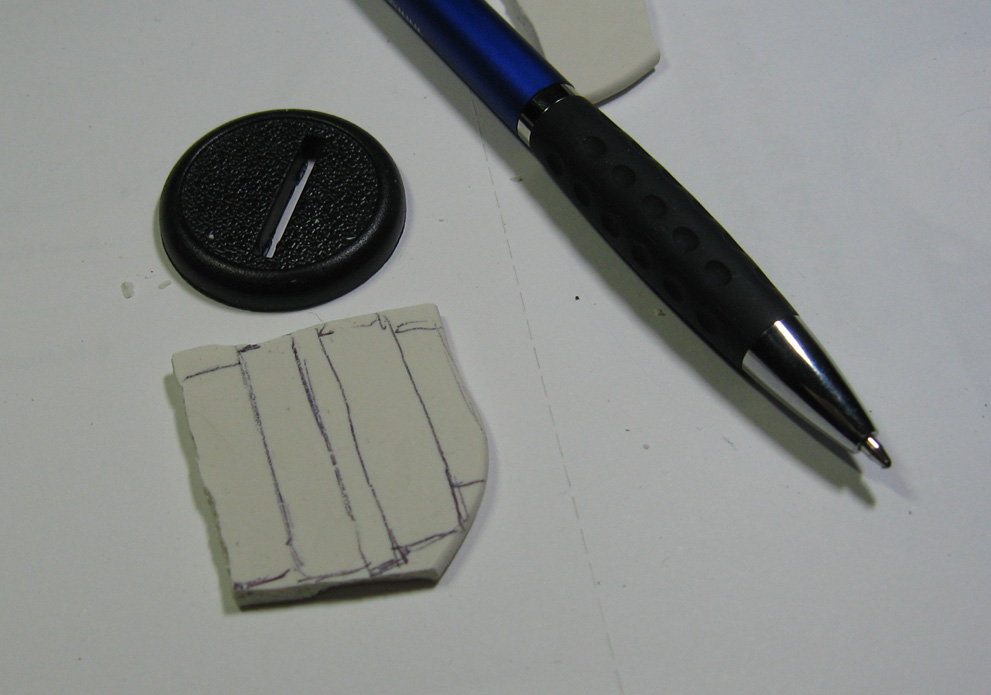
The exacto knife is used to cut away that excess...

And the 90 degree wedge carver is the perfect tool for cutting out the plank lines. These need to be somewhat deeper cuts, as the texture of the wood grain should be more shallow.

Here's what it looks like with all the planks defined. The other reason I draw out these lines is to keep from missing one or two. This happens a lot with complex tile patterns! If I still see lines, I know I forgot to carve something.

Carving the wood grain might take some practice for you. Also, you need to change the direction of that grain on each plank, because they are all different pieces of wood!
You can even put some knots in the grain, and build your pattern around that.

Looking good! I will take the wedge carver and make sure that the wood grain pattern which reaches the edges of the sculpey sheet get a bit of texture as well.
You could also carve some nail holes at the end of each plank too if you like.

This is the conclusion of part one. I enjoyed this kind of basing so much, it was one of the 12 basing videos that was part of the Painting Pyramid series!
That video covers not only wood textures, but making barrels and treasure chests.
You can find that one here:
There are many more episodes to follow! Stay tuned to watch me create masts, coins and more :-)

That is ingenious, I've not tried sculpey but might have to give it a go.
ReplyDeleteSculpey if very fun! Just be sure to use the white sculpey, and not the super sculpey or grey extra firm.
Delete