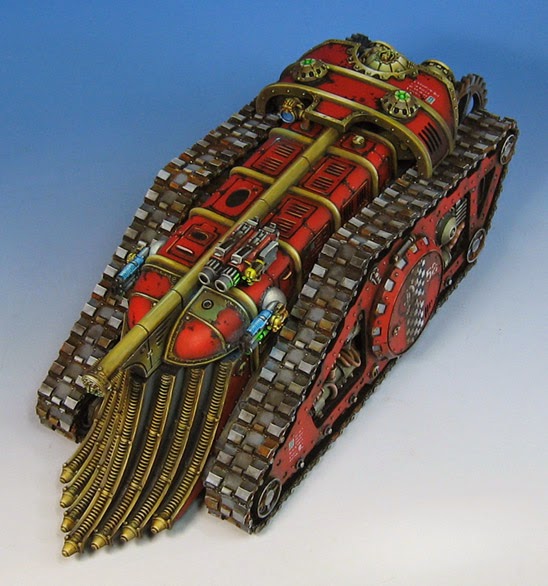
Let's see the dedicated Mechanicum transport from the top.
This reveals a few more details, especially some of those on the rear of the vehicle.
The large cowling over all those mechanisms had to be painted prior to that extended final assembly that I spoke of in the first post.
As usual with large pieces such as this, I used weathering powders as paint. Yes, it's not just for weathering any more!
This was very handy on the gold/brass surfaces. I could incorporate lots of greens, grays, and even some purple in a rapid way, wiping away any excess.
This makes for lots of nice smooth color transitions in very hard to reach places, or over rounded areas.
These vehicles were mostly nooks and crannies, even with all the individual pieces being painted separately. The powder method let me get down into those with some interesting colors, and I never had to worry about glazes pooling, or not reaching down into them.
I hope you have enjoyed these posts on this vehicle, and have gotten some ideas from them!!


The details are absolutely amazing. Stunning work!!
ReplyDeleteThanks! I can't wait for you to see the side by side shots with the Krios!
DeleteThanks for the top view of those tracks :)
ReplyDeleteThis comment has been removed by the author.
DeleteThey are a tricky design, that's for sure !
Delete