Saturday, June 1, 2019

Dark Runes


Dark Sword figures provide an excellent "canvas" for various tutorials, and this one was no exception!  There were a few things I wanted to try out, as I have been doing a lot of NMM on all the Song of Ice and Fire minis.


The home made wet palette made another appearance as well, as the fans keep drying out paints like crazy during the lessons!


Here's an example of what I was trying to replicate... some metal effects done on a Sandor Clegane figure from the Song of Ice and Fire range.


For those who are able to watch the tutorial, they will see how I take the reference images and carry over those effects onto the figure, especially all the reflections.  Once I started using armor cosplayers images as references as opposed to pictures of armor in museums, I began to get a better idea of what armor looks like in an "environment".


The other major goal of the lesson was to demonstrate how to integrate freehand designs more spontaneously, and have them match the basing.


You can see that in this image, where I used the Green Stuff World Celtic theme texture roller to create an ancient stone temple base.  During the video, I show a few simple steps to replicating those patterns on the cloak.  This is Episode 16 of Painting Dark Sword.  

In each video, I try to show a few different elements... sometimes that is a specific color, or a range of colors.  It can also involve a certain technique, or how to combine various techniques.

I even switch up the materials, as some are painted in oils.

All of these are part of the Painting Dark Sword pledge level on the Patreon Page.


The Dark Sword pledge level is $10 per month, and also provides access to other "stand alone" tutorials which are done each month. You can check that out here:  www.patreon.com/JamesWappel


Thursday, May 30, 2019

Cruel Seas: All ahead full


As I get the next few fleets ready for painting, I thought I would show some images of the Regia Marina from Cruel Seas!  This has been a lot of fun, since painting 1/300 scale ships is something I have wanted to do for a very long time.

I recently published a tutorial on the Gabbiano Class corvette of the Italian navy, and here's the link: https://youtu.be/gEnCenN6fjA


Painting the Dazzle camo and the weathering is a blast!


I just had to begin with the Italian fleet, because the Air Recognition markings are so much fun.


Here's some more of the fleet, much of which was painted at Little Wars in April.


I will be doing more tutorials on all the other fleets, as well as terrain demos and battle reports!


Each fleet has a very different look and personality to it, so I look forward to painting all of them.  The Kreigsmarine is being prepped right now...


I will also be doing some patron only videos, such as my series on the Winter Soviets.  That was part of my Army Painting pledge level, where I take on an entire unit, and show the complete process from basing to the final details of painting!  You can find that here: www.patreon.com/JamesWappel


Wednesday, May 29, 2019

Savage Blood


I have been having a great deal of fun basing my Song of Ice and Fire miniatures using a variety of Green Stuff World products... the latest of which are the "Crunch Times" texture sheets.  I have been using the skull piles and skull and bones sheets to base my Free Folk units.


It is possible to break those up, and then use them for bot the bases and the movement tray!  In effect, you are creating a moving diorama.


In my latest basing video, I demonstrate how this process works: https://youtu.be/nnAX658rMd8


I also take you through some steps to magnetize the figures to the tray, which I have been doing for all my units.  This makes them so much easier to deal with as far as transport, but even on the table when you have to constantly move a tray around some obstacles or rotate them.  I have seen "explosions" in every battle report so far where a batch of figures go flying.


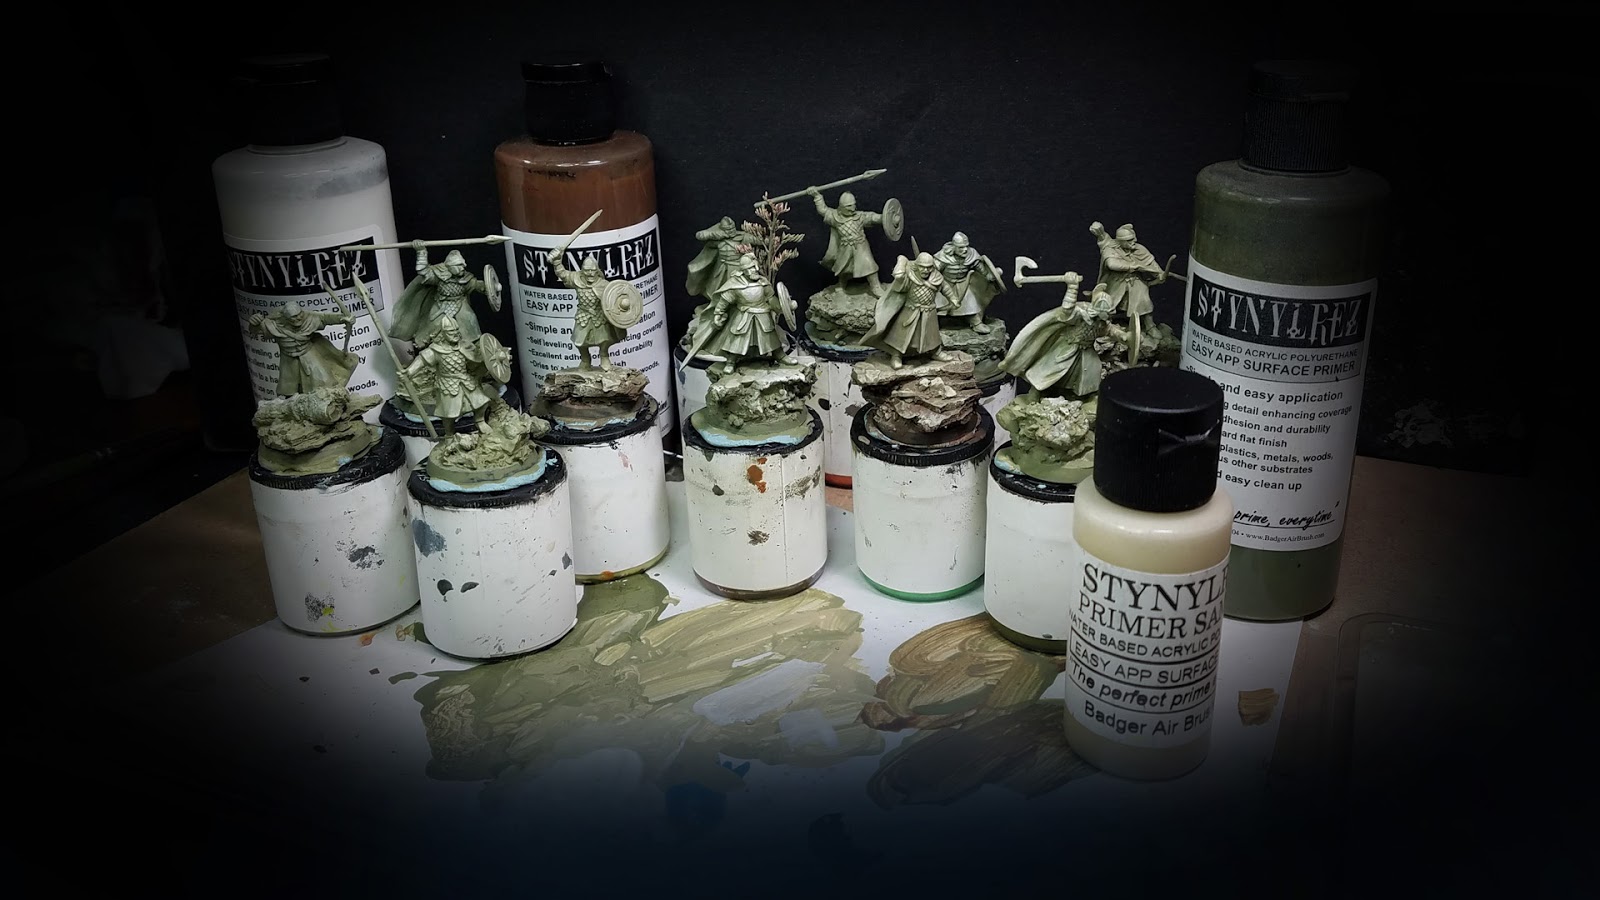
The priming process is just like this tutorial using the Badger Stynlrez primers: https://youtu.be/5pfwjapw98A


This "Pre Shading" process can make things much easier and faster when it comes time to paint the rest of the unit!


Here are a few of the "Color Test" figures.  This is an important part of the unit or army painting process, and something that is always covered in the second episode of every 5 part Army Painting series on the Patreon Page.  It is here where you can determine how long a given effect might take, and then you can multiply that by the number of figures.  

This way, you know in advance how much extra time that could add to your project, and you can either eliminate that effect, or save it for select figures such as champions.


I have a number of videos showing how I do the snow and blood effects, such as this one on Shaggy Dog: https://youtu.be/W8MCJm14IYs


I am almost finished filming Series 9 of the Army Painter Patreon sets.  As I mentioned earlier, each one is usually 5 episodes long, and takes you through each step of the process from initial basing to finishing touches!  By signing up for the Army Painting level (which is $15 per month), you also have access to all the other tutorials done for that month, and that means about 20 hours of video tutorials!!

You can sign up for the Army Painting pledge here, so you don't miss out on dozens of unit and army painting content!:  www.patreon.com/JamesWappel


Sunday, May 26, 2019

Rohan Begins!


The latest Army Painting series is well under way, with episode 3 nearly complete!  This time around we have Rohan, and that means an exercise in painting various greens.  However, every series begins with basing, and I chose to create some tree bark and cork style bases for the army.


While the materials are quite inexpensive and relatively simple, the results that you can get are second to none, and make each individual infantry figure a tiny diorama!


In each series I try to toss in something new and different.  Instead of using an airbrush to spray on my shading layers of Badger Stynlrez primer, I chose to go back to a time before we had an airbrush.  This means brushing on the primer by hand!  For years, we brushed on the Stynlrez  primer, and it always worked very well.


I used 3 different colors of primer to achieve the same sort of "pre shaded" look that I normally get with the airbrush.  It may take a little longer, but if you don't happen to have an airbrush, this is certainly a viable solution for you.


With the unit based and primed, it was time to move on to the Color Test figure episode.  It is at this time when you can assess how much time a given effect will take on a figure, which allows you to do some quick calculations on how an entire unit or army might require to complete.


I discuss this in every series, often timing myself to see how long it takes, and then multiplying that by the number of figures needed.  It can start to add up quickly, and it is best to find that out as early in the process as possible!


I don't know how many times I have heard people that I know giving up on an army project because they had ambitious goals, but no real idea oh how long that was going to take.  That lead to frustration and boredom.  After all, this is supposed to be your FUN thing, and not be an additional burden to endure each day.


With each series and "one off" tutorial, I try to show you how to break down that much longer, complex process into more attainable goals.  These let you see some progress each time, and also help you to decide what effects might be neat to do, but would ad too much overall time to get that project out of the way.


Even on this color test figure, there were a few occasions where I timed myself , such as the freehand on the shield and on the tunic.  If I decide that it too much to do on every figure, I might decide to save something special like that for champions or characters.  By making that choice before going on to the rest of the unit, I have made the goals more reasonable, and I am less likely to be upset later on when I realize that the original vision is just not possible.


The Army Painting pledge is $15 per month, and you get links to all the previous series when you sign up!  In addition, all the other tutorials on basing, Dark Sword minis, Creature Caster, Nocturna, Big Child Creatives minis will be yours to view as well.  It is important for you to see those, since I try to show more individual techniques and ideas that can be applied to army and unit painting.


As I mentioned before, the Army Painting Pledge level will provide access to all of the tutorials each month, not just the Army Painting episodes!  You can check out that pledge level on the page here:  www.patreon.com/JamesWappel


Tuesday, May 21, 2019

Dark Powers


The latest Painting Dark Sword tutorial is now up for viewing on the Patreon Page!  Since I have focused a lot of recent tutorials on painting white, I thought it would be interesting to go in the opposite direction, and discuss painting those very dark colors!


It is not very difficult to get a nice variety of tones in what is perceived as "black", especially if you utilize the Reaper Miniatures Liner paints.  These are very dark colors which also glaze very well.  They make an ideal start to getting those darker tones, and making sure there's more warmth or coolness in a given area.

That is how you can get that added interest, by making some parts more of a warm dark grey, others a cooler blue, or even a blueish green.  At one point I even use purple to create additional accents.


There are a few little twists in the video, such as the Object Source Lighting, but the home made wet palette is quite the surprise!  It was all very accidental, which I explain in the video.  I took just a few household items and put that together in a matter of minutes!


While it was not essential by any means, an earlier marathon painting session (working on 2 dozen figures at once!) showed that it could be useful.  Those figures all had different color schemes, so it was nice to have the wet palette on hand to work with all those different tones.


With each episode of Painting Dark Sword, I try to take on a few different techniques, or discuss a certain principle.  Several of the Dark Sword videos have gone into great detail on a specific color, such as yellows, reds, greens, blues, and so on.


There are other videos that show how to combine multiple techniques on one figure, and others that show how to deal with multiple light sources for an OSL effect.  I also have a few that dive into Non Metallic Metals, as well as a few videos that show how to use oil paints!  In fact, the next episode will be an oil painting tutorial.


You can see how the use of the cooler, more muted dark grays can be used to intensify the "fire" effect.  I talk about this every time I do an OSL tutorial, as it is so important.  

There is even a quick little demo on how I made that wet palette, which was essentially free!


That Dark Sword pledge is $10 per month, and will also provide access to other "one off" tutorials produced which focus on specific techniques, such as blood spatter, weathering, etc.  You can find that here on the Patreon Page: www.patreon.com/JamesWappel


Saturday, May 18, 2019

Kingsguard


This unit might be just as challenging as the Warrior's Sons, because painting alabaster effects is not something that I have done before!  This was actually my first attempt.  As you can see by the card art, the surface does not quite look like metal. 


I had been told that the armor should be painted more like porcelain, but all the pictures I could glean from the show clearly showed a metal surface!  So, I had to try am mesh all three possible surface textures together.

The shield has an opalescent feel to it, which is something that I was hoping for.


For the cloaks, I wanted to work in other colors with the white, such as these purples and greens. You can see that principle at work here in this video on painting white: https://youtu.be/dB4qtag5r9g


If you want to see how this unit was primed, I have my first video tutorial on that process up on the YouTube Channel: https://youtu.be/5pfwjapw98A


There are some other elements to this unit which wil be fun to paint, such as the 4 banners that go with them!  This should also be a very fun Oil Painting exercise!  I will be doing more tutorials on these for the Patreon Page, which you will be able to find here: www.patreon.com/JamesWappel