Monday, September 19, 2016

The Hunter


Next up in the Skink series!  Yes, there are a great many of these... because that's just how Skinks roll. :-)


Having the various Hangar 18 foliage tufts and other leafy bits was a definite advantage this time around, as they didn't exist back in the day when I first painted the Lizardmen.


I had to make do with static grass, and plastic aquarium plants.  You have already seen some of the plastic plants, which also got a bit of an update on an earlier post.  Discovering that simple glazes could make those instantly lose that shiny plastic appearance.

I could not resist 'updating' as many of my little guys as possible by adding more of these new foliage tufts and doing those glazes.  My Vallejo glazes worked very well for this, but I am also going to test the AMMO enamel products, which could yield some different effects.

While the acrylic Vallejo products had no trouble sticking to the plastic (my biggest concern), I am guessing that oil based paints will stick even better. Stay tuned!


Sunday, September 18, 2016

A strong platform


Next up for the Gates of Antares Isorian army is the Nhamak Light Support Drone platform.  As I have mentioned in the previous Antares posts, this return to sci-fi has also meant a return to some brighter, more saturated color schemes.


This particular return to sci-fi also involves a more 'natural' or organic set of shapes, so there's even more color selection freedom!  This carapice was a great opportunity to try out some different color combos.


As I work through this force, I'm even more glad that I went with the deck plating style of basing.  The neutral gray tones are a perfect method to offset these brighter more saturated colors.  The occasional accents of safety stripes and other markings brings a bit of that warm color down onto the base too.


This view from above gives you a sense of that color contrast.


And now for a few shots of just the platform.  The next set will likely be the command staff, so stay tuned!!


Saturday, September 17, 2016

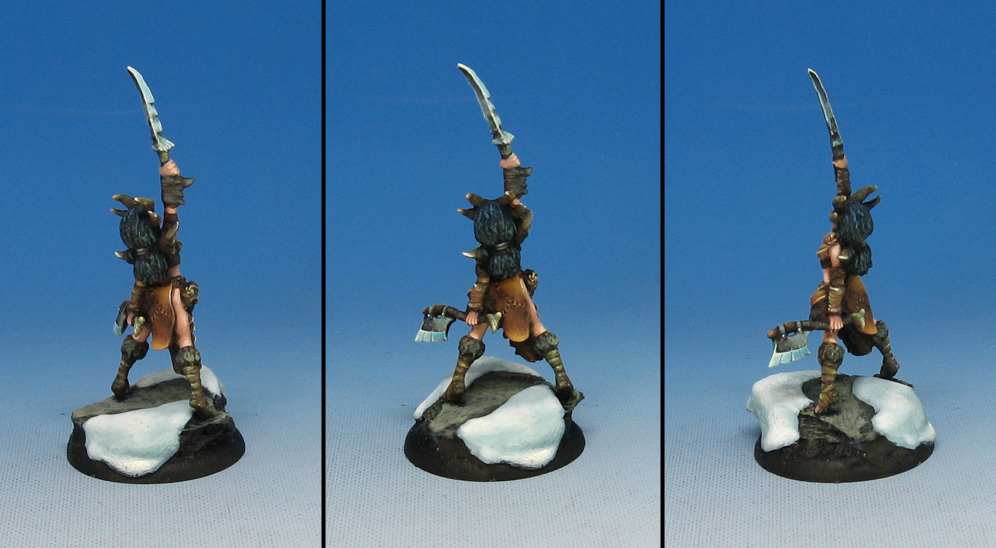
Frost Blade


I don't paint a whole lot of Privateer Press figures, but it is fun to do that when I get the chance.


As you might imagine, this is also part of the massive snow theme project, which combines figures from a number of different companies.  While painting an army in a continuous color scheme is certainly an interesting challenge, keeping a range of colors and theme over radically different styles of figures is quite unique!


I think there have been at least 4-5 different manufacturers in this adventure.  All you can do is try to find the "common ground" in all the figures, be that cloaks, hair, weapons, etc.  Having a distinct basing style with everything is the easiest method, and snow sorta works with everything.

While something this massive is not for everyone, challenging yourself to make a group of five or six unrelated figures work with each other could open up some new ideas and concepts for you!


Friday, September 16, 2016

Darkest Eldar


This "combo kit" Kabal warrior emphasizes the newer kits over the old sets.  Most of the previous figures have prioritized the use of the original, older sprues.


I certainly didn't expect the two kits to come remotely close  to working together, given how far apart in time they were created, and the differences in design.  The technology involved in making the two kits was certainly very different!


The newer versions had the more dynamic poses, and more clearly defined armor sections, as this guy does.  The weapons were much the same, but the massive variety I ended up with was well worth the effort.  Dozens of these Kabal were done this way, and each one was unique.


One last close up look... but stay tuned for many more!!


Thursday, September 15, 2016

Pitch perfect


We return to one of my favorite lines of Blood Bowl minis with the original Sukubus team.  While three wonderful new teams have been created since these ladies (Norse, Dark Elf, etc.),  these Demonettes still rule the pitch!


The sculpts have plenty of detail and dynamism in the poses, and each one is unique as well!  Better yet, nearly all of them are in just one piece, such as this figure.  I have no idea how that was possible, especially with the minimal amount of mould lines.


I hope you enjoy seeing these various teams come together, player by player.  The rest of the team can be found in the Sukubus Studios section of the blog, along with previews and reviews of their other races and teams.

Be sure to check out the Sukubus Studio webpage and on facebook to see their latest news, and what's being planned for the future.


Wednesday, September 14, 2016

Crossing the Rubicon


It's time to take a look at the first of some amazing 1/56 scale kits by Rubicon miniatures.  I suppose that the old "you can't judge a book by it's cover" saying does not apply here, because the incredible packaging is an indicator of the marvels contained within!

As most of you already know, my obsession with trucks as transports and tows, so having another Opel Blitz around suits me just fine. 

The concept behind the Rubicon kits is a combination of gaming and display level figures.  This means that they are supposed to have the look and feel of high level traditional model kits (which can be used for competition dioramas, etc.) but have an ease of construction and durability which you see in more gaming oriented kits.

Working with these sets has shown me they accomplished this goal with great accuracy!


The instructions are a great balance of detail and options, just like the kit.  There are many tidbits of advice and hints on which parts should be assembled first, depending on what your goal is.  A very complete decal sheet is also included.


Amazingly enough, it took only two sprues to provide all these options.  They are not jammed in together so tightly that you have to risk breaking pieces just to remove them.  All too often, I have to cut up the main sprues to be able to get at the parts that I need.  Certainly not an issue here!


Things might look complex off the bat, but the instructions are very easy to follow, and every piece fits together perfectly.


Check out the level of detail on this undercarriage.  I can't wait to get at this with my weathering products!  I think you can also see some of the thought bubbles on the instructions offering the tidbits of advice.


The tires are very well done too. so the crisply rendered treads will be prefect for some nice light colored dust or dried mud!


The bed can be put together in as number of ways, and the cab is a fantastic design which makes paining the driver and crew a snap!


More options!  The truck bed can be completely enclosed, partially opened, or minus the cover completely.


There are stowage sets for both Allied and Axis kits, which I absolutely have to get my hands on!  I'd love to have the bed of a truck filled up with some supplies as an objective or something along those lines.


The shell of the cab pops right off for easy access to the crew.  I'll be painting those first so you can see them.  There are some templates for making windshields and windows, which I will take advantage of!  This way I can splatter some mud on them and possibly some rain effects!


These assembled shots give you a sense of how nice this will be to paint!  The cab is not even glued in place yet!


I have not quite decided which period/theater this will be from.  Since the top comes off so easily, and stays on without needing glue, I may just use it for my Afrika force.  We shall see.


This is only the first of several incredible Rubicon kits, so be sure to stay tuned!!


Tuesday, September 13, 2016

Keeping the line moving


The Samurai surge keeps building with another lineman.  Just like the first one, he is without the head crest, which I have saved for the Blitzers and Black Orcs.


When I first attempted sculpting this team, the armor pieces were done in sections, one by one.  Needless to say, that took a long time, because each arm has between 3-5 sections!  This time around, I was able to do them all in one sheet.  

The sculpting tools were the same, but experience had shown me some tricks to get a similar enough result with the one shot approach.


Still, I only did one arm at a time, or just the leg sections at once.  This was to avoid the risk of sticking my finger into freshly sculpted green stuff.  And yes, this will happen.  Fresh green stuff sitting around has a 100% chance of getting smushed, no matter how careful you are.

By working on many figures at once, you can rotate through all the pieces you are working on, and still make a lot of progress in each section.  In this case, I was adjusting nearly 20 figures at the same time.