Saturday, September 13, 2014

Flying High!


So, now you get to see what the first experimental base was for!

This is actually a Lord of the Rings eagle, from the Hobbit series.


It was mostly painted a while back, and I thought it wold go well with the current set of experiments.


Obviously, the trick would be in positioning this bird.  The center of gravity issue would be critical!


I hemmed and hawed over how I would attach him.  The original intention was to have a tree branch come right next to the body, and it would create a natural attachment point.


I didn't want to do that this time around, so I chose a paper clip.


By the way it is positioned, there are very few views where you really see it.  The idea is still about speed, and messing around to much with the attachment point would be counter to that cause.


I also wanted an interesting ad dramatic angle.  This is very close to the vision that I had when I began.


He is actually very solid, and the center of gravity is perfect!  I was very relieved.


All of the colors are very subtle.  You can see now why I was using so many grayish greens on the base!  I used far warmer colors on the eagle itself.


I concentrated on more intense yellows and reddish browns.  I also make the yellow on the feet as intense as I could, contrasted with a bit of deep purple in the talons.


Finally, I used  a bit of realistic water effects on the talons and beak.  I have found this to be a nice way to show a texture difference with the feathers.


This all came together very nicely.  I was very happy with the final result.  There are many more flying things like this on the way!


In these next few views, you get a better look at some of those warmer colors.


This view shows them contrasting with the grays of the base...


As does this third view from above.


Even this ground level view reveals the green vs red contrast.  I hope you like this one as much as I do!


Friday, September 12, 2014

The Pillar of Light!!


Here we have the Pillar Of Light, the Heavy Support option for the new Holy Orders faction.

This is a large resin kit, and it's very solid.  You will never have to worry about anything breaking on this!


As you can see from the last set, I have used some water effects to make a few of the power conduits more like glass.  I thought this could be a very fun way to differentiate some textures.


I will eventually shoot some images with regular infantry sized figures next to it so you get a sense of how massive it is.


There is a very distinct look to the Wild West Exodus vehicles.  Most games have tanks which look like variations on WW1 or WW2 vehicles.  This certainly breaks that mould!


I am also looking forward to seeing what this bad boy does in a game, since I will be making a Holy Orders army!


My own personal Pillar of Light will probably red and gold, as an homage to my beloved Demonhunters of old.  Rich is already sneaking purple onto his Outlaws, so it only seems right!


The more I look at this, the more I enjoy it... and the more I want to see it on the table with a Holy Host next to it!


It looks imposing from just about any angle.


The combination of curved and angular surfaces was a tremendous challenge, but it also offered more fun opportunities for NMM effects.  The top gun portion in particular required a lot of careful planning!


Toss in tons of glowing conduits and runes, and you have yourself a beast!


I was glad that the Holy Orders glowing stuff is blue, not red.  It is a fantastic foil to all of the gold.


I hope you enjoy this guy!


The rule of law...


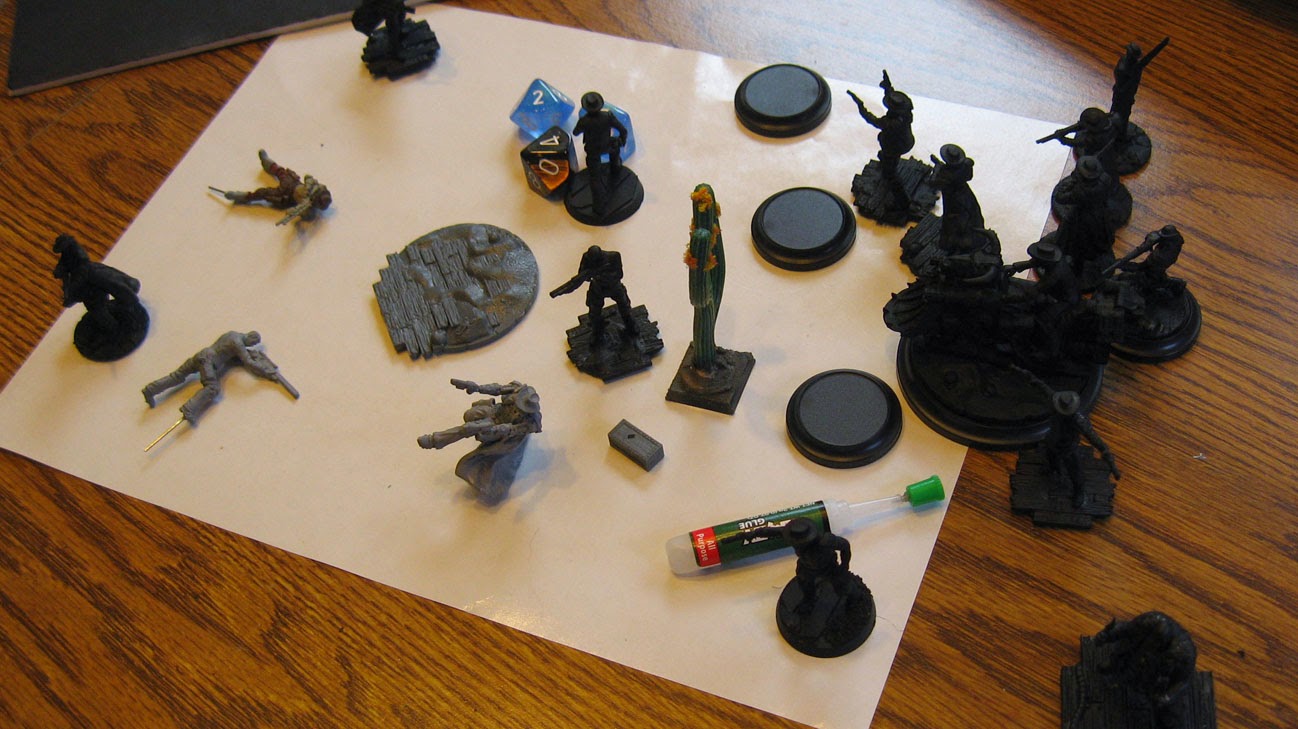
For Rich and I to finally be able to get started with the Wild West Exodus adventure, we had to have something to work with!  So, that meant I had to create some more bases for the rest of the Lawmen!


This was a Liam Neison classic "Quickly, there's no time!" moment, so I just slapped some paint on the bases...


Here's the rest of the faction, including the Boss, Underboss, and Light Support.


Rich also needed to complete the basing on his Outlaws.  He already had some of the special base inserts which WWX makes.


Lawmen ready for some Paint 'n Play.


Rich's Outlaws, with some of the base inserts.  He also sculpted some bases out of sculpey!


Getting some paint on the Lawmen.


Then it was time to try some basic combats to get an idea of how the system worked,  We found that it was complexity embedded in simplicity, which was nice!  The variety all comes in with the abilities of the actual guys, beyond just simple stat lines.

The factions actually do different things, which certain other systems we had played over the years had lost.  Also, nothing is certain.  Yes, there are some nasty things, but even the lowliest of the low can still surprise you!  Beware. :-)

Rich seems to be taking aim at one of my Lawmen.


Some very basic shaded basecoat colors on the Lawmen, with a few glazes in there as well.


Wyatt Earp and Doc Holiday are looking forward to cleaning up Deadwood. :-)


Thursday, September 11, 2014

Rolling along...


I know that I have inundated you with lots of basing posts lately.  Here are some pictures I have had in my pocket for a little while of the Pillar of Light Heavy Support vehicle for the Holy Orders faction.

You can see them on the Wild West Exodus website here:


Looking at the concept art in a more controlled environment, I noticed that I had to adjust some colors I had done.  This is not uncommon.  Very often, adjustments have to be made... which is why I use the shaded basecoat technique and the glazing.

In this case, and area I had painted chrome had to be gold.


I spent a few days working on the gold overall, trying to get more green into certain areas.


I also tried to mix in more of the fluorescent yellow with my greens, to create extra pop.

Dark purple was used in the shadow areas to accentuate those brighter greens.  


On another long day's work session, I did the blue glow.  There was a TON of it, coming from all directions according to the concept art.

The runes took a loooooong time to work through, and around!


I did make a battlefield decision on the glowing gun, however.  I think the concept art showed it as a shiny barrel, but I went with crackling energy.


You can see the cleanup on the blue areas.  Much easier to see back in the studio with my magnifier light!


Once all the stuff on the top side was complete, I had to get into the wheels, which presented a whole different set of challenges.


Getting there!  Stay tuned :-)