Friday, September 12, 2014

The rule of law...


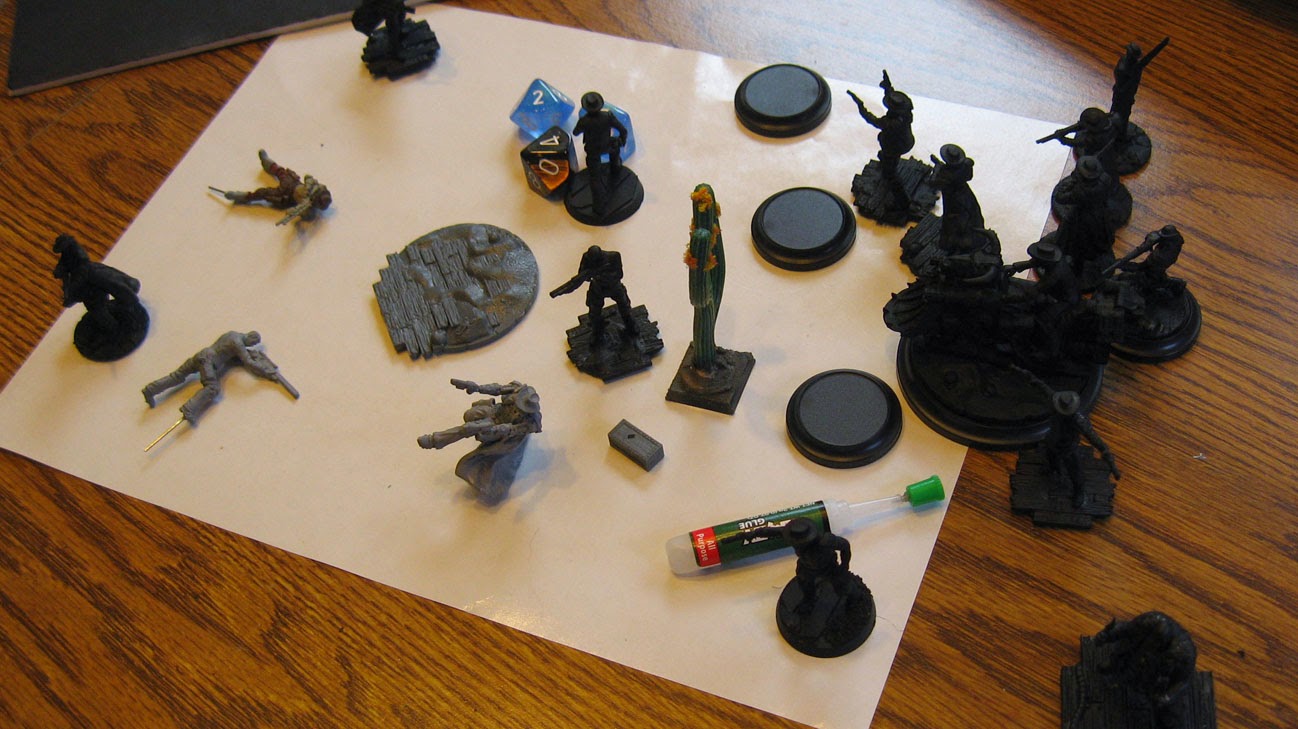
For Rich and I to finally be able to get started with the Wild West Exodus adventure, we had to have something to work with!  So, that meant I had to create some more bases for the rest of the Lawmen!


This was a Liam Neison classic "Quickly, there's no time!" moment, so I just slapped some paint on the bases...


Here's the rest of the faction, including the Boss, Underboss, and Light Support.


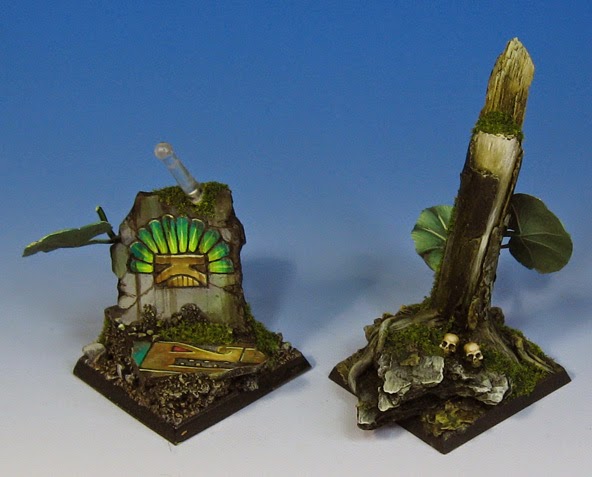
Rich also needed to complete the basing on his Outlaws.  He already had some of the special base inserts which WWX makes.


Lawmen ready for some Paint 'n Play.


Rich's Outlaws, with some of the base inserts.  He also sculpted some bases out of sculpey!


Getting some paint on the Lawmen.


Then it was time to try some basic combats to get an idea of how the system worked,  We found that it was complexity embedded in simplicity, which was nice!  The variety all comes in with the abilities of the actual guys, beyond just simple stat lines.

The factions actually do different things, which certain other systems we had played over the years had lost.  Also, nothing is certain.  Yes, there are some nasty things, but even the lowliest of the low can still surprise you!  Beware. :-)

Rich seems to be taking aim at one of my Lawmen.


Some very basic shaded basecoat colors on the Lawmen, with a few glazes in there as well.


Wyatt Earp and Doc Holiday are looking forward to cleaning up Deadwood. :-)


Thursday, September 11, 2014

Rolling along...


I know that I have inundated you with lots of basing posts lately.  Here are some pictures I have had in my pocket for a little while of the Pillar of Light Heavy Support vehicle for the Holy Orders faction.

You can see them on the Wild West Exodus website here:


Looking at the concept art in a more controlled environment, I noticed that I had to adjust some colors I had done.  This is not uncommon.  Very often, adjustments have to be made... which is why I use the shaded basecoat technique and the glazing.

In this case, and area I had painted chrome had to be gold.


I spent a few days working on the gold overall, trying to get more green into certain areas.


I also tried to mix in more of the fluorescent yellow with my greens, to create extra pop.

Dark purple was used in the shadow areas to accentuate those brighter greens.  


On another long day's work session, I did the blue glow.  There was a TON of it, coming from all directions according to the concept art.

The runes took a loooooong time to work through, and around!


I did make a battlefield decision on the glowing gun, however.  I think the concept art showed it as a shiny barrel, but I went with crackling energy.


You can see the cleanup on the blue areas.  Much easier to see back in the studio with my magnifier light!


Once all the stuff on the top side was complete, I had to get into the wheels, which presented a whole different set of challenges.


Getting there!  Stay tuned :-)


Wednesday, September 10, 2014

Visiting the jungle again...


The second of the Terradon bases.  This time, we have an all wooden version!


Next to the first sculpey base.


I was very pleased with the painting of the foliage!!


Now I am very eager to see them with their flying critters in place.


Positioning them so they can rank up will be another challenged altogether. :-)


I also have some more of these on the way, since there are six flying lizards to base!!


More patterns!


Time for a few more camo patterns!  This crackle pattern has interested me for a while, so it was fun to give it a try.  I will probably do this on one more set.


This one is almost a more 'modern' camo pattern.  I think it's another late war scheme.


Here's the two newest colors next to the early war gray.


This image shows the last 4 sets.


Now for all five, including the desert scheme.  I am glad that I have been trying out a nice variety of patterns, instead of doing just the typical gray.


There will still be at least 2 more units of gray, however!


Tuesday, September 9, 2014

What's the Secret?


Let's get to the painting!  Nothing very fancy here, since I am looking for more of the blasted, dead look.  That means lots of muted grayish greens.


You can see those lighter greens being established here in the Shaded Basecoat phase.  Remember, lighter colors first, shade and tint later!!


Figuring out just where I want the lights and darks to go.  I am trying for a bit of a 'spotlight' effect right at the base of the main branch (i.e. tree!).


You see that spotlight starting to emerge here.  Since this is some of the best, most realistic rock texture of the bark, I want to emphasize that.


The exposed wood areas like these are a little trickier.  They need to be lighter than the surrounding bark, but not too much.  Otherwise, it will lose the sense of scale... making it look like a branch, not a tree!


The Shaded Basecoat phase ends.  Time to shade!!!


A pile of Secret Weapon washes at the ready.


Mixing the washes together, I tried to get variations in my shading colors... some warmer, others cooler.


This shot shows you how many different shades are out there on the palette.


Starting to look different, yes?  Always work in layers here.  You don't have to slop on huge blobs of wash.  Approach it lightly, adding extra layers if you want to make it darker.


Once that initial shading phase is complete, the fun begins.  I start mixing regular opaque paint colors into the remaining wash colors to make those semi translucent 'middle tone' colors that I love so much!


I am reclaiming some of the sharpest details in that spotlight area which I want to be the center of interest.  This creates the hard edges by way of sharp contrast, thus drawing the eye to that place.


Managing the colors on the branches as well.  I never used to paint the dried foliage bases before, but now that I have made a practice of doing so, I find that they look so much better, and match the rest of the piece so much more.


Some final highlights in the spotlight zone.  I will use some dark brown static grass on this as a final touch.  Oh yeah, and a miniature as well.  Stay tuned!!!!


What's old can be new!


In this scene, we see an old base that was originally done many years ago be altered  with a few new tests... mainly to see if some of my favorite Aquarium foliage could be painted. :-)

First, I added a slab of sculpey so that I could carve in a design, which would hold the vine and leaves.


The slab was painted first, with a design very common to the other Lizardman bases I have done.


And then for the leaves!  I mixed in some primer with my first layer of paint to make sure it would stick.  That seemed to work very well.


And a peek at what the purpose of the base was for!