Wednesday, October 3, 2012

So you wanna be a mini painter...


Many people ask us what it is like to be a miniature painter, as they consider doing so themselves.  We try not to discourage or dissuade them, but we also don't want to delude them into thinking that it will be a magical world where everything is fun and easy :-)  I tell them that they will be constantly working 7 days a week, with perpetual deadlines and such.  To me, just another day at the office!  It also means another day of experimentation and learning new stuff!


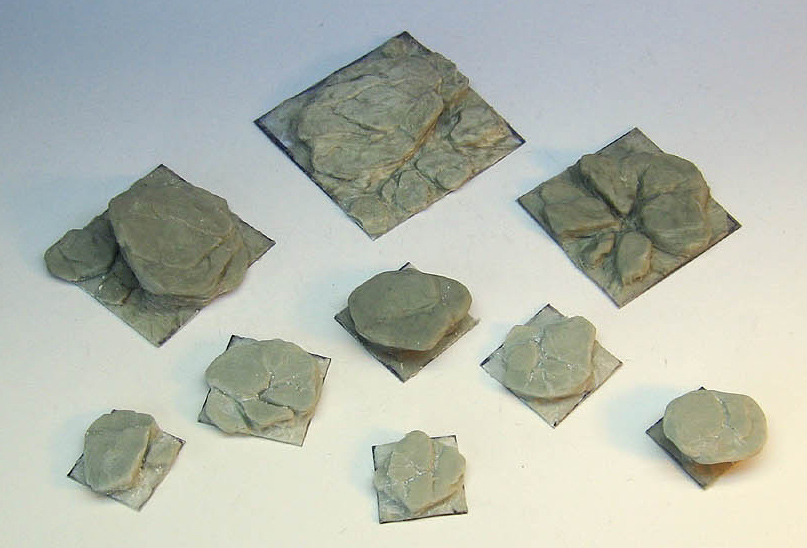
As an example, I have 3 other "staging areas" like this one set up right now.  This represents about 5% of all the things I am working on at this time.  You don't see the 2 LOTR armies, 3 40k armies, and 3 WFB armies that are all under way.  Not to mention one last Storm eagle, all manner of monsters and other creatures that are too big to show here. :-)


What I really looking forward to is my first foray into using pastels on my miniatures.  Think weathering powders, but in color!  In fact, some of these figures will be part of the original beta test.  My 2 LOTR armies will be the biggest laboratory to start the process.  That should give me enough data to move on to the Dark Eldar army, which is the real target for this yet to be developed technique.

People also ask me why I don't get burned out after such a punishing pace for well over a decade.  It is this kind of development that keeps things as new as when Cathy and I first painted those Lizardman figures on the kitchen table that summer of 2001!


Tuesday, October 2, 2012

Setting the mood with your basing...


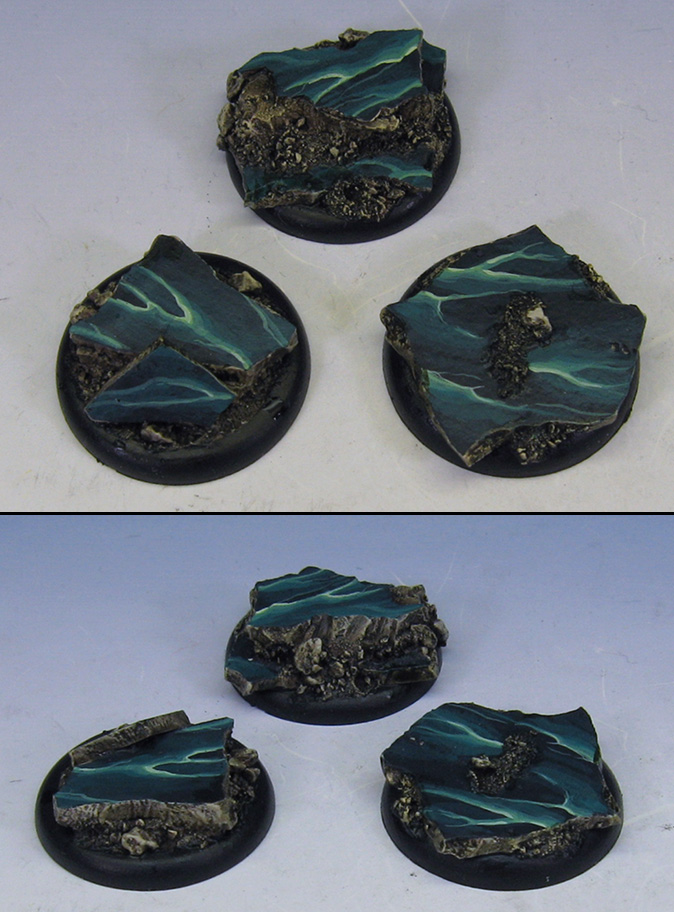
I have a few more examples of bases for you tonight.  These marble bases are done in the usual method of baked sculpey broken and carved into shape.


These bases are not all that different in shape and texture, but the colors can really give you a different feel, don't they?  Of course I always have fun painting marble, and do that any chance that I get! :-)  I guess that is what I like so much about this type of basing.  It allows me to turn each miniature into its own little diorama.


'Building' a better base...


 Today's base designs were created with two very different materials.  The first set, ruined buildings, was made with baked sculpey.  I took pieces of sculpey that were roughly 1/8th inches thick.  I carved the brick texture and the cracks to get the texture.  The free standing walls were made separately, so that I had the option of placing them where needed, or not at all if there was not enough space.  Some paper clips were used for rebar...

These images give you an idea of how they looked before they were cast..

Some painted views:


This set was sculpted using a 2 part clay called Apoxy sculpt..


So, we have some interesting bases with a very different look, using materials that are ideal for each situation.


The snakes from above...

Photobucket

Here we have some top views of the snake unit.  The two columns are magnetized, so that they can be removed and placed on the display board.
Photobucket


Photobucket

Photobucket

Monday, October 1, 2012

What do you aspire to?

Photobucket

I can't quite remember when I did this aspiring champion... probably a few years ago.  I had lots of fun with the design on the base.  It was on some of these Chaos pieces that I first experimented with mixing rotting flesh with scab red to make some highlights for a burgundy color.

Photobucket

Photobucket

Photobucket

In the Junk yard...

Photobucket

Well, these Junkers are not too shabby :-)  They are from the Forsaken faction in the Dark Age Games system.  I am pretty sure these were sculpted by Kev White.

Photobucket


Photobucket

Photobucket

Photobucket

And some Firestorms, some of which were sculpted by Werner Klocke... could make some interesting Sisters of Battle.

Photobucket

Photobucket

Photobucket

Sunday, September 30, 2012

The gang's all here... finally!

Photobucket

OK!  I processed the images of the unit.  I have been wanting to see this sight for a long long time!  It made me really happy to see them together.  For those who are not so familiar with these, there are lots of WIP images of the sculpting and the rest of the process in earlier posts.

Photobucket

Photobucket

Photobucket

Photobucket

Photobucket

Photobucket

Photobucket

Photobucket