Monday, September 10, 2012

Forgeworld Blood Angels Rapier

Photobucket

Here's the latest, hot off the presses!  It was certainly interesting to do this in colors that were not Imperial Fists!  I really enjoy painting the same things in different color schemes.  The challenge is fun, and it is a blast to compare two of them next to each other.  I will post some of those soon.

Photobucket

The bases are Dragonforge, by the way.  Very high quality bases... probably the best casting quality you will find.

Photobucket

Photobucket

Photobucket

Photobucket

Photobucket

Photobucket

Here are some top views that will get you a better look at the bases...

Photobucket

Photobucket

Photobucket

I looks like we found out why Cathy has no more ice cream sandwiches!  Ice Bat must have been very hungry...
Photobucket

The finished Great Osprey

Photobucket

Today we have the final images from the Great Osprey.  These feature the final shading and freehand on the rider, as well as the lighter markings and highlights on the osprey.

Photobucket

Here you can really see the freehand and the lighter markings:

Photobucket

Photobucket

Photobucket

Photobucket

Photobucket

Photobucket

Photobucket

Photobucket

Photobucket

Photobucket

Photobucket

Photobucket

Photobucket


Traditional Death Cult Assassins

Photobucket

I had forgotten all about these ladies that I painted a few years ago.  I had fun converting my latest DCA's for Adepticon this year, but these classic minis were neat.  They pack some punch for something so tiny!

Photobucket

Photobucket

Photobucket

Photobucket

Photobucket

Photobucket

Sunday, September 9, 2012

Painting the rest of the Great Osprey

Photobucket

Here is the last set of images I shot of the painting process for the Osprey.  Once all the lightest colors had been established, I began doing some glazes and washes in a very controlled fashion to get all the wing textures.

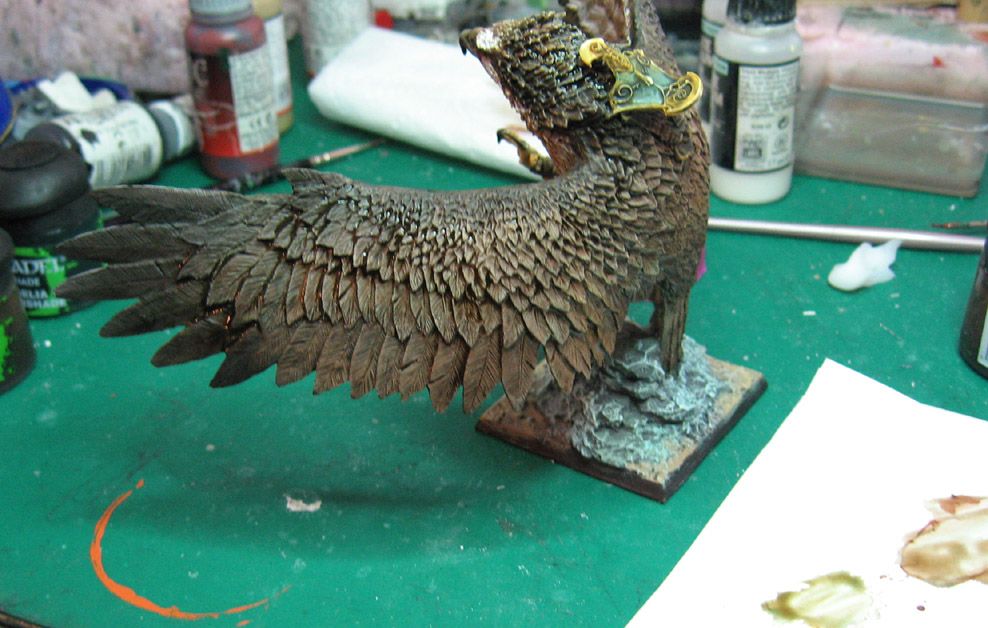
This image shows some washes on the back of the wings:
Photobucket

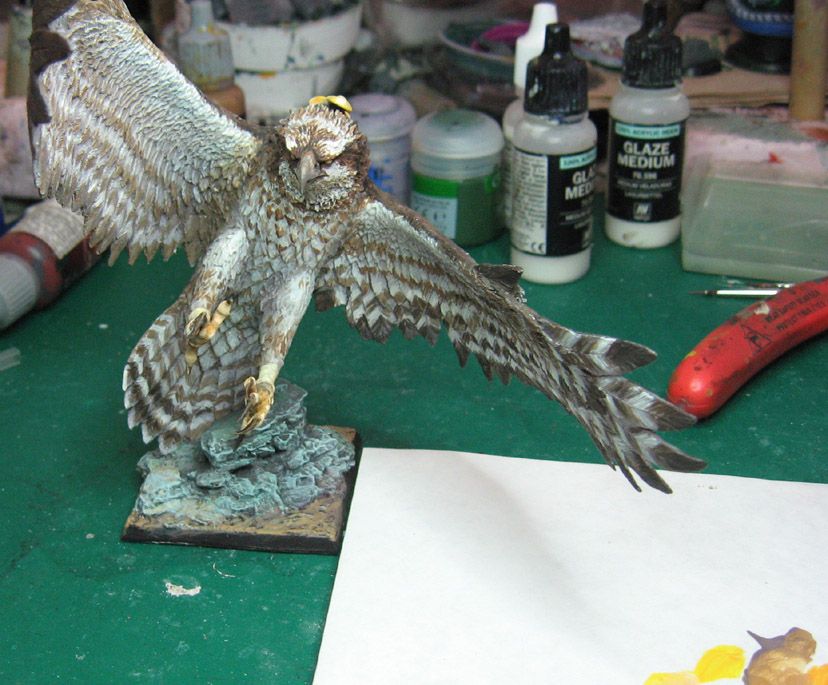
You can see that all the the dark markings have been done on the interiors of the wings:
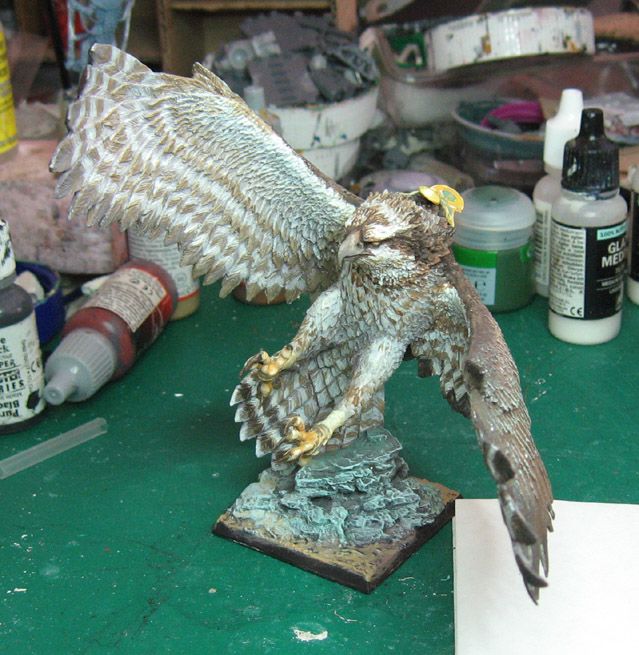
Photobucket

This view lets you see the palette, and some of the various wash and glaze colors.  I like to mix mine, creating just the right shade that I need.
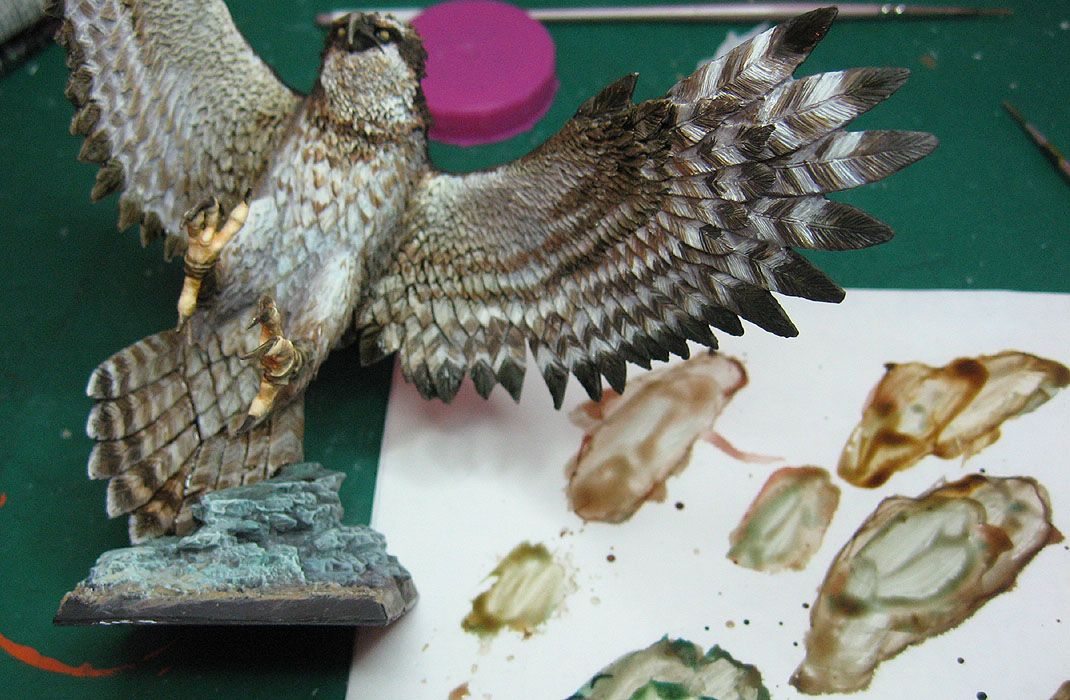
Photobucket

I also did a lot of different glazes on the face.  After those were done, I could start doing things like the eyes, etc.
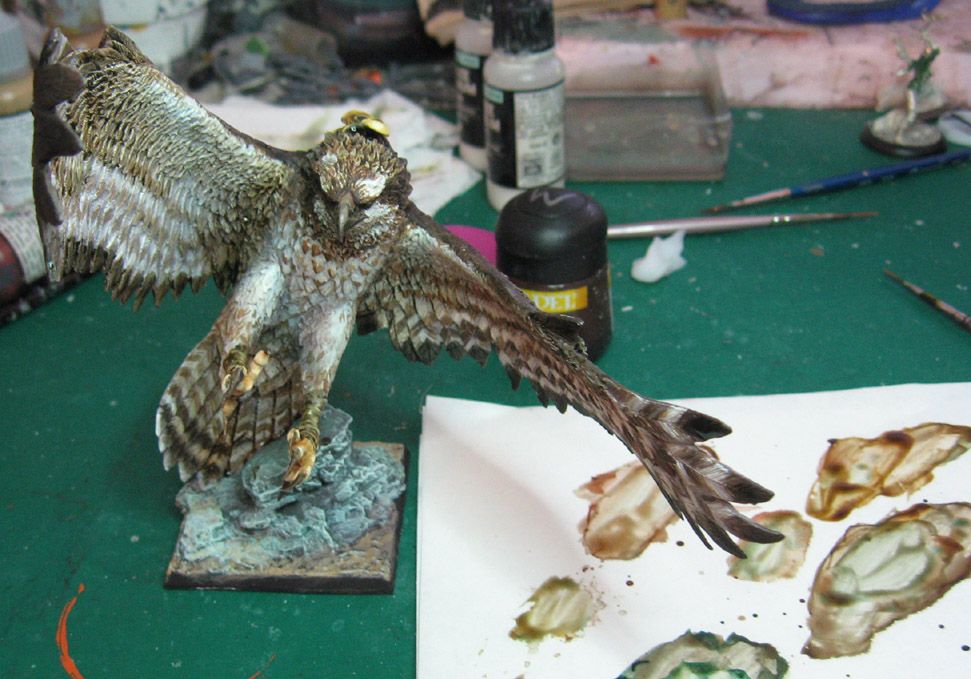
Photobucket

Here are a few views of the rider:
Photobucket

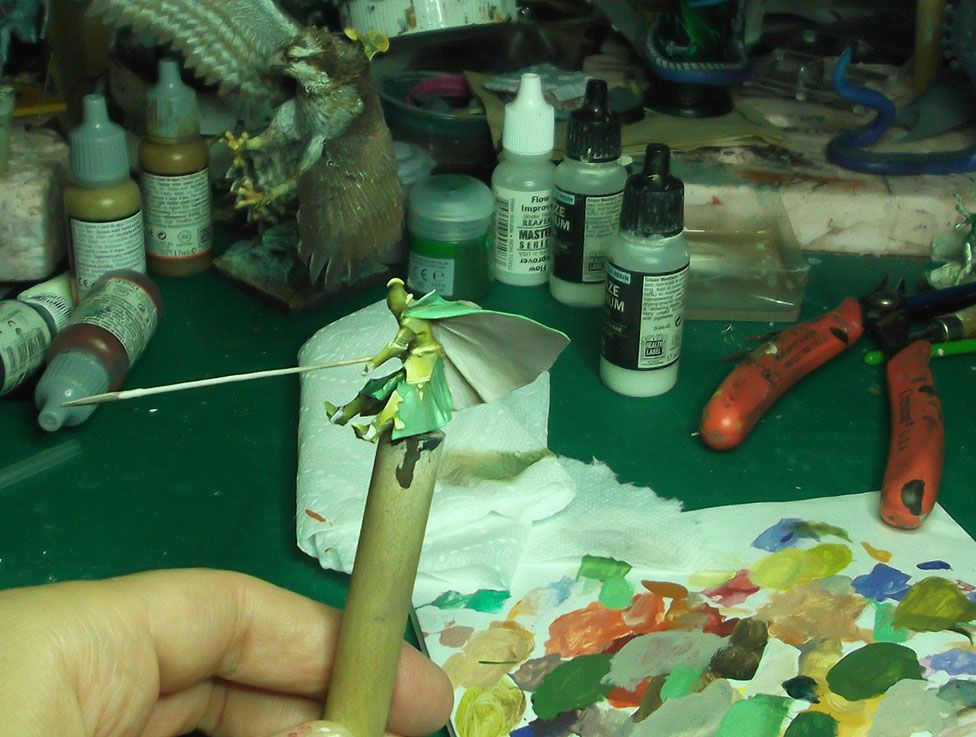
This was done the usual way for me.  Working rapidly with a bigger brush, using glaze medium so that I could do some wet into wet blending.
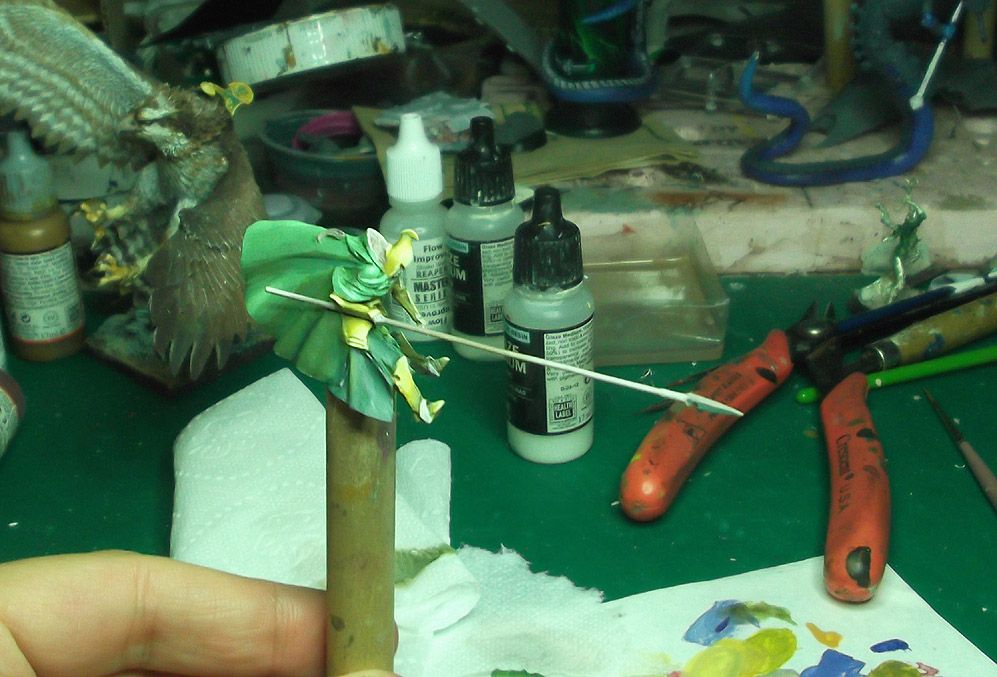
Photobucket

Once the middle and light tones are set, I started to shade the dark areas.  I wanted to be sure that my shade colors were a much cooler green, so I mixed mostly blue into them.
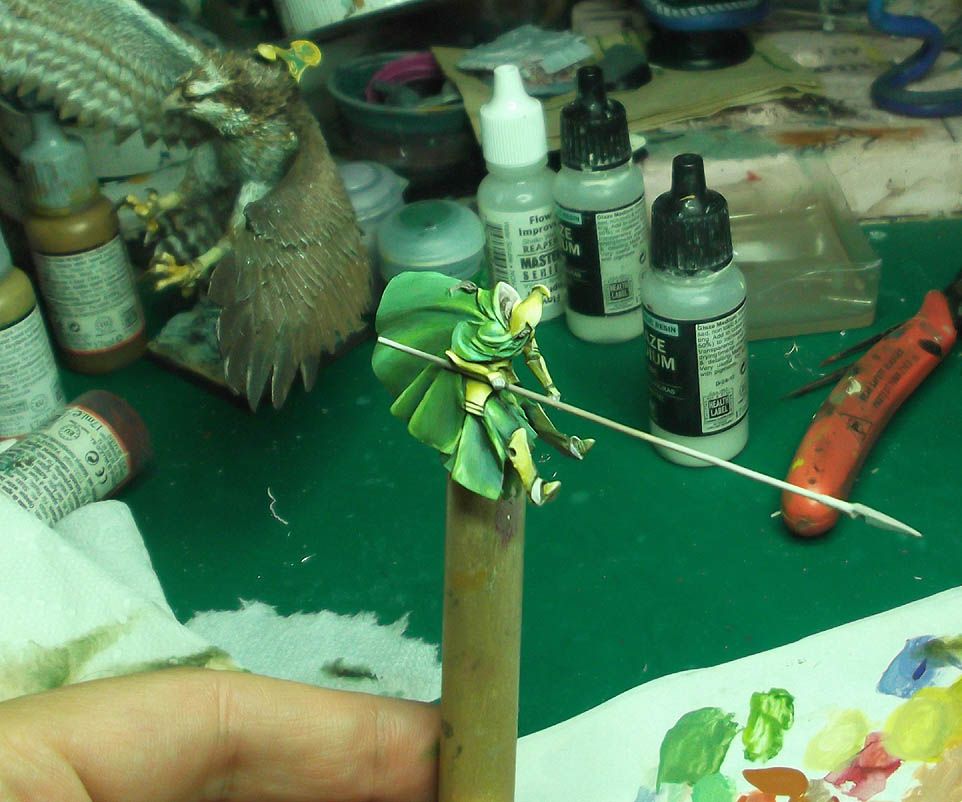
Photobucket

For the golds  I tried to make the highlights cooler, and the shadows warmer in order to reflect the browns of the feathers on the bird.  I made sure that the highest contrast areas would be on the angled surfaces of the armor.
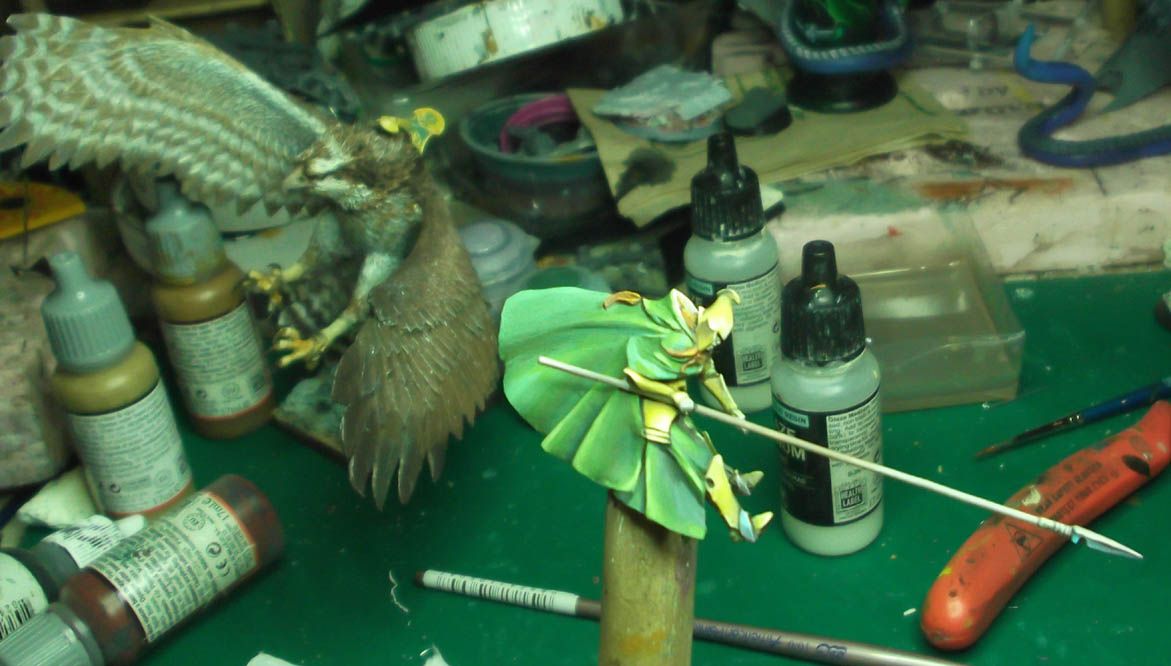
Photobucket

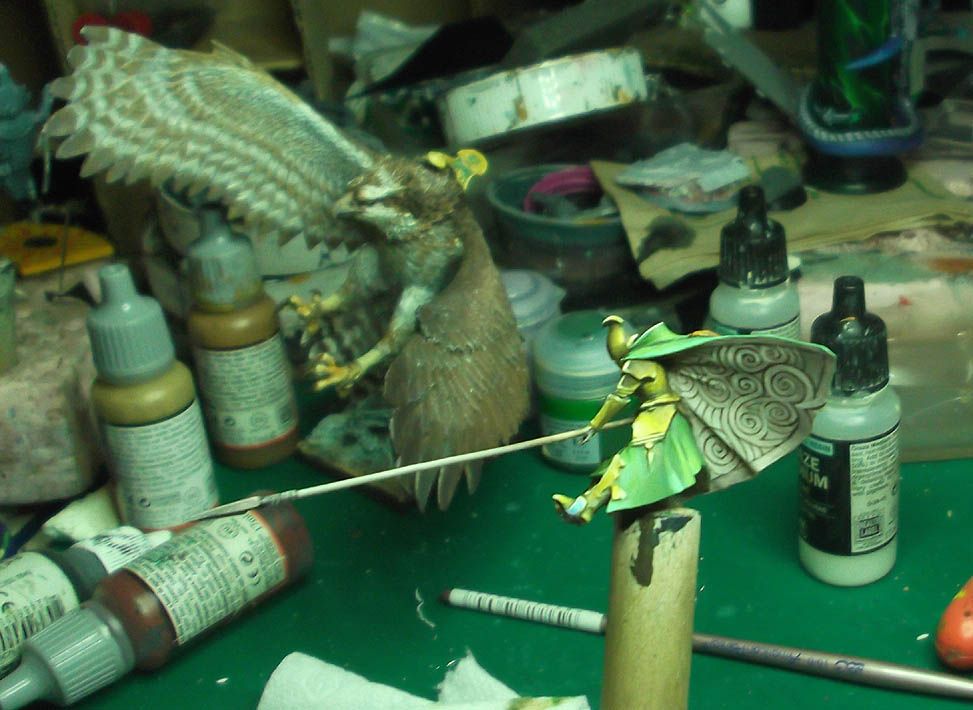
I did a similar thing to the blade of the spear, and made sure I had my lightest colors done so that I could make some freehad designs on the iside of the cloak.
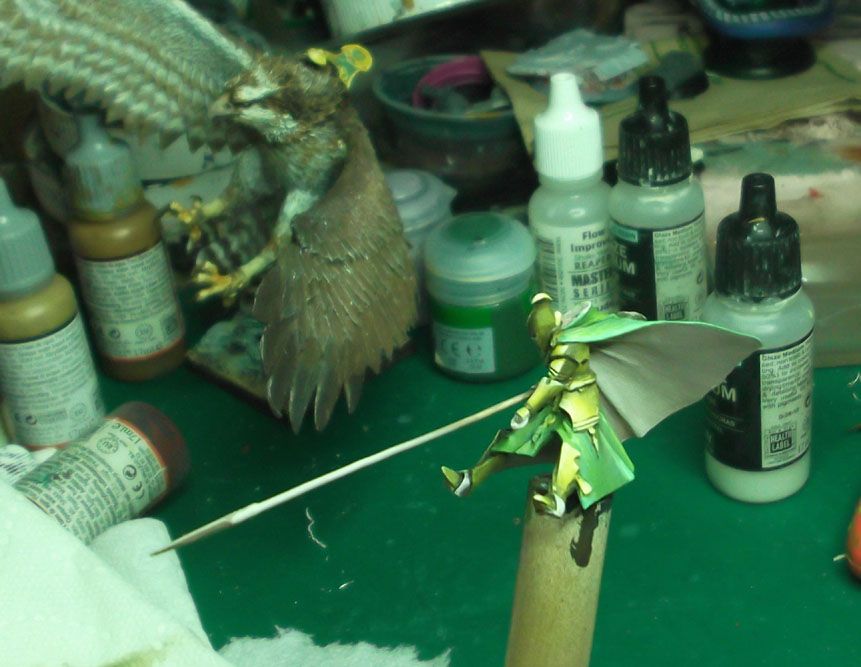
Photobucket

Here is a view of the design...
Photobucket

So, all that's left is to show you the pictures of the finished piece!  There was some additional freehand on the outside of the cloak, and the light markings added to the back of the wings.

Bedtime Story

Photobucket

Here's a mini-diorama I did a few years ago for Newbold World.  It was a charity auction piece.  I sculpted the floor, bed, and toy chest, mostly from sculpey.

Photobucket

Photobucket

Photobucket

Photobucket