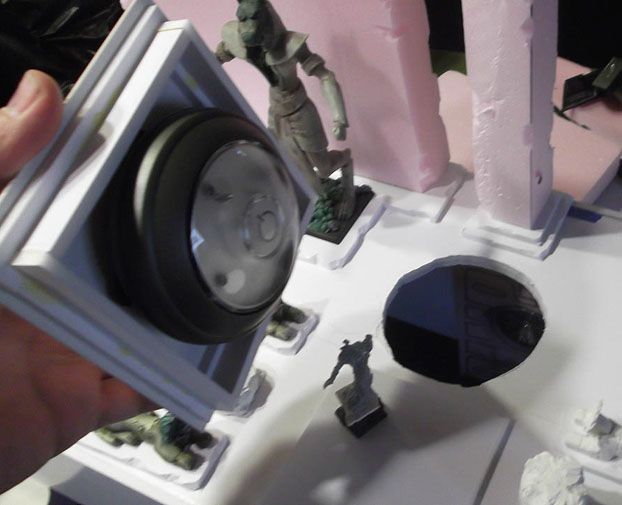
Here is the engineering issue that I brought up yesterday which needed to be solved. As I mentioned, the "ground" of the upper level ended up much shallower than originally planned, leaving by big spotlight hanging down into the interior of the tomb in an unsightly way. I also needed a way to get at that light easily in order to change the batteries, etc.
It was obviously crucial to keep it where it was :

When assistant Necrotect Cathy looked at the board, she suggested that I raise the "ground" in some way... perhaps creating a dais. That proved to be a fantastic idea. As you can see, not only was I able to raise up the level of the light, it became incredibly easy to get at!

You can see that it also makes a very nice "centerpiece" for the upper level, as the Casket had been for the interior of the tomb. I had been searching for some element such as that. I will be putting a design on there that is repeated in the tomb, as well as lots of scarabs that I had been saving. Prince Apophas will go in that area. I was also searching for a good place for him. He was simply lost in all the visual frenzy of the tomb. :-)
The next problem to solve was how to keep the LED lights from looking like... LED lights! I had purchased translucent sculpey (FIMO), in the hopes that I could cast some kind of bas relief that would allow light to come through, but hide the lights. I still needed to get at the light, both to change batteries and press the front to turn them on...

I used some thin plexiglass to cover over the hole, and then glued the cast sculpey pieces onto that sheet.

Then it was time for the part I had been dreading the entire time, and that was the curved ceiling. Yikes. I knew no matter what material I used, it would be tough. It had to help support the upper level, and provide a place for some artwork. To make it even more difficult, I chose to string fibre optic lights into it!

Here you can get a glimpse of what they look like with all the other lights off...

They really don't show up, but you can still see a map of Khemri! It was very difficult to string those lights, let's leave it at that.
After that nightmare, I had to dig 2 holes. One for the big light, and another for the grave robbers.

More on that later today!
No comments:
Post a Comment