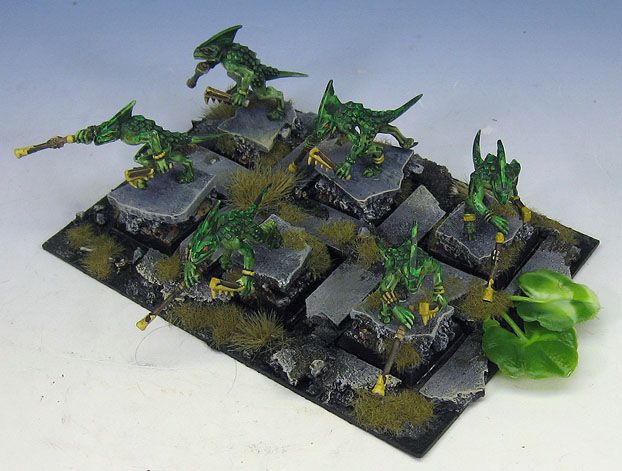
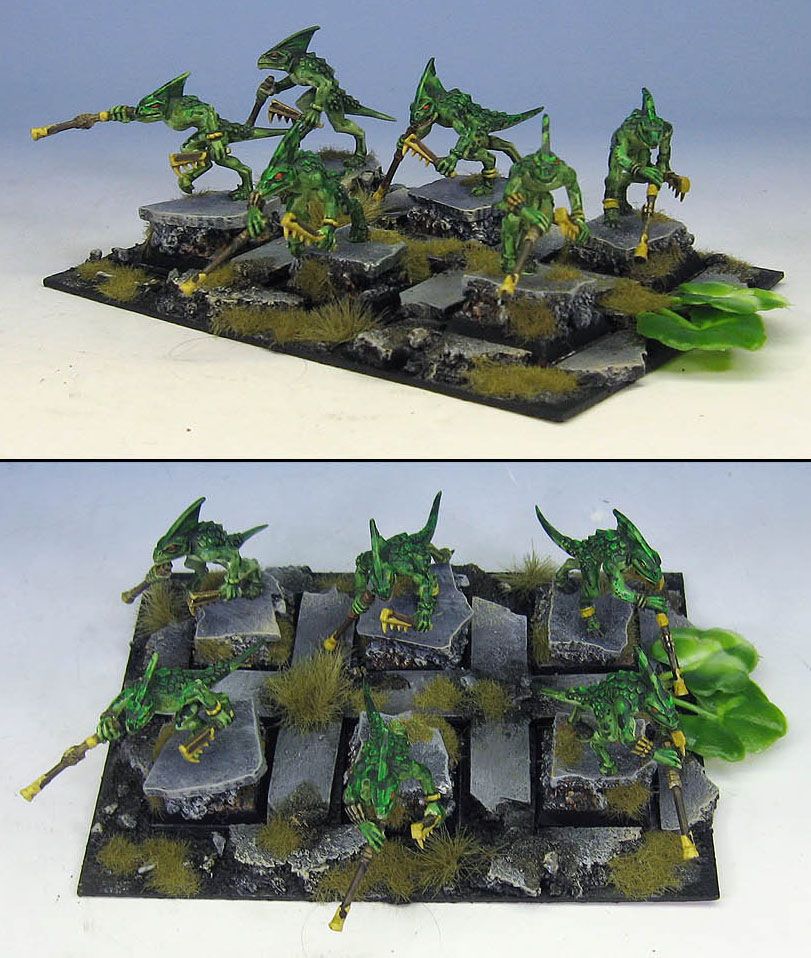
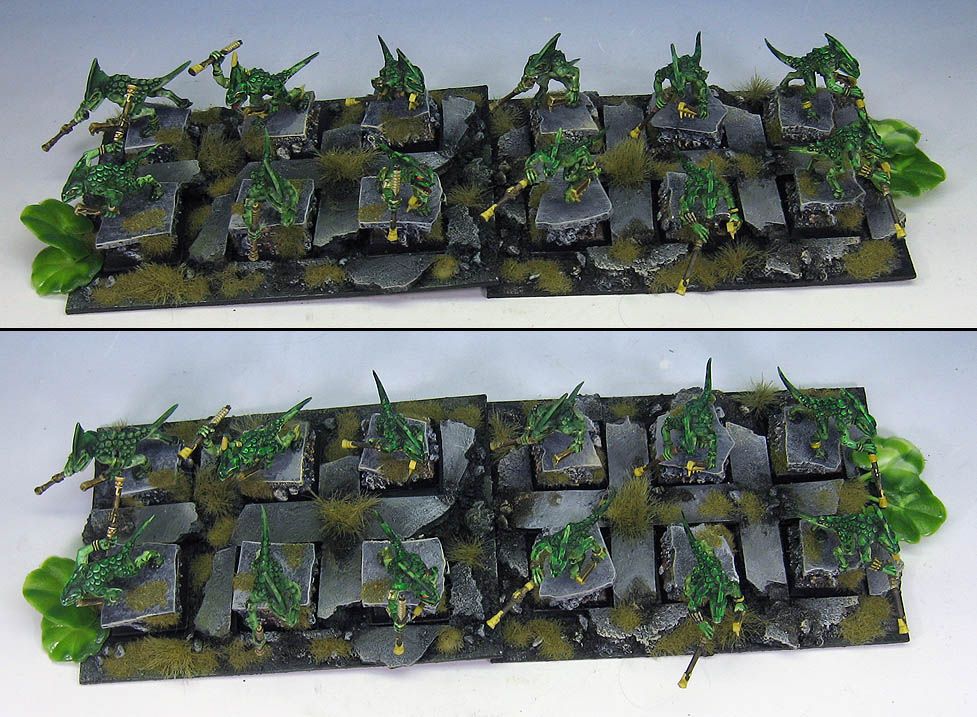
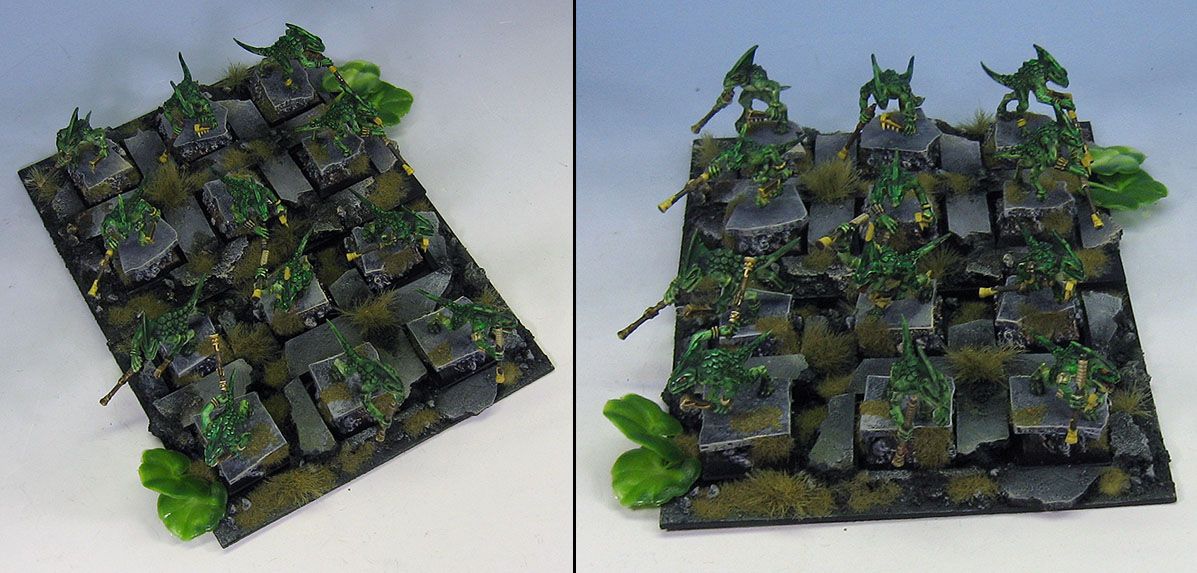
This unit was broken into two trays for a variety of reasons. First, it is handy to be able to alter the formation as needed. My other trays limited what I could do with my formations of salamanders & handlers. I certainly didn't want to do that with these guys!
The pictures show how you can set them up in different ways. Also, they tend to die in bunches, and it is never fun to move around big trays with only half the original number on them :-)


James,
ReplyDeletefirst of all, lovely work! I've been admiring it for quite some time now on one of the lizardmen forums and have recently found my way over here, and am once again baffled.
I just couldn't help but wonder what material you used on the Skink bases itself? I know the top layer if sculpey, but is the bottom layer as well? Or is that cork or green stuff?
Thanks,
Wolf
Thanks! The bottom layer is cork, with some sand and gravel added. I always save my tiny leftover pieces of cork for situations like these, because those little scraps are more than enough to cover these little bases, and the tiny footprint of the skinks. :-)
Delete