Saturday, July 19, 2014

The constructs of Pseusenes


These are among my more eagerly awaited new photographs using the Hangar 18 backdrops... my scratch sculpted Tomb Kings constructs!

We start out with the Hierotitan.  I had a blast making this guy.  A tin foil armature, wrapped in layers of Apoxy sculpt, and finished with some green stuff details.


There are a number of WIP posts showing the process of building this guy, along with the painting.


Next up is the Colossus.  I used the same methods to sculpt him as well.


These are both quite large, when you consider that they are standing on 50mm bases!


Here they are on the large blue/white fade, along with one piece of the display board.  That obelisk tells the story of the first corruption of Pseusenes, followed by the second fall to the Tzeentch god.
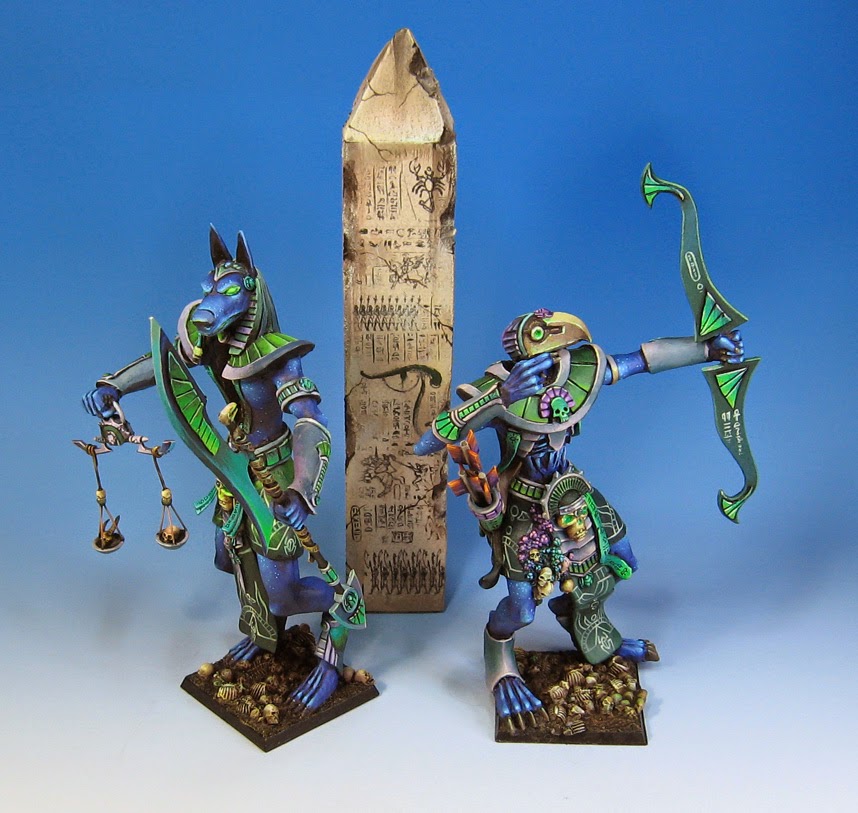

One more on the 'regular' backdrop...


And now on the brown backdrop.  A very different look!


This is actually very similar to how they appear on the top level of the army board.


They are standing above the underground Temple Complex, guarding the entrance.


Hapless artifact looters dismiss them as statues, only to find the error of their ways in a very bloody fashion!


One more image of the big guys.  I think I will do the Necrosphinx and Warsphinx next...


Among other things...


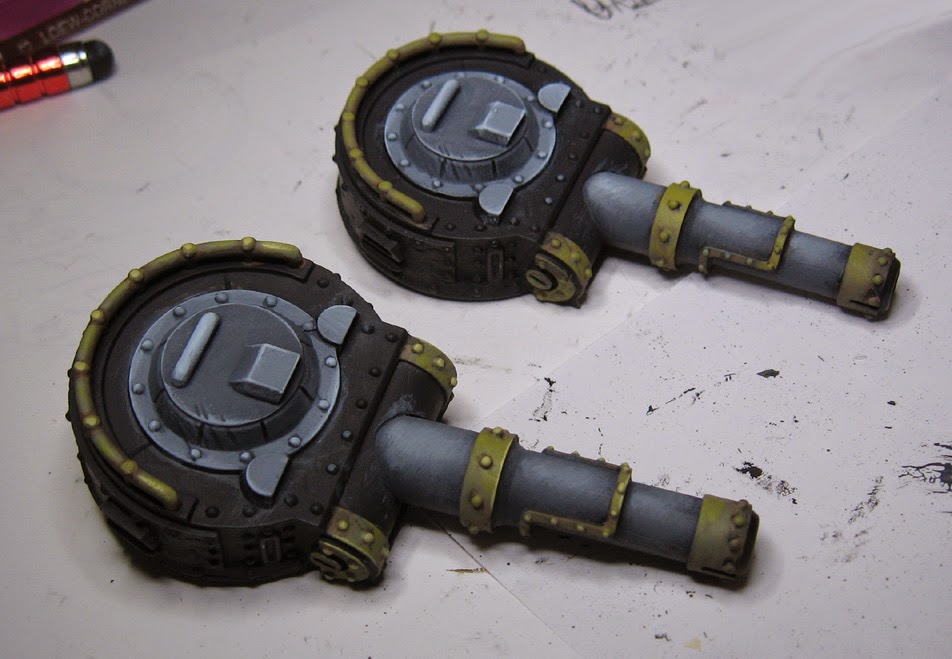
Well, there's a million and one things going on here right now, but here are some pics I snapped the other day.  This is the caboose of the Siege Train from Wild West Exodus.

It's got a few turrets, which I wanted to pin so that they could turn in place.


Out came the pin vise, and I drilled away!


Then to glue the main guns in place... which means it's time for the "glue/green stuff/glue" option.


You put glue on each area that you are going to attach, and then put green stuff in between them.

The fills in any gaps, and forms a better attachment.  It also means that you don't have to sit there holding the parts together... waiting forever for them to stick :-)


Gun in place!


There's a bit more of the lighter blueish gray color on this part of the train, according to the concept art.


There's many ways you could make this color.  You could even mix a blue/white with a black.  In this case, I used a fun Reaper color... can't quite remember just now.


I marked the areas that are supposed to be brass as well.


Getting some lighter shades on the turrets...


Most of this was done with the filbert brush, shaded basecoat style.


The brass is also lightened.  As always, this will be shaded and tinted later with glazes!


Seeing what the turret looks like.


I also worked on the secondary armament for a bit.  Next up, some more glowing stuff and freehand!  Stay tuned.


Friday, July 18, 2014

From Inner Space to Outer Space.


I didn't think that I could find more spacescapes in the archive, but I did!

This one was called "Above the Clouds".


Into the Vortex.


Ice Fountains.  I had so much fun with the magentas!


Cave of the Winds.  This one had a very different color palette for me.  I was trying to play out the various gasses and how they are illuminated, forming these unusual, but specific, sets of colors.


A Distant Shore.  Combining my old love of landscapes with galaxies!


Best Seat in the House.  A rogue planet, and a cosmic perspective.


Racing along...


Here's another comparison set of the Hangar 18 backdrops, using the Tomb Kings chariots as examples.  Starting out with the blue/white fade on the large backdrop...


The only way I could shoot this unit in the past was to tape together some pieces of larger drawing paper and retouch out all the irregularities.  So cool to just place the unit and snap the picture!


I have also noticed that I don't have to go through the same color corrections in the middle tones and highlights as I always had to... even though I am using the same camera and settings.


And this was certainly not possible before!  Having Settra right there with the Cavalry unit.


Comin' at ya!


One last view with the fade.


And then the same brown backdrop that I used in the last post.  It makes the same dramatic difference.


It does bring out certain colors and shade more.


It's also interesting to have the light color be behind the unit, instead of at the bottom.


That really changes the effect when you look at it from above like this.


The banners and weapons are more silhouetted, and the edge of the movement tray is now lighter.


This also seems to bring out the purples more.


So, more experiments to come!!


Thursday, July 17, 2014

Hanging out in the desert


OK... more testing of the Hangar 18 backdrops!

I started out by taking pictures on the standard fade.  Even this was just a fantasy a few weeks ago.  Having the huge backdrop was fantastic!


I could do so many more angles.  Normally, if I try to get "adventurous" with my angles, I end up with exposed corners that have to be retouched out of the image.


Let's see how this looks on one of the other backdrops.  I was REALLY eager to see how this one would work with my Tomb Kings!  For obvious reasons. :-)


This was an objective marker that I made out of one of my terrain pieces.  That same sphinx was everywhere, including on my scratch built Screaming Skull catapult.


One last view.  The browns really play off the greens.  I will be trying this out with two other back drops, so look out for that!


Speaking of scratch built catapults... here it is!


Check it out in brown!  Again, lots of new shots to test out, and a whole army to do that with!!!!


Stay tuned!