Friday, August 2, 2013

A place to stay...


For the longest time, the Orc Warboss that I made for the Shaded Basecoat video didn't have a base to stand on.  It required a very specific size due to the stance, and I knew that I would be making something appropriate in the Blasted Concrete video.


Sure enough, that base was just the trick!  All I had to do was paint that up!

Here are the first layers (speaking of Shaded basecoat!), which were a variety of lighter greys.


I continued to work lighter, trying to vary the tones between greenish and more brownish.


Out come the washes!  The usual suspects... concrete, armor wash, dark sepia, heavy body black, and so on.


Washes and glazes applied.


Then some finishing details.  I did some lighter touches on the exposed bricks, painted in some additional cracks, and so on.

I will shoot some images of the finished mini on a base for you this weekend!


Trolls on the internet


Now these are internet Trolls you can love. :-)  It was time for some Orc & Goblin flesh tones, and it seemed like this classic Troll from Reaper would do the trick.


I did a little color theory on a piece of sculpey to set the mood...


And made all sorts of interesting flesh tones.


The glazing stage was particularly fun here!


I mixed lots of those glazes with regular paint.


And ended up with a second troll!


Side by side...


This arrived earlier this week.  What could it be?


YES!  As many bottles of the Army Painter Anti Shine matte varnish as I could get my hands on.  While I have used at least 5 other types of brush on sealer, this one is by far the best.

When you apply all the other makes and brands, it has the look of Elmer's glue.  It's the semi- transparent white glue effect.  However, with this product, it is crystal clear from the start.  That makes a huge difference in the end.  It not only makes the darker colors come alive, but even the mid tones and lights as well!

Since it is so clear when you apply it, you have an easier time seeing what you have done, and you can apply second and third coats on those vulnerable areas more rapidly.

This also seems to work better with large brushes on vehicles.  The other glaze mediums get wonky on big, open surfaces.


Thursday, August 1, 2013

Mantis Warriors


Using some more fantastic minis from Raging Heroes!  These Demonettes are Mantis Warriors.  Quite dangerous...


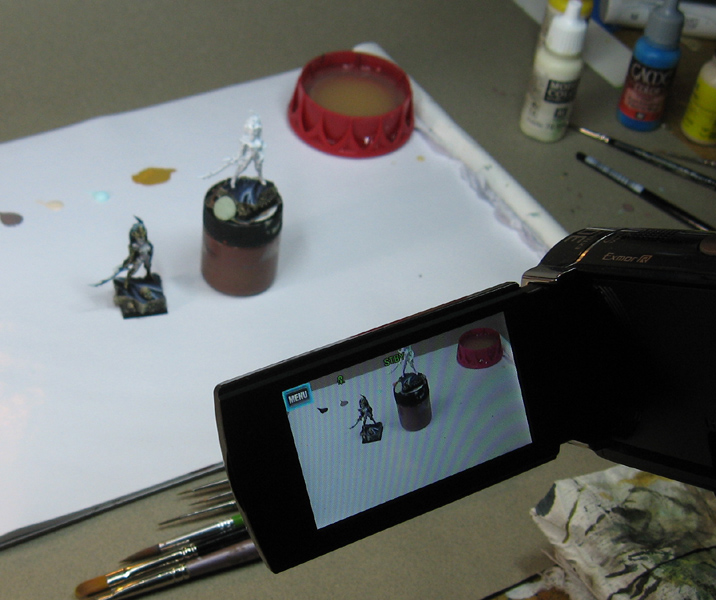
I had fun with this filming session, since there were some markings to put on the flesh!


Looks like it's time to start glazing.  This time I used some new colors from Secret Weapon  The Ruby is especially fantastic!  I see myself using that like crazy in the future.  The Amethyst was also very handy.


Those washes mixed in very nicely with 'regular' paint.  It is hard to explain here, but I suppose the film might help in that regard.


Yes, another sketch!  It helped show how the spots were done.


Speaking of spots...


Spots applied!


Then she can join her sister.


I just wish I had time to paint up the rest of the waiting figs to make the whole unit!


Dark Druichii


I had some fun with darker flesh colors when I shot this.  This time, I was using one of the Raging Heroes Fantasy Blood Vestals to create a Drow flesh tone.


The plan is to make a darker flesh tone that has some exotic color elements... a little purple, a little grey, but still with a touch of warmer shades.


Here's the basecoat.


Getting ready for glazing and tinting!


This time a combo of Secret Weapon washes and GW shades.


Shading darker...


And darker.


With that complete, it's time for working in more details.


I actually needed to bake more sheets of sculpey so I could keep doing these 'sketches' on the side.


Sisters!!


This set of colors led me to the Mantis warrior, also from Raging Heroes.


Wednesday, July 31, 2013

I've got my eye on you...


Here are a few shots of the classic Dark Elf flesh tone video.  It's another one of the Raging Heroes Fantasy Blood Vestals.  Those are truly fantastic minis!


Time for some shaded basecoat!


I see Secret Weapon washes on the palette... that can only mean one thing :-)


Glazing just about finished!!!


Getting down to the wire...


Then some final details.


I did another 'sketch' on the side to illustrate a few things.  These have been props on lots of the videos...


A closer look.  This helped to explain some of the principles of how I did the eyes.  While there is nowhere near this much going on with the figure, I thought it would be very helpful to have this as a reference guide for future projects.


Side by side.


Sisters!