Friday, June 22, 2012

Two minutes for boarding... the second round of painting images of the army board.

Photobucket

This post gives you the rest of the WIP images of the process of painting the army board.  Once again, I cannot say enough how impressed I was with the magnetic primer!

Photobucket

In this image, you can see more of the eyes begin to emerge as they get a bit of an outline...
Photobucket

This is carried all throughout the tomb:
Photobucket

Photobucket

I also made sure to continue carrying the patterns onto the bases of the units.  It slowed me down a bit in painting the overall board, but it needed to be done anyway! :-)

Photobucket

A closer view of this...
Photobucket

I made sure to do the Ushabti bases as well...
Photobucket

Photobucket

At this point I started to define the skulls more clearly...
Photobucket

Photobucket

Another closer view, this time showing the more advanced skulls...
Photobucket

The next post will have lots of pictures of the construction of the upper, or "ground" level.

Why does it always have to be snakes? Tomb Kings Armies on Parade WIP

Photobucket

After another late night, we have some Stalkers ready for painting.  As most of you have already seen in the post about painting the interior of the tomb, there are some sneaky snakes coiled around a few of the pillars.  I have had to change my original idea a few times.  This was the first concept:

Photobucket

Originally, the whole unit was supposed to fit into place underneath where the Empire guys were digging that hole.  However, it became very clear when I positioned the pillars in the sketch that this may not work out.  Once I went to the actual board assembly, that was the final word.  I would have to have each of them out "on their own", so to speak.

Now, these are magnetized so that when I need them for a game, they will go on bases already set up for them.

Photobucket

Photobucket

The basic part of the coiled snake is made of Apoxy Scuplt, with layers of green stuff over that.  I had to scale back on my original sculpting plans here, since time's a wastin'!

Photobucket

Photobucket

Thursday, June 21, 2012

You look like you've seen a ghost...

Photobucket

OK!  I finally have the pictures of the finished Ghost Knight squad!  When you look through these, you will see just how many arms and weapons were magnetized. :-)  If you recall the first Ghost Knight that was painted a few weeks back, this group was made to match him.

Photobucket

Photobucket

Photobucket

Photobucket

Here's a combo standard bearer/regular Knight:
Photobucket

Photobucket

And a few "regular" guys:
Photobucket

Photobucket

And now for some group shots:
Photobucket

Photobucket

Chairman of the Board. Painting the lower tomb level.

Photobucket

Since there are so many photos of the painting process, I will be doing two posts on the painting of the lower level of the army board.

I discovered while I painted this that the magnetic primer is actually very nice to paint on!  It had a bit of tooth, but it was much more silky than my usual gesso.  The gesso tends to create more striations, even when you apply it with a very soft brush.

I was able to get a lot of smooth transitions, and it was very fun!

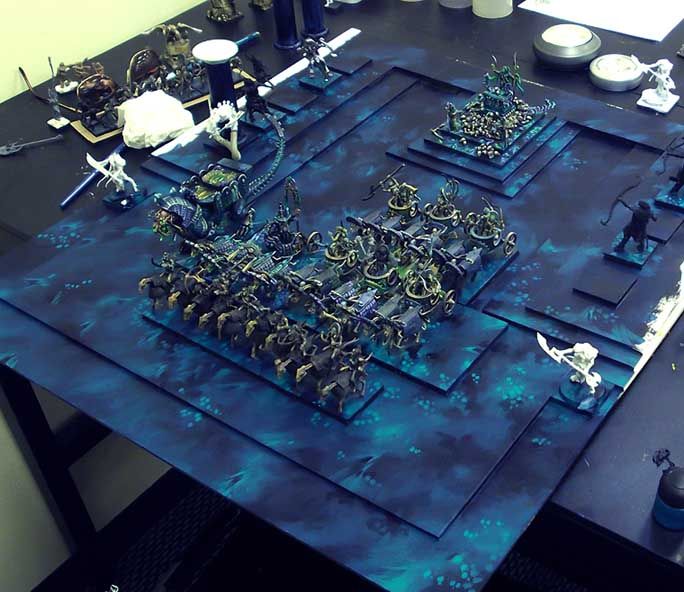
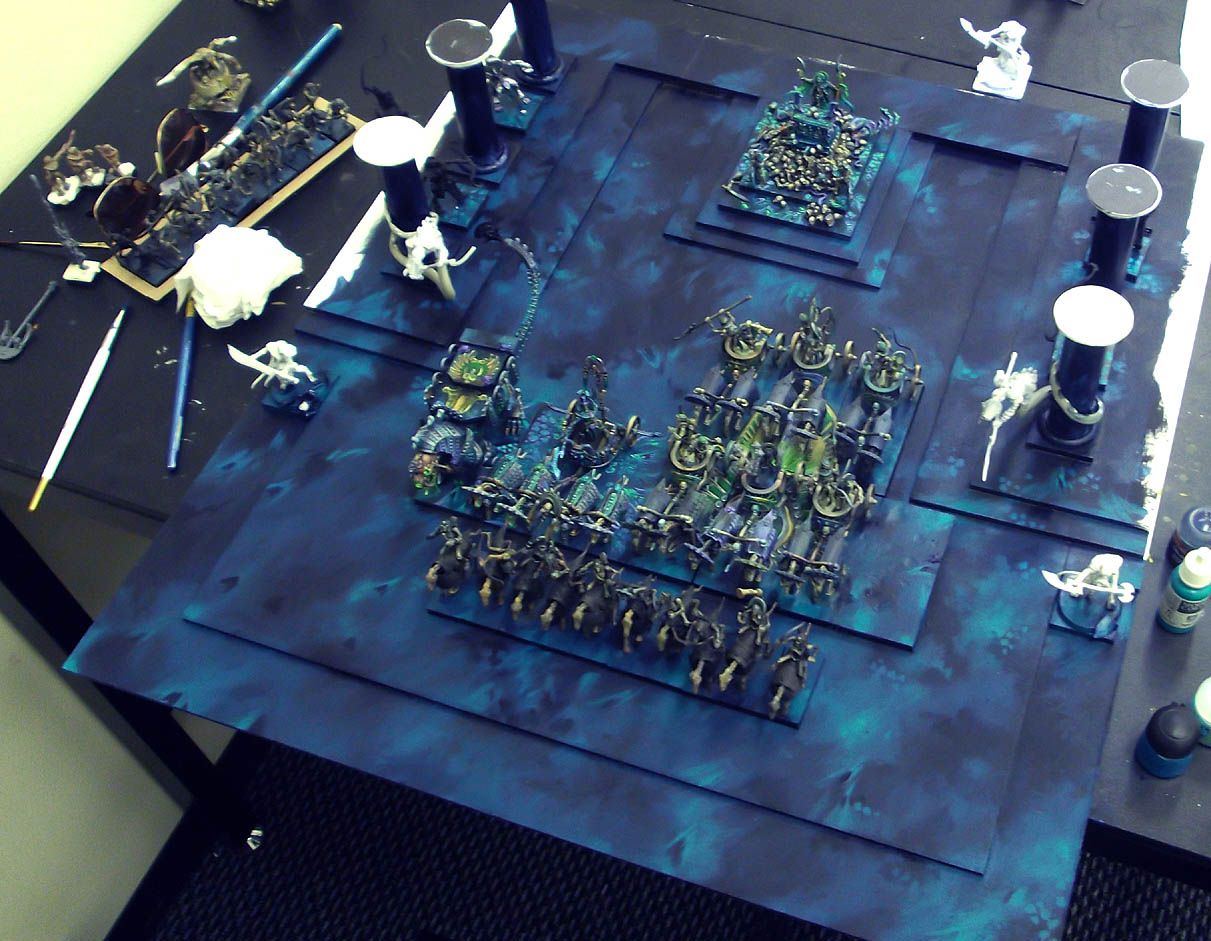
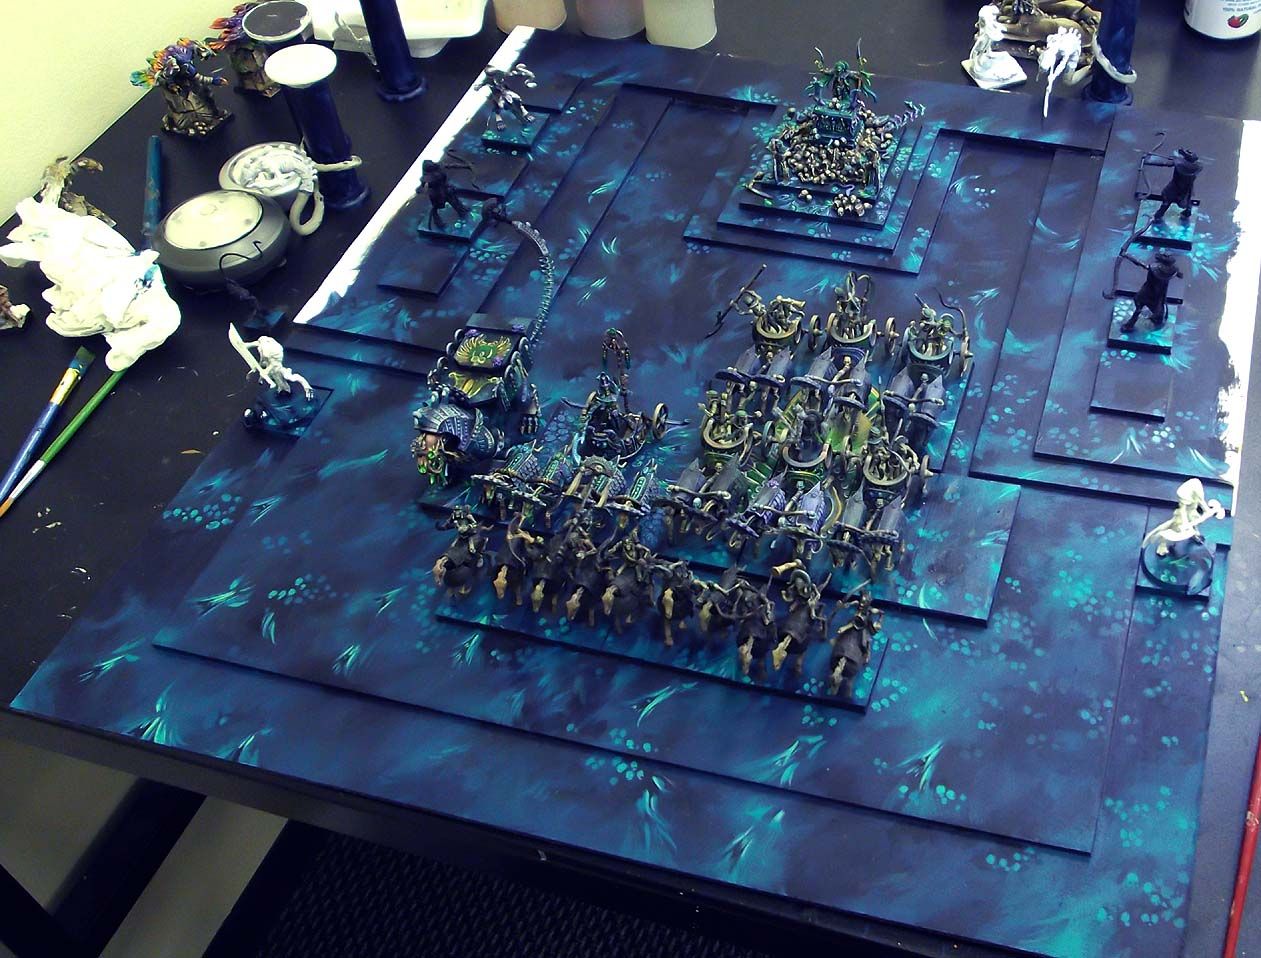
Starting off, I placed the units where I wanted them to be, so that I could make the rest of the open spaces flow well with these units.
Photobucket

The first layers were pretty simple in the nature of the colors.  I used a Paynes Grey acrylic paint, mixed with alternating turquois and Vallejo emerald.  The Acrylic paint let me cover a lot of area quickly, and it also stayed wetter for longer, allowing me to do lots of blending right there on the board.

Photobucket

My first goal was to advance across the entire board, getting all the surface covered quickly.


Photobucket

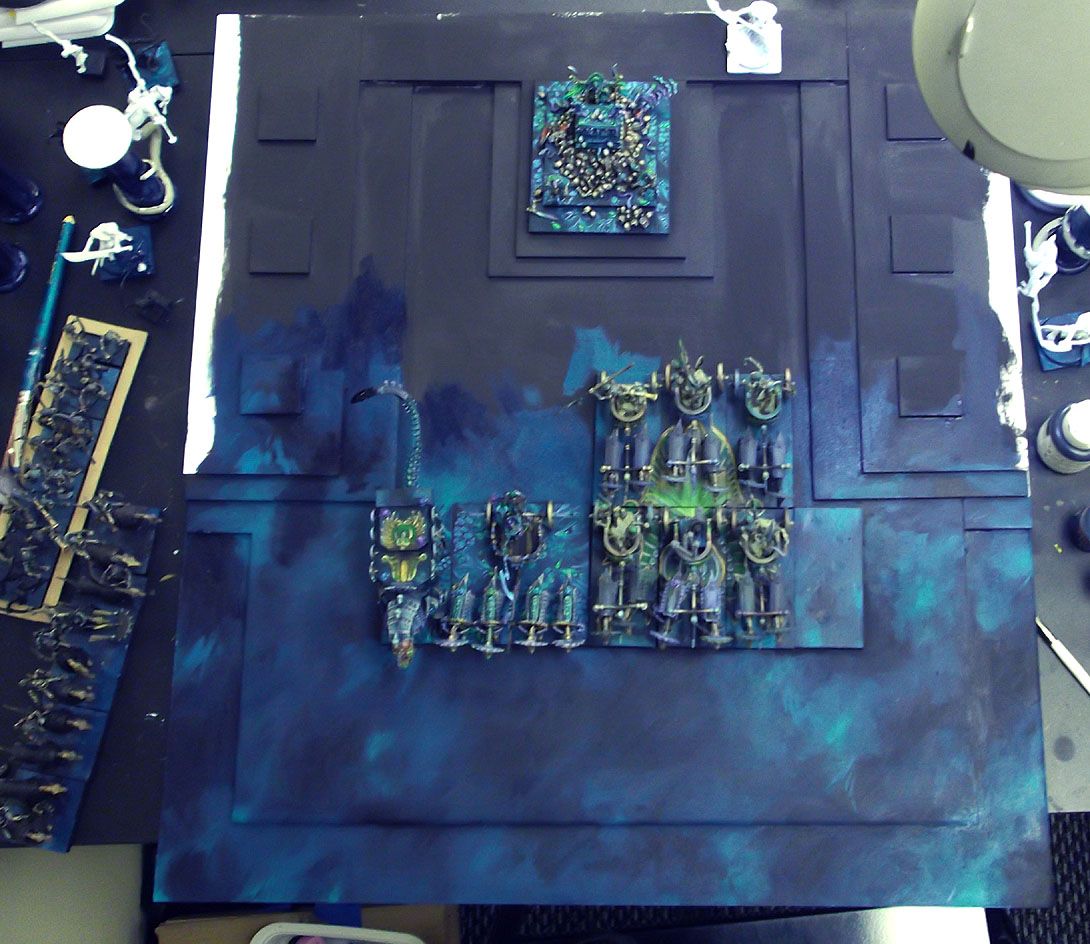
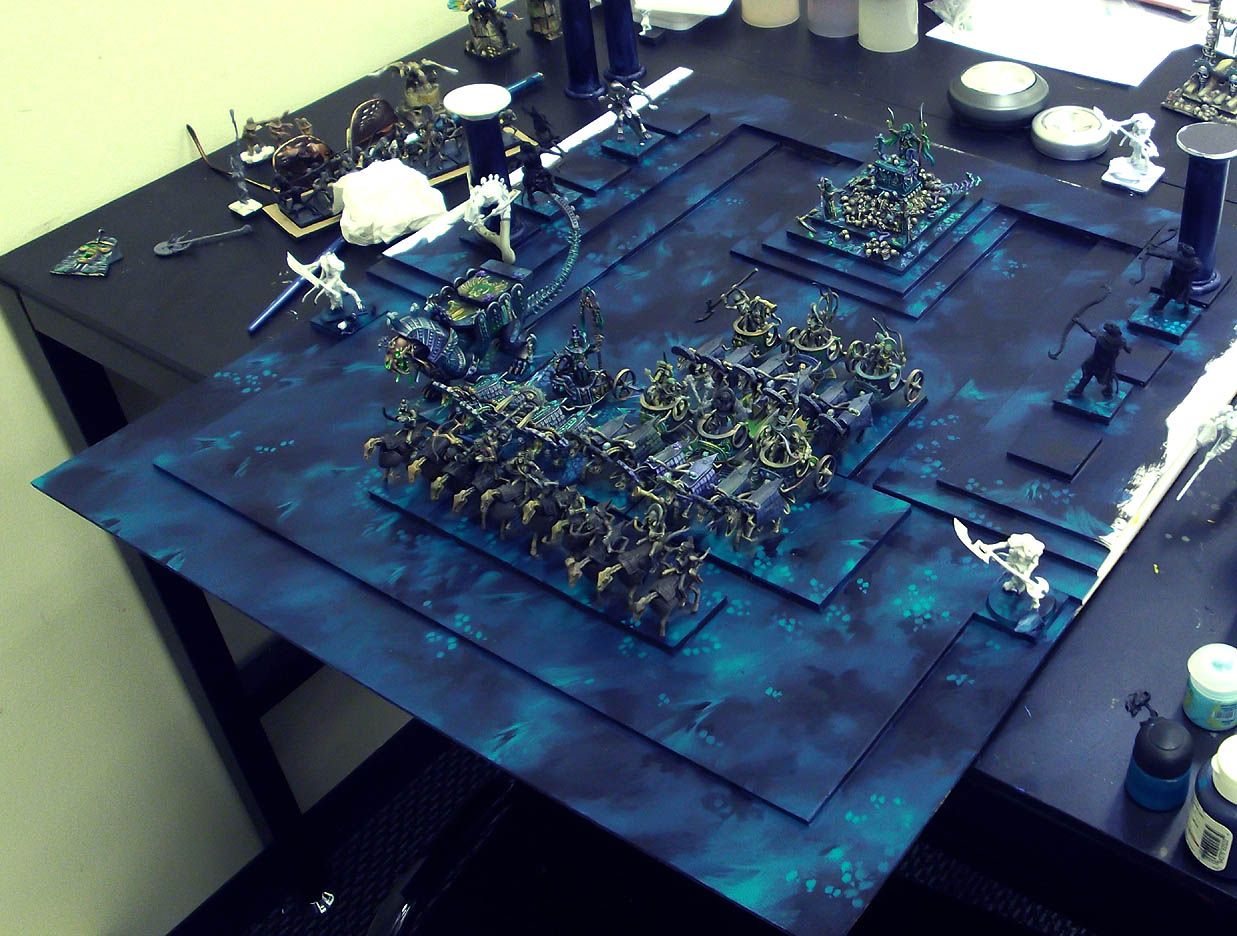
Once the whole surface was covered, I could start to think about where I wanted those batches of skulls and demon faces to emerge...
Photobucket

You can also get a peek at the pillars, which I also primed during this stage:
Photobucket

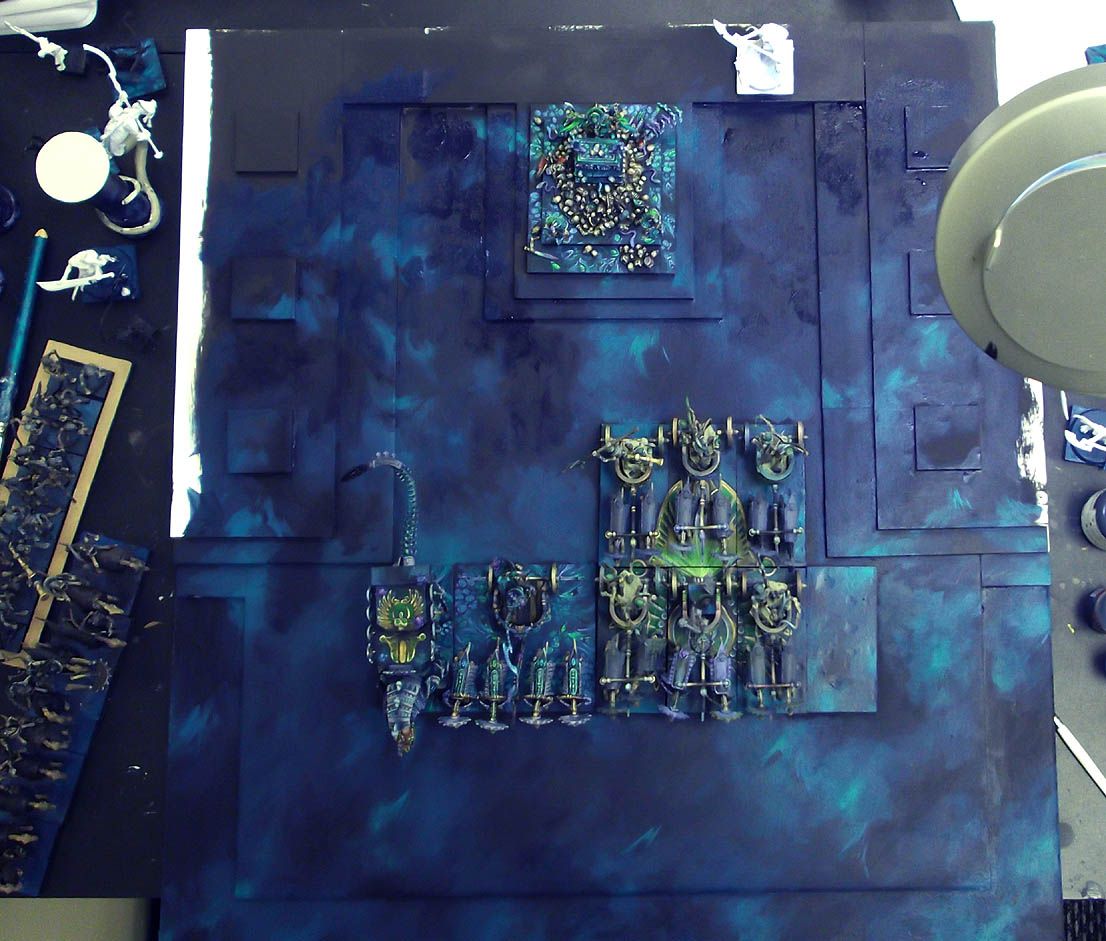
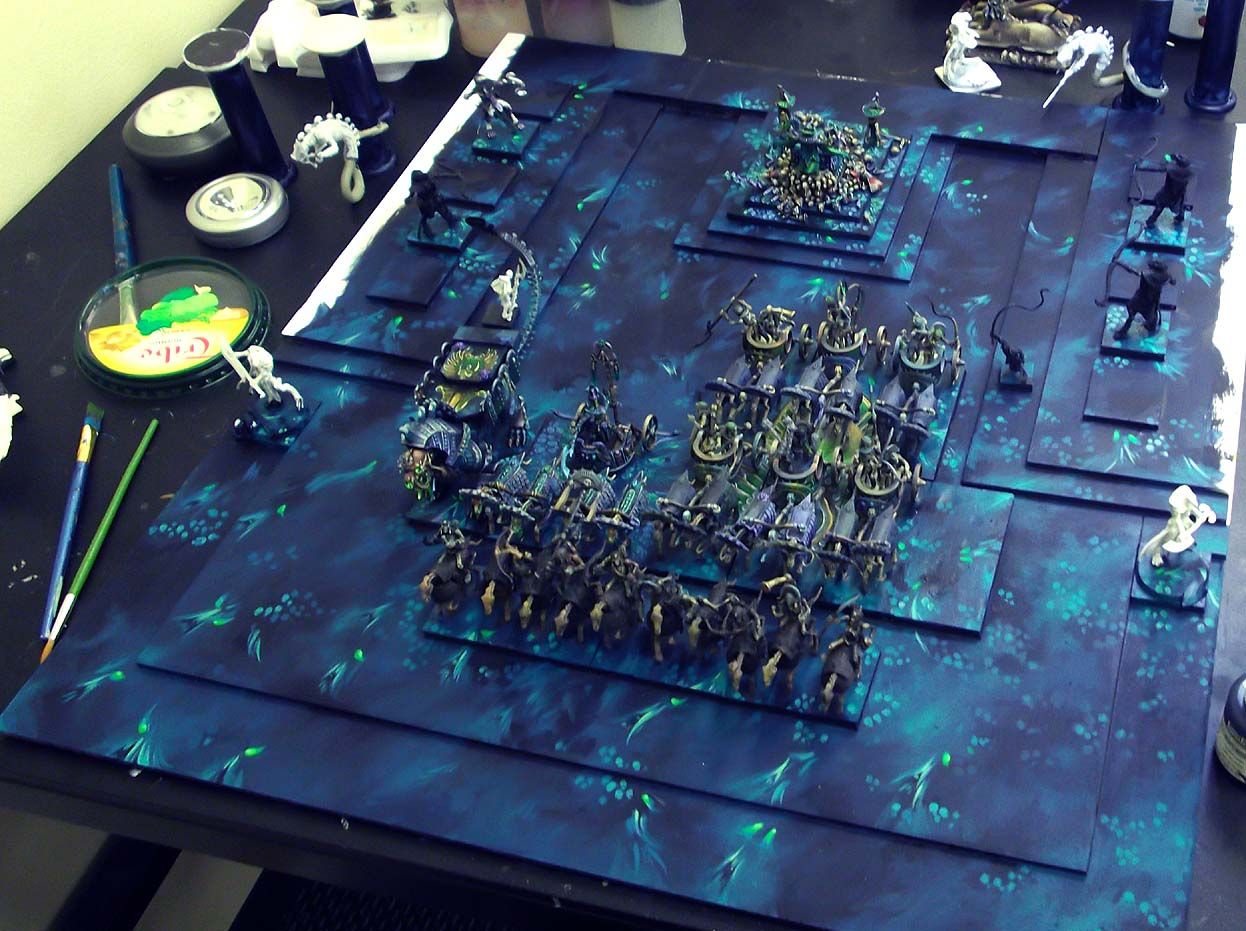
Here I am starting to plan out where those areas of interest would be, trying to space them out a bit, so that the viewer could have a few places to rest their eyes!

Photobucket

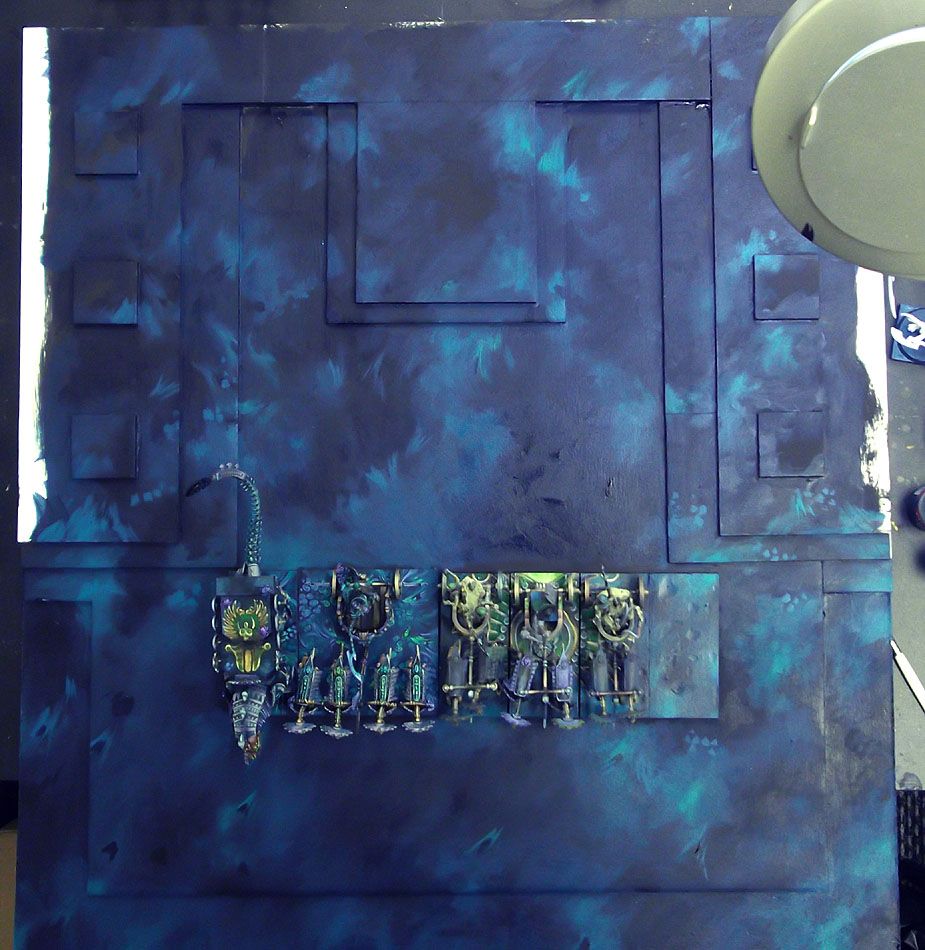
Now the details begin to emerge.  I am also putting the same colors and designs on the bases of the horse archers, the chariots, and the ushabti.
Photobucket

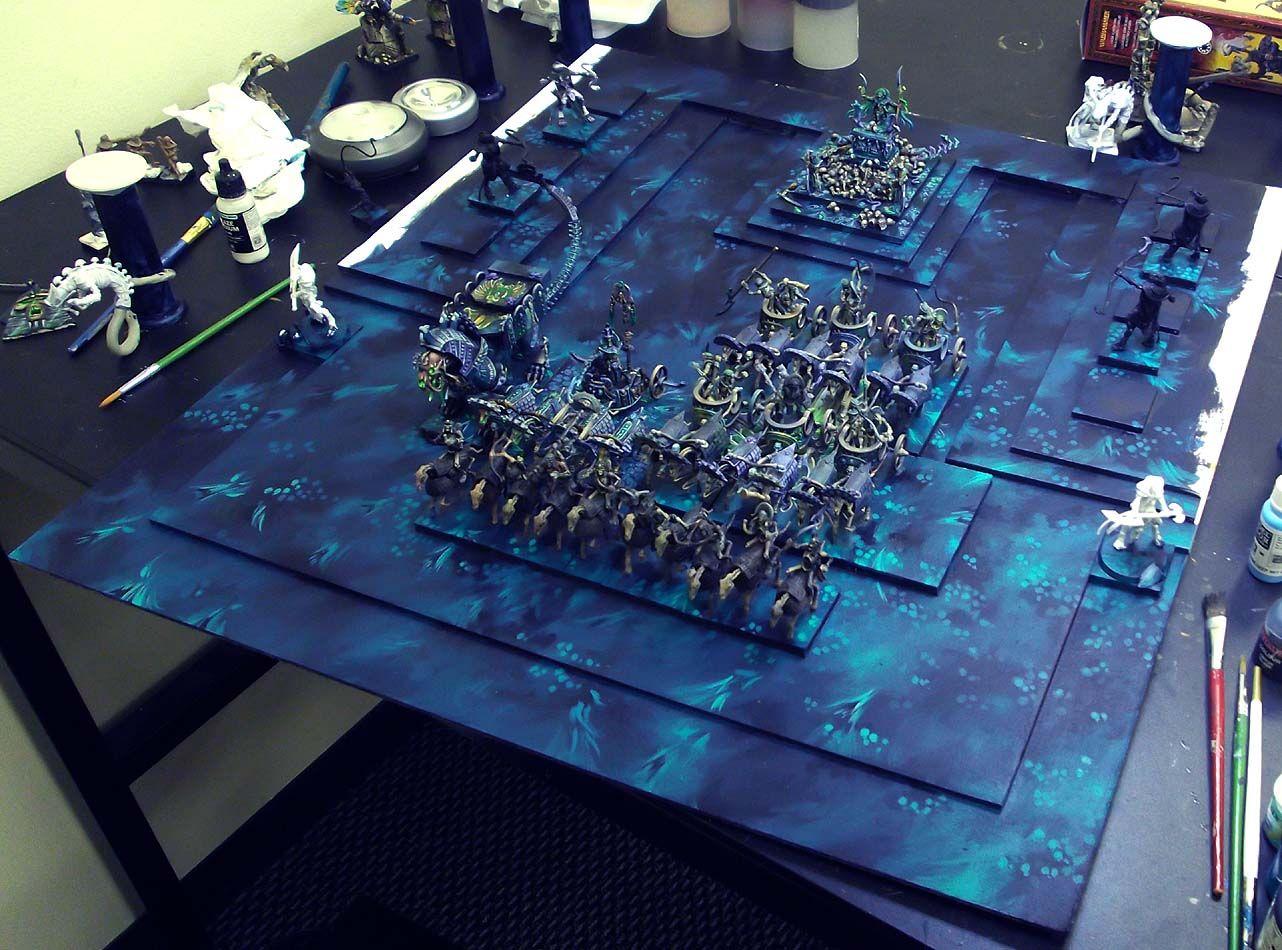
I also had to carry the base designs from the casket of souls out onto the board...
Photobucket

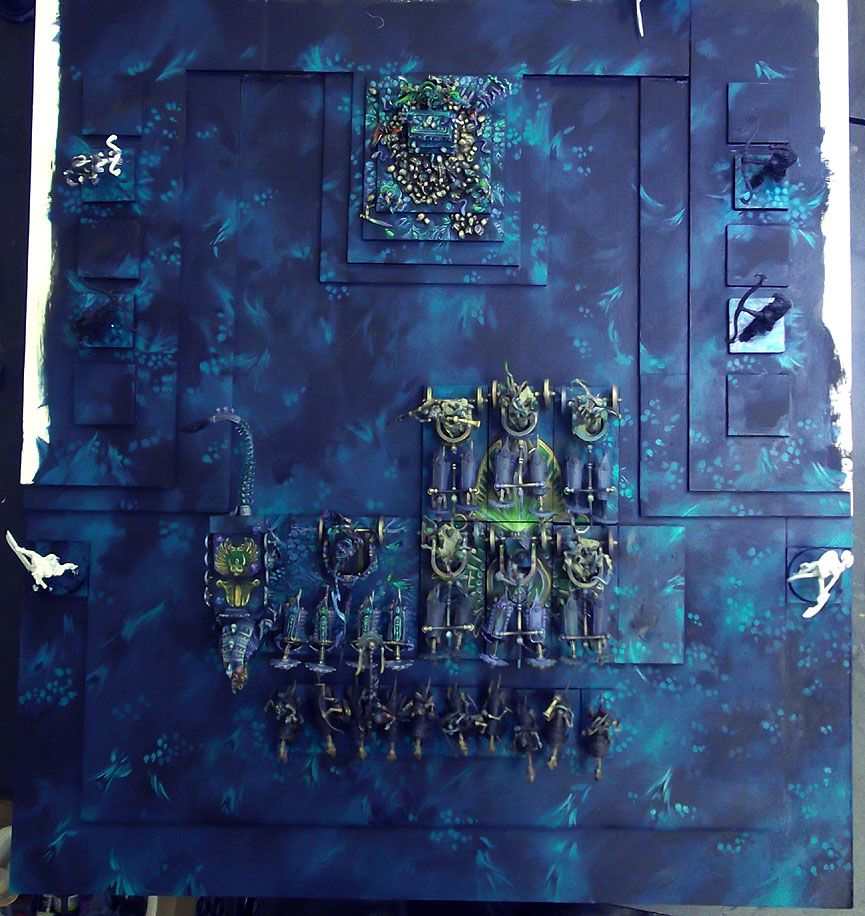
More definition is done on the demon faces, and the areas of skulls are mostly laid out...
Photobucket

Some of the lightest colors are used on the demon faces, getting them ready to determine where the eyes will go.  I dug out my fluorescent paint to do the eyes...
Photobucket

Tomorrow I will post the next 10 images that show all the rest of the painting!!!

Seeing Red again

Photobucket

Grey Knights in red have always been a favorite of mine.  :-)

Photobucket

Photobucket

Photobucket

Photobucket

Wednesday, June 20, 2012

Before they were finished: WIP images of my Engines of the Gods

Photobucket

Photobucket

Ah, I miss these!  They were so much fun, I loved playing with them!  That is, until a certain edition of WFB came along that will remain nameless...

Anyway, I realized a few weeks ago that I never took images of the finished Engine of the Gods!  I thought before those were posted, I would show these WIP images that give you an idea of how they were made.

You can clearly see apoxy sculpt, sculpey and brown stuff.  What you can't see is the big tin foil armature that are inside the bodies of the stegadons.  Not only did this provide support for the sculpting material, it meant that I needed to use less of t!  It also made them lighter.

The sculpey parts were made from baked sculpey that was carved and then glued together to form the howdahs.  You can even see the giant blowpipe stands, as I wanted to be able to use these as regular stegadons and ancient stegadons as well.  The portals were removeable, as were the skink priests.

These look very different now!  I will try to get the images up in the next few days.

Photobucket

Photobucket

Photobucket

Photobucket

Photobucket

Photobucket