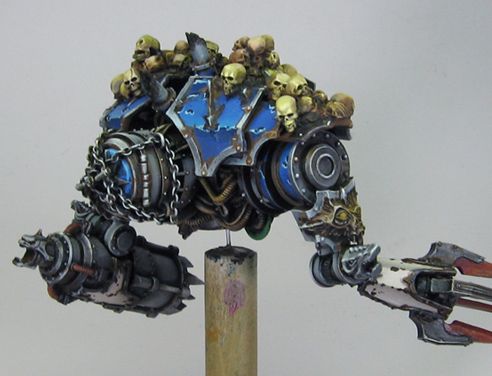
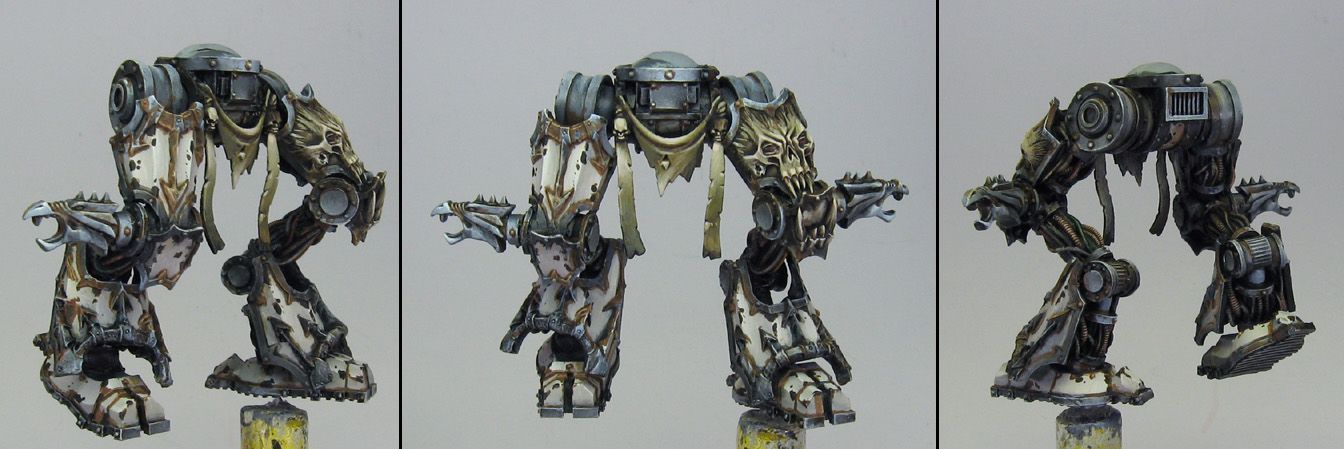
These pictures give you a bit of an idea of how the glazing and tinting altered the look of the Decimator, especially when you compare them to the images of the"Shaded Basecoat" set.
The torso:
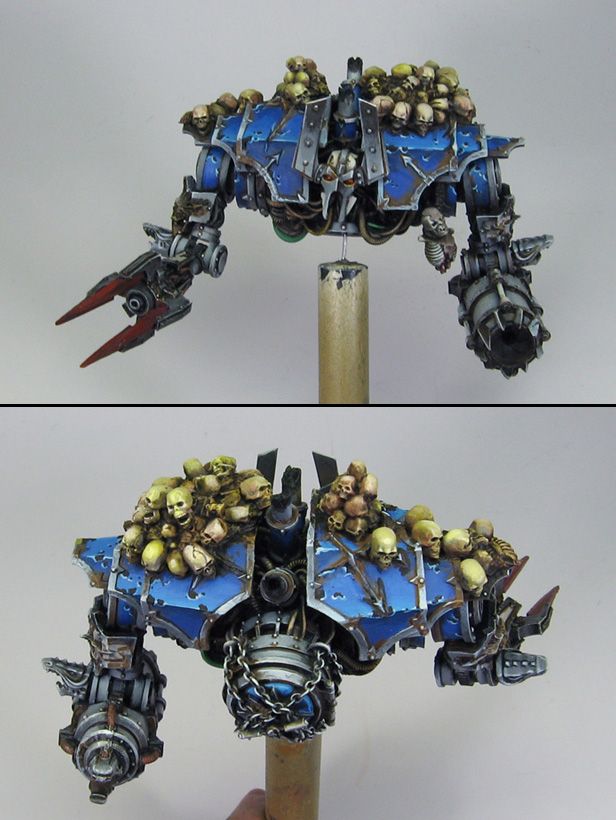
This view shows all the work you have to do just to cover it up with the shoulder pads!
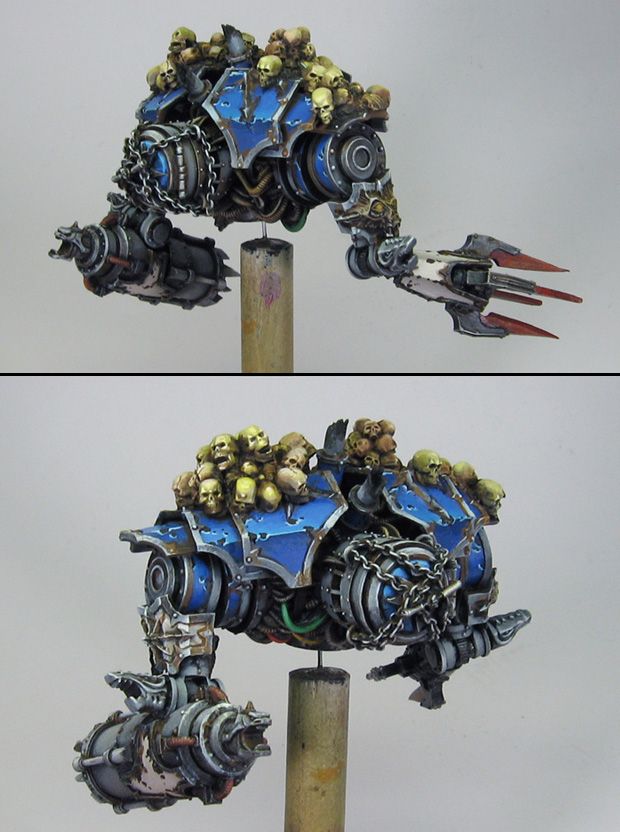
The legs:
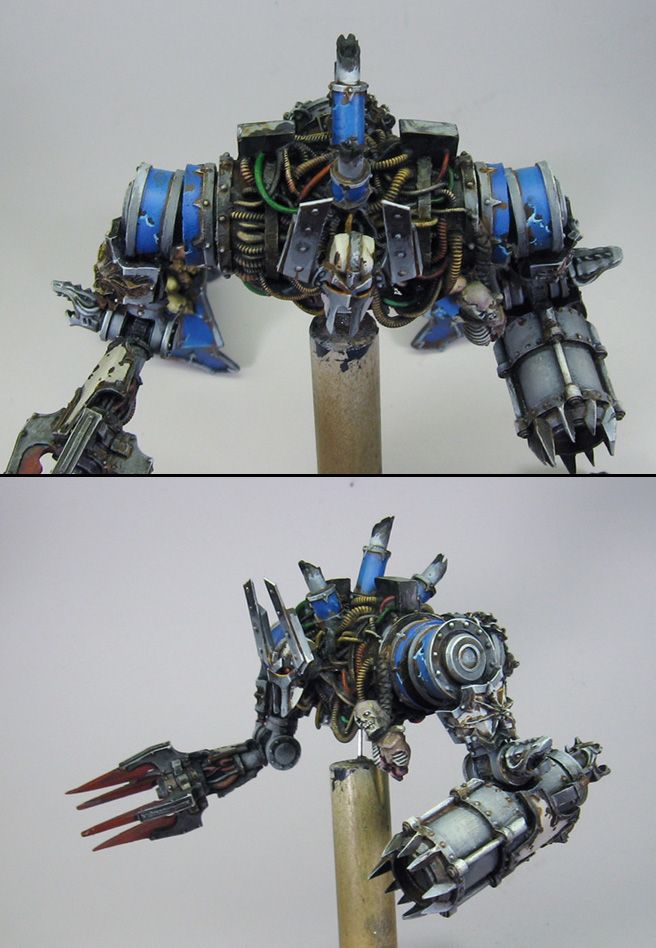
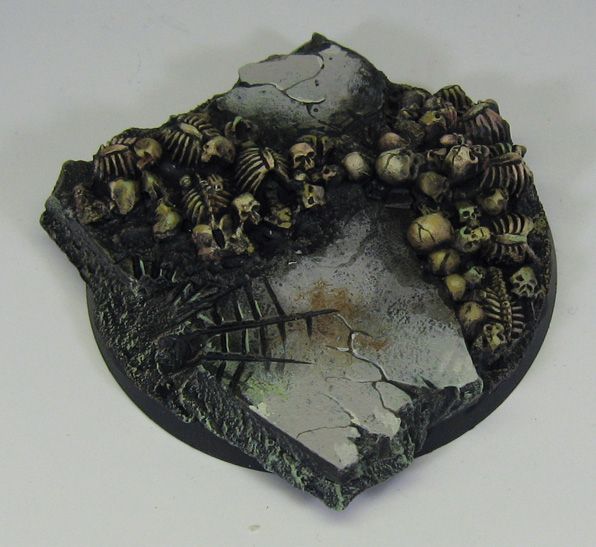
And the base:
This technique and all the painting terms in my head are all coming together now. This knowledge will move my meager skill up a few notches.
ReplyDeleteI'm going to compare the basecoat and glazed pics side by side to help it sink in.
Thanks for putting so much work into this blog--I know it would be easier on you to just paint paint paint but I think I speak for a lot of people when I say we are grateful for these demonstrations.
I am glad that they are proving useful! I just wish there were more hours in the day! They could be put to very good purpose! :-)
DeleteDo you have video tutorials about glazing and no metal colors?
ReplyDeleteI want learn from you!
If you look at the Saurus painting step by step, you will see the glazing technique with virtually no NMM.
DeleteI hope it is helpful!
Cheers :-)
Thanks! For the Black Legion players, Can you do a tutorial of how paint them?
DeleteI want improve my painting technique, mainly painted and illuminated black!
Can be a simple marine!
Pls!!!
Well, I think it will be a long time before I get to something like that, since all the Chaos stuf in the future will be specific marks. There may be other projects that involve black.
DeleteI can say that I like to mix colors like sky blue in with my blacks to create interesting colors, along with rotting flesh...
T.T Thaks, i'll be wating for it! The black is very dificul to paint!
Delete