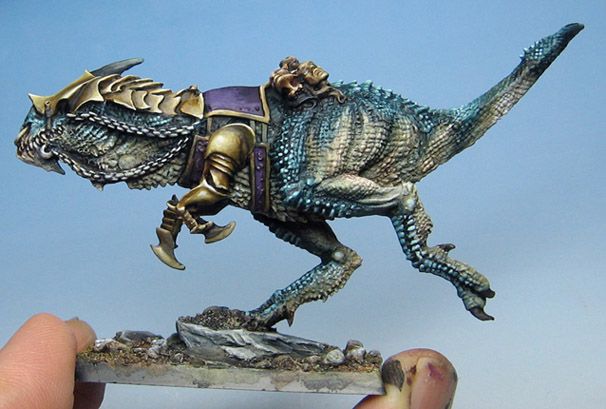
Here's a little step by step I did a while back when I was painting Gamezone figures for CMON.
Once again, it's all about the Shaded Basecoat, followed by a series of washes and glazes.
To start things off, mid tone colors are brushed onto the figure in rapd fashion:
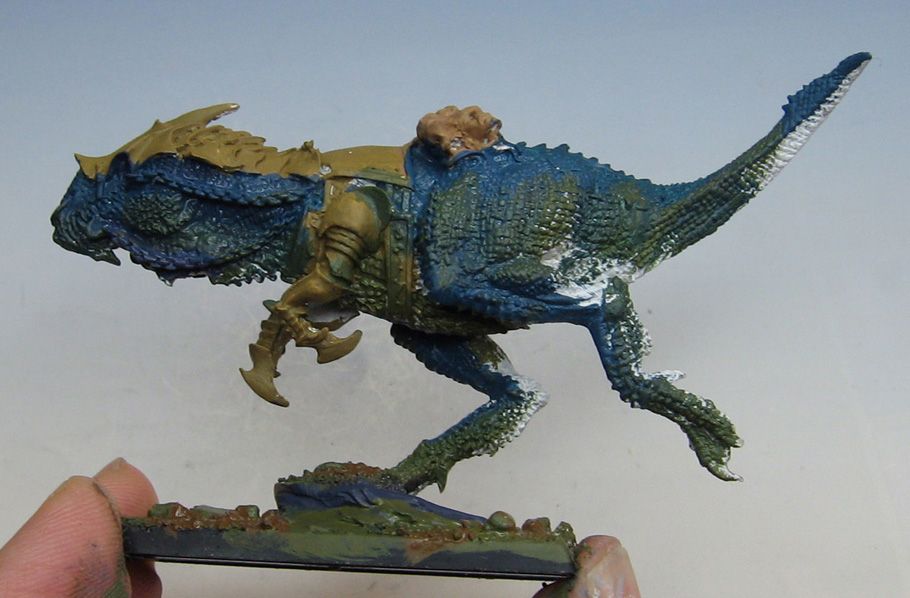
It's important to note that I am using relatively large brushes, working on both the armor and the skin at the same time.
Now I start to lighten my original color with very controlled drybrushing.
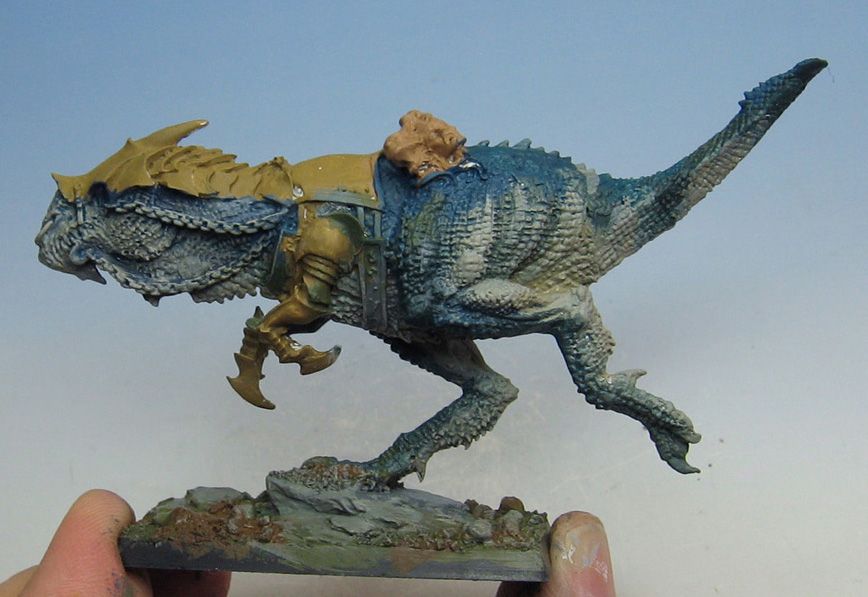
This techique of controlled drybrushing becomes even more apparent now, as seen on the armor...
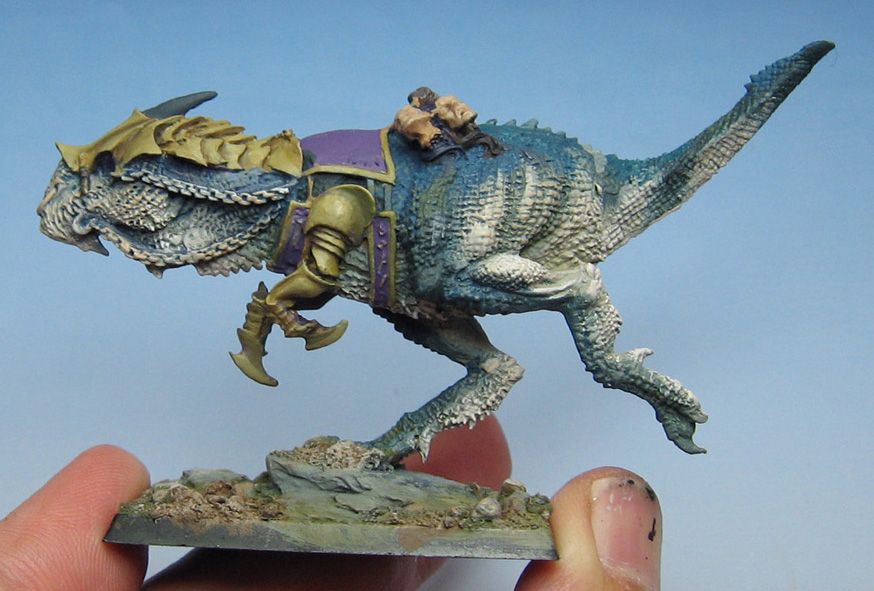
The skin and armor continue to be lightened.
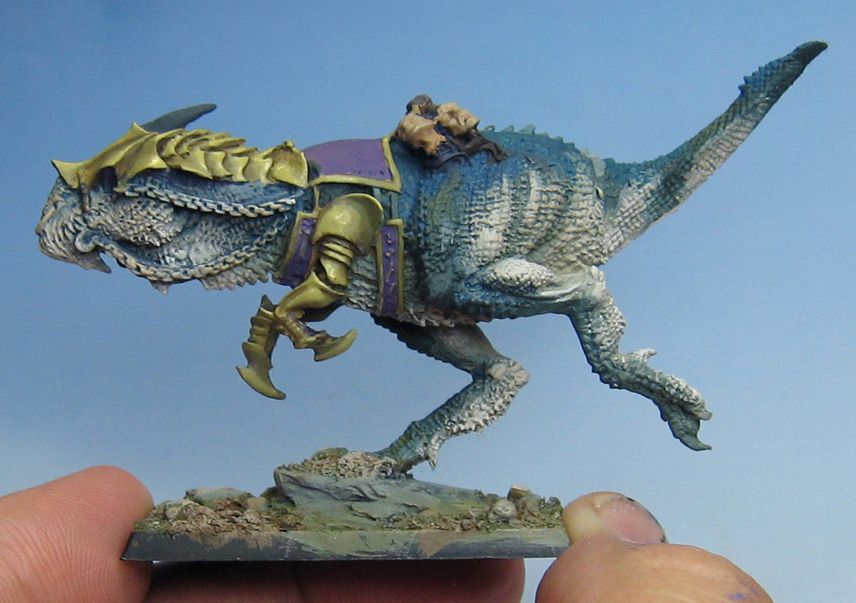
You can see that we are almost getting to the final elements of this stage. I am nearly at my lightest lights...
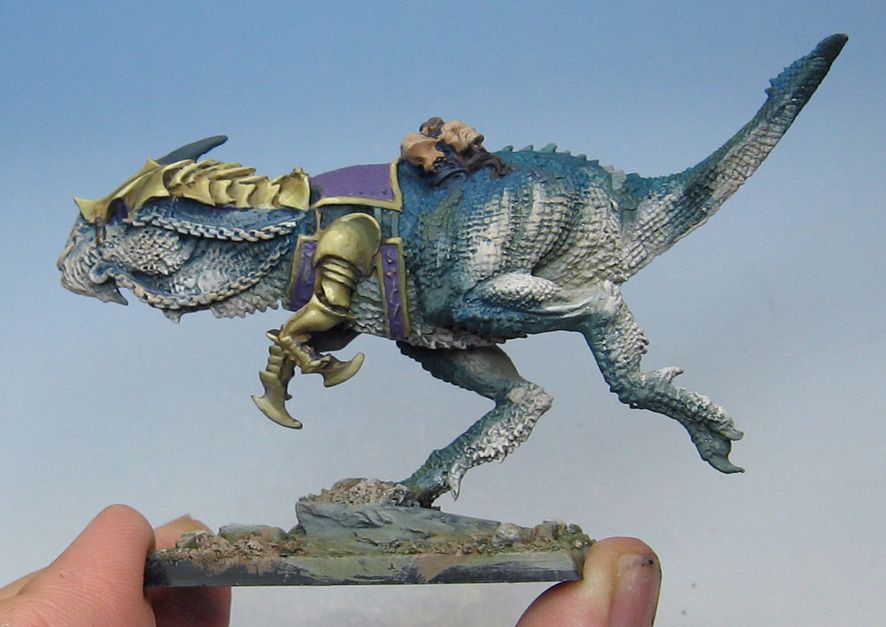
This is the final bit of the beginning stage. The armor, the skin, and even the skulls and base have all been lightened. Time for glazing!!!
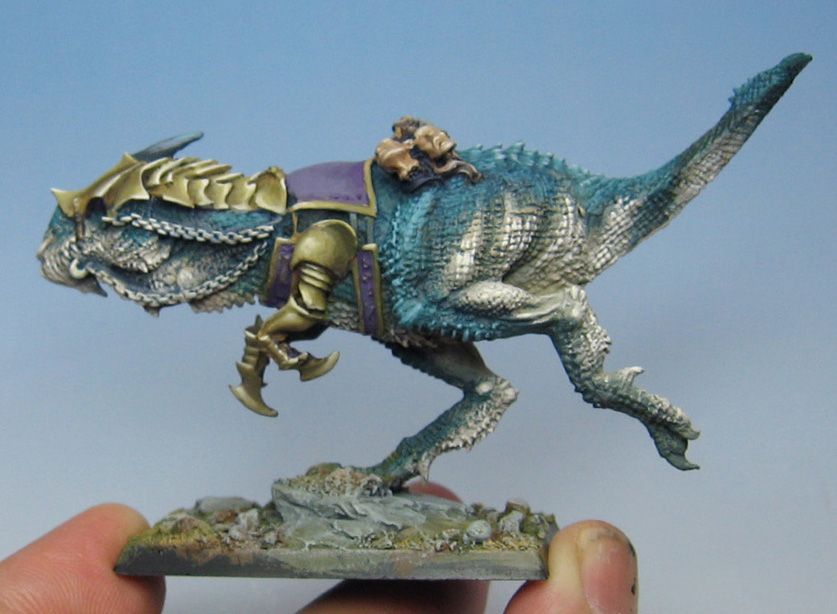
It becomes clear right away how much of a difference the darkening via glazes can create. I am not just making things darker, I am also varying the colors a bit, making my darks alternate between warmer and cooler versions.
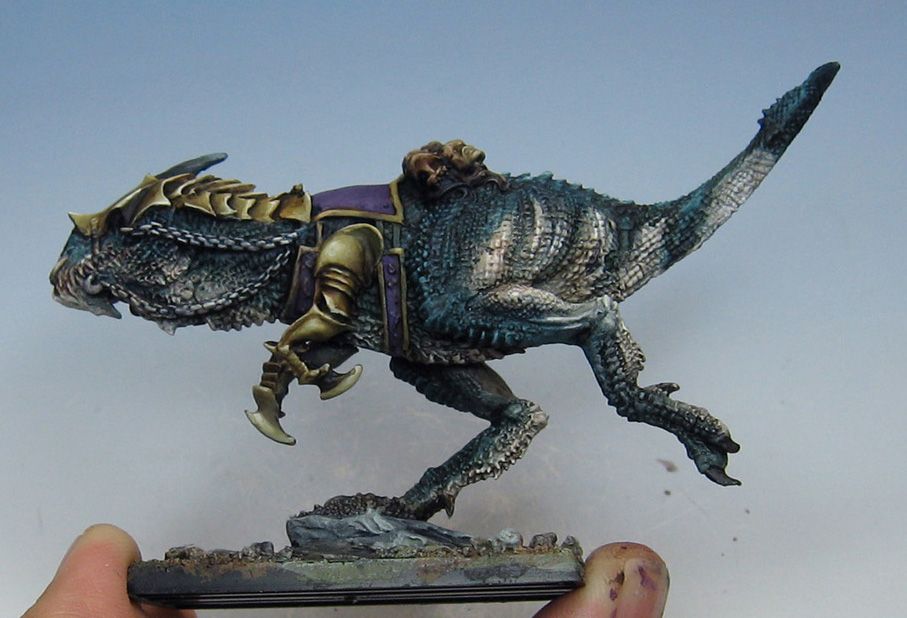
I continue the glazing on the armor and the base, making sure that no single element gets too far ahead of the others. This is very important to keeping all the color values and hues consistent and cohesive.
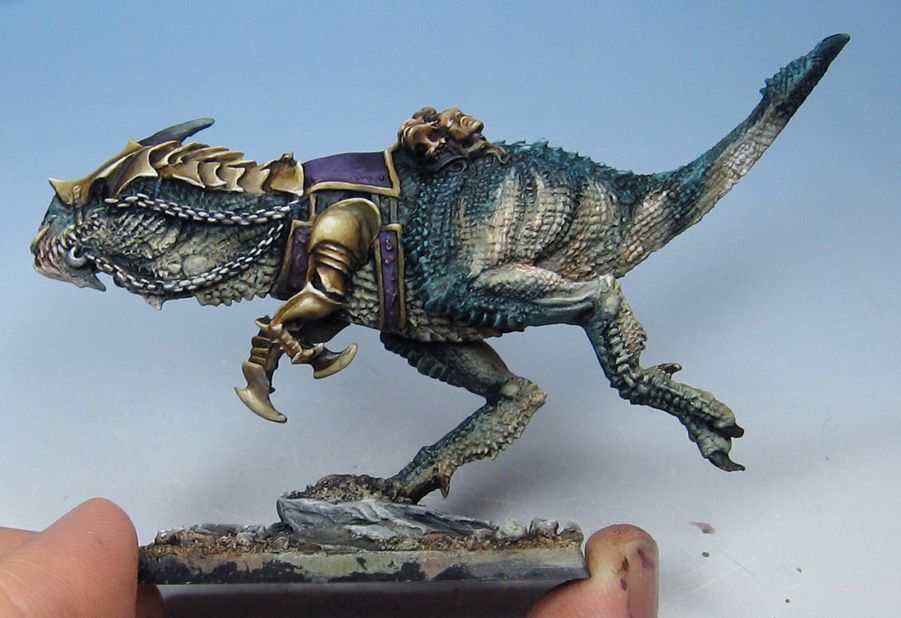
All right, we reach the final stages of glazing. At this point, I will go back into my midtones and pull out some lighter bits, as well as some highlights.
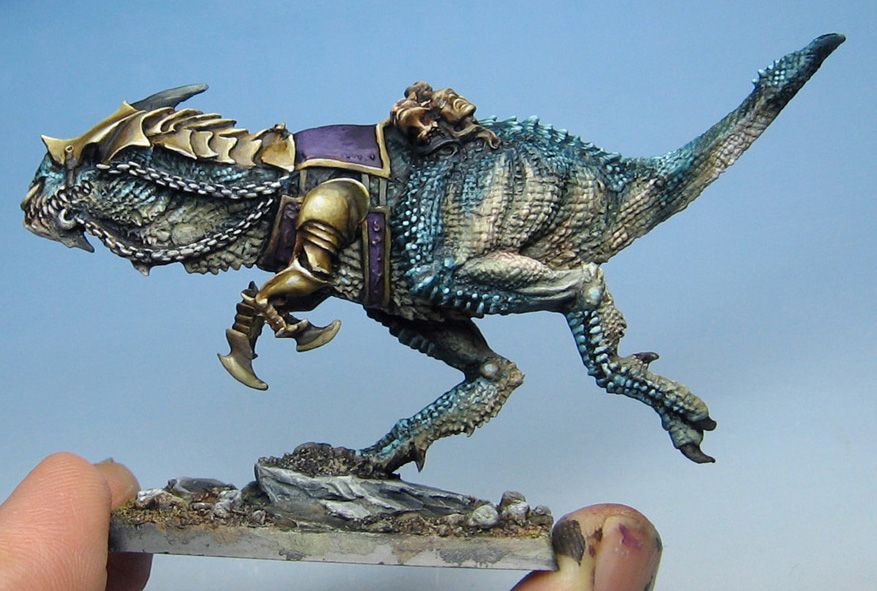
The next post will have the rider! Stay tuned and happy painting!
Here's an update! I thought it would be best just to edit this, instead of making a whole new page...
The rider begins the same way as the cold one, with a middle tone.
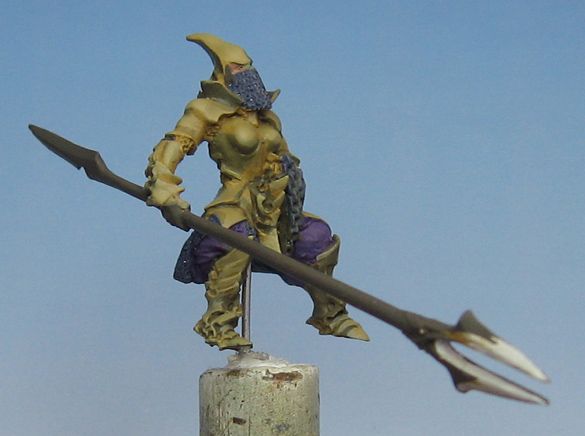
I continue to lighten it up, in order to set up the later glazes...
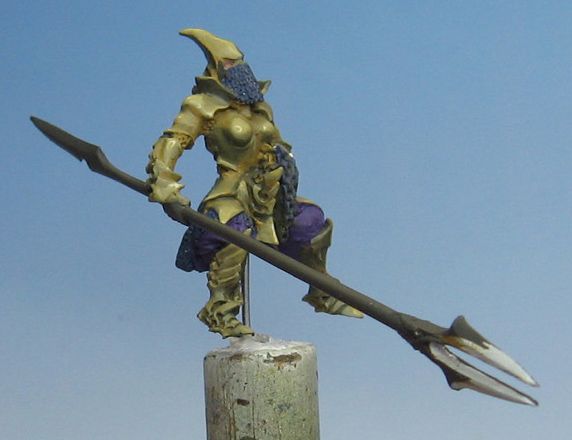
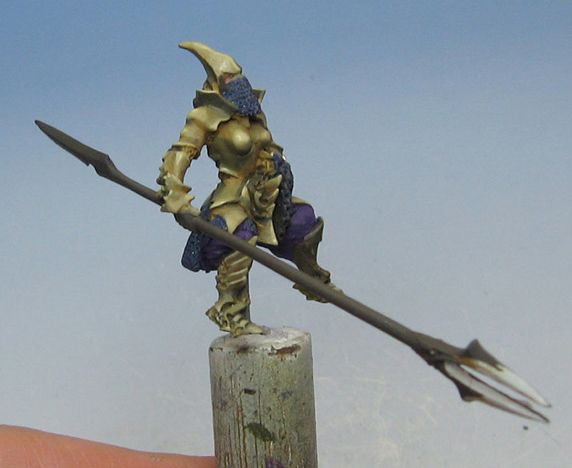
Now we are ready for the glazing!
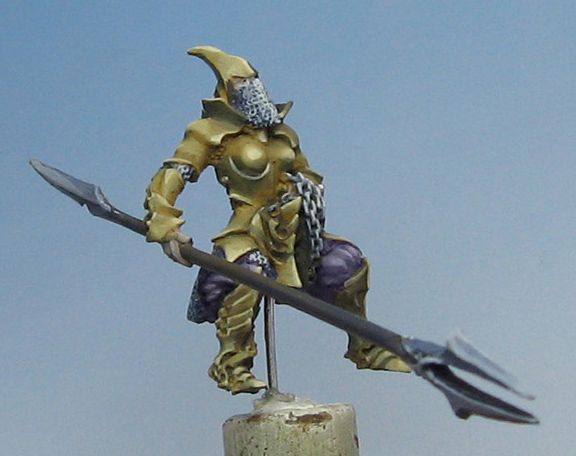
The initial darker washes and glazes applied...
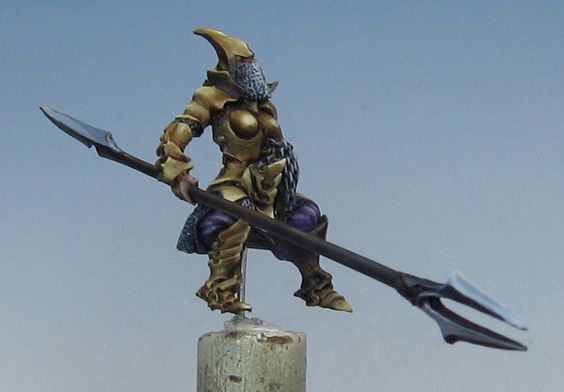
Now the rider is nearly complete. I have gone back in after the glazes and pulled out some highlights, etc. The cleaner the sculpt and cast, the less you have to do of this stage. The more muddled the detail, the longer your work day will be...
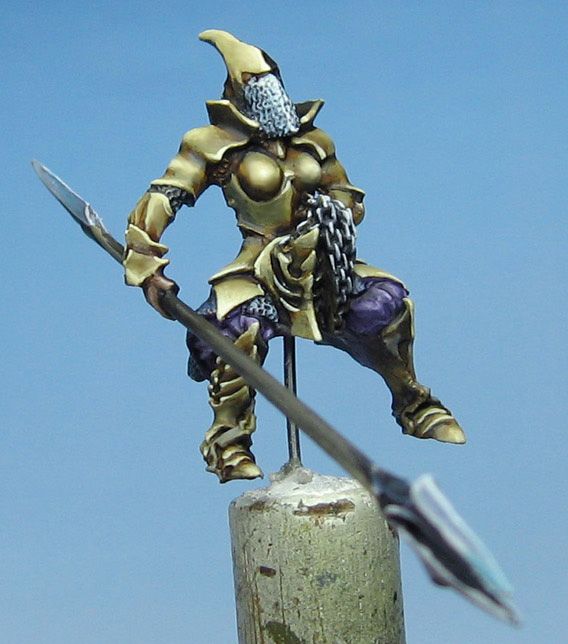
Here are some images of the whole thing together.
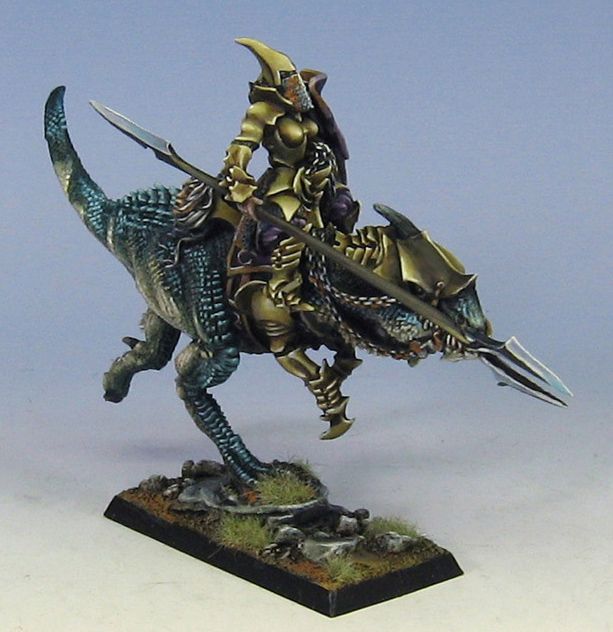
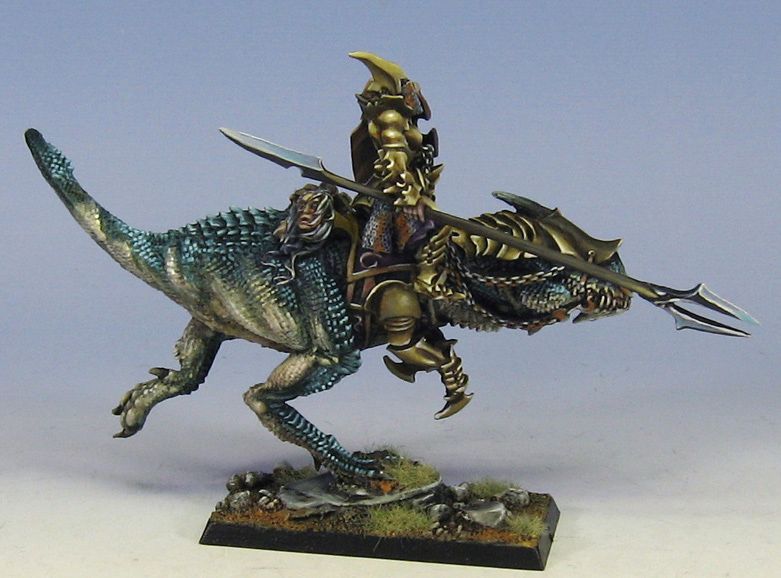
Badass...
ReplyDeleteThanks for doing this James!! 10/10. One question though, can you remember what colour you used for the gold? it looks so good. Thanks.
ReplyDeleteI think it was a vallejo game color calld earth (terra). You could prabably make that same color by mixing one of the older GW foundation yelows with a brown in a pinch...
DeleteI started painting miniatures only recently. My husband used to paint them as a teenager in the seventies. He taught me to paint my miniatures the way he learned it when he started.
ReplyDeleteI noticed that your way of painting is different. This is the way I've been told to do it: base coat - shadow - drybrushing - fine details. Am I right that you do this: base coat - drybrushing - shadow - fine details?
Can you tell me why you do it this way?
That is sort of how I approach my miniature painting. If you look through many of the posts, you will see me refer to my training as a watercolor artist (and my 20+ years as a 2D painter) as the genesis for my current techniques.
DeleteI don't approach these as miniatures, but 3D paintings, which means that I am treating them more like tiny watercolor paintings :-)
well, I'm no painter but I will defenitely try your method on some of my miniatures. I can only hope that my results will be as stunning as yours :-).
DeleteMany thanks! I hope it is fun! Best of luck on your painting! :-)
DeleteIt locks amazing. I'm combining brush and airbrush for those effects. Great work!
ReplyDeleteThanks! I hope yours is fun to paint as well! :-)
Delete