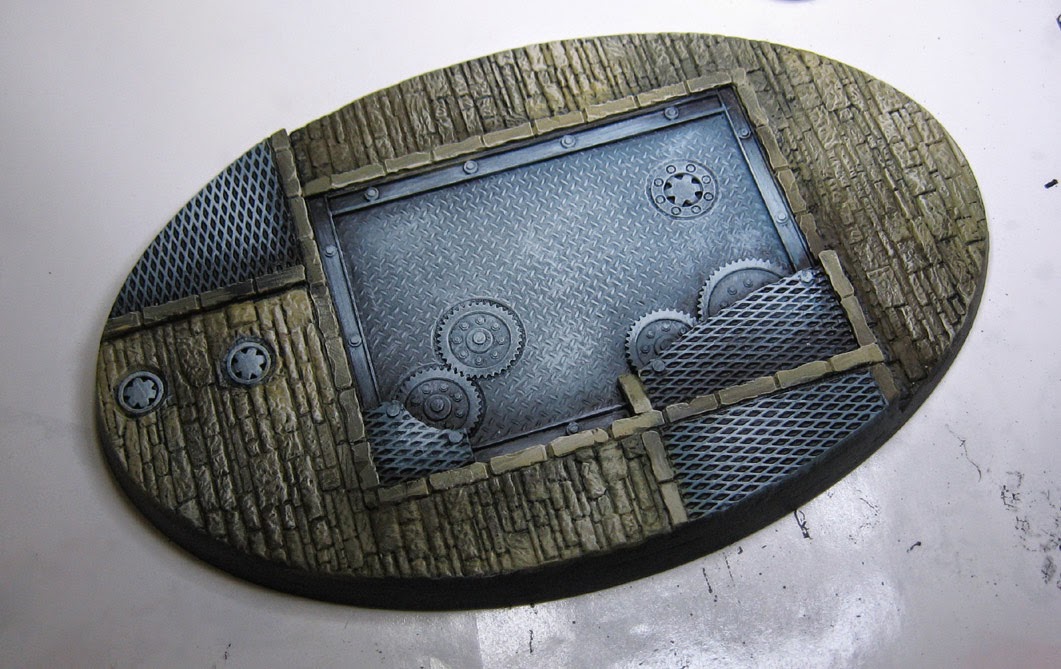
Normally I make my own bases, but there are times that I am handed bases to paint.
Here we have some rather large, if not huge, bases from DragonForge Designs.
The process of painting them, however, is much the same as my own. Most of you will recognize the similarities to the bases I made recently with the Happy Seppuku moulds.
I began with the usual blue/gray, using the filbert brush.
I would continue with the filbert brush, lightening my grays. Keep note that I did change the tint of the gray, using greenish off whites, neutral gray, and so on, to vary the colors.
I work very quickly, attempting to establish the value patterns rapidly.
Metal sections now in a happy place, so now for the rest!
The colors for the stone work would also be varied, but these will probably be more noticeable than the gray. I also want to be sure to make a complimentary value pattern to the grays.
That means having lighter stone colors near the darker section of the gray, and vice verse, all the while changing the colors a bit.
This image shows that process a little better. It's a series of interlocking lights and darks. That is particularly important on large bases like this, so that you keep things interesting.
As always, keep in mind that the Shaded Basecoat technique means that you are working a bit lighter than normal, so that you have the 'space' to do your glazing and tinting later!
The palette reveals the simple color choices, and the larger, broader strokes that the filbert brush provides.
All set for that glazing phase!!!! Stay tuned.


This is wonderful. I am a huge fan of Dragon forge bases, and an even bigger fan of your paint style and technique. To see the two come together is an absolute joy! You really showcase just how beautiful these bases are!
ReplyDeleteThanks! It is great that Jeff works so hard on the quality of his bases. No crazy mould release, so sanded or concave bottom... no air bubbles!
DeleteI also like that he listens to feedback, and you can actually talk to him. Looking forward to your finishing work on these bases!
DeleteThat's for sure! I have 3 more posts coming on this base, and the others in this round. Next one is the glazing stage, then weathering, then final details and such...
DeleteHi Jim, Looks wonderful and thanks for the mention. for all those interested my site address is http://dragonforge.com
ReplyDeleteJeff Wilhelm
Resin Pimp :D
Thanks! I figured that I would put some links on the post that shows the completed bases so that people could snag them too! :-)
DeleteLooks great so far. I like the tip about the placement of light and dark areas to compliment each other on the base.
ReplyDeleteThanks for the kind words! When you have fun multi level bases such as this, it works out very well!!
Delete