Now for some images of the final stage of the Krios tank.
Like all Forgeworld kits, instructions on how to put the stuff together is minimal at best, non-existent most of the time. I had to scour the images of the painted version just to get a clue.
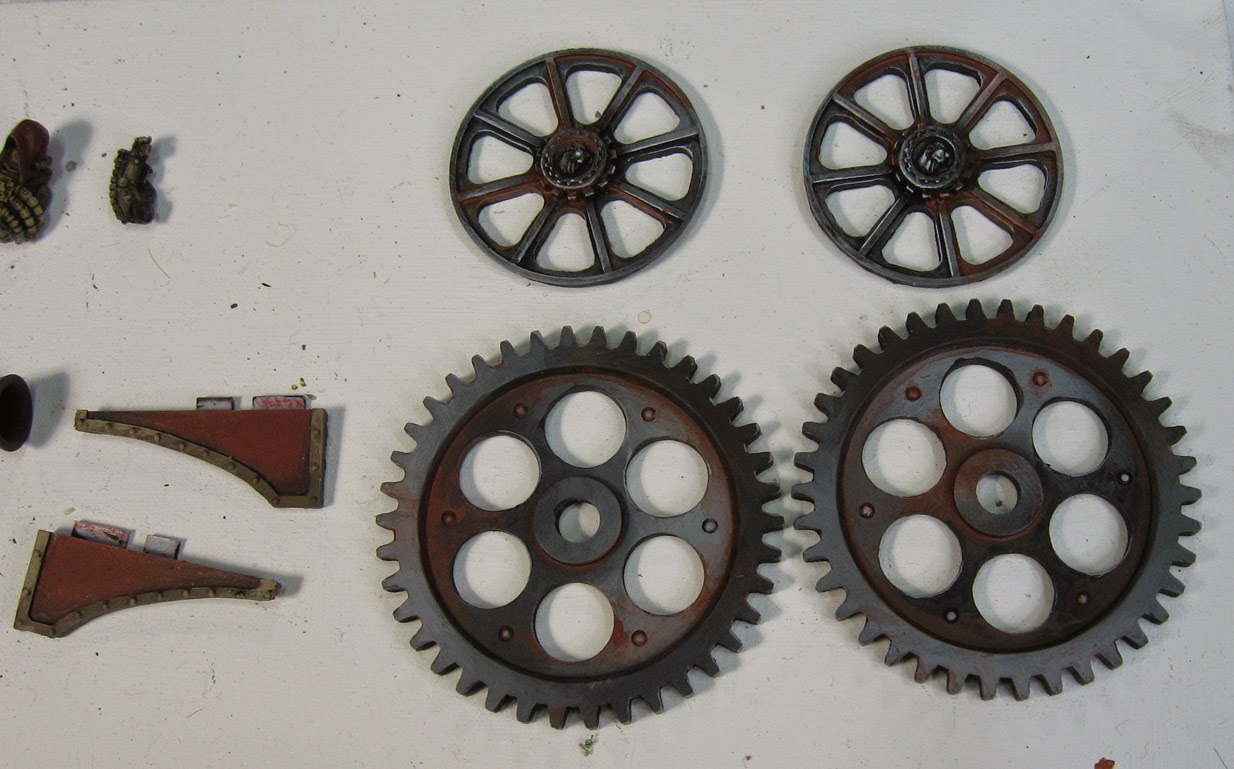
The cogs and wheels now have most of the weathering...
And then the treads, which took a huge amount of time.
You will have to paint these interior sections fully... but beware not to place too much contrast in there, because they really get buried. Too much contrast here will compete with the other pieces you will place on top of it.
This is the section that was a nightmare. One of the pieces is not even shown in any of the instructions, and you have to guess where and which way it relates to the surrounding pieces.
Also, do not attach the other side, since you have to deal with the interior large cogs and the weapon itself.
You can't really see it in this image, but it is a cowling that ultimately supports the weapon.
Here is the best view (the piece that has a number of 'V' cuts in it). It intertwines with numerous pieces, so you have to be very careful when you attach it.
Also, be careful to watch how square everything is, since the parts need to be shaved down here and there to keep things from ending up at slight angles.
I also did some more on the exterior of the treads, adding some rust effects and other weathering. I tried to set up as much shadow area as I could, since I knew some of the cogs will be glued on top of them... and contrast would be needed.
The same goes for the main weapon asembly.
The left treads glued onto the central hull assembly.
The right treads glued, and the traditional rubber bands in place.
More work was done on the glow effect, mostly adding darks. I will have to see how this will be working with the secondary housing.
You can see that housing in the background of this image. Dealing with the pilot was not easy. You can only paint so much of it outside the cockpit... and the arms attach in very odd ways.
So, keep all these tidbits in mind when you go about painting your Krios!
Finished shots soon. It makes me extra glad to have those Hangar 18 backdrops!!!


No comments:
Post a Comment