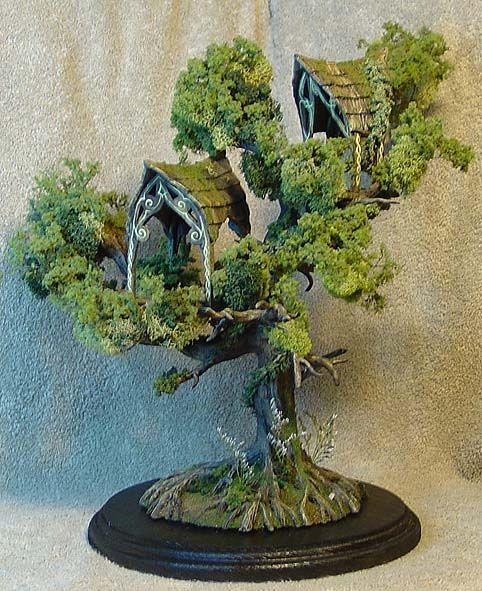
Now that I am getting around to creating my army board for the Lord of the Rings Elves, I had to start considering building Elven terrain.
It got me thinking about one of my projects from back in the "Glory Days" of dioramas, when I used to make something like this every week.
This Elven Sentry post was made almost entirely from Sculpey.
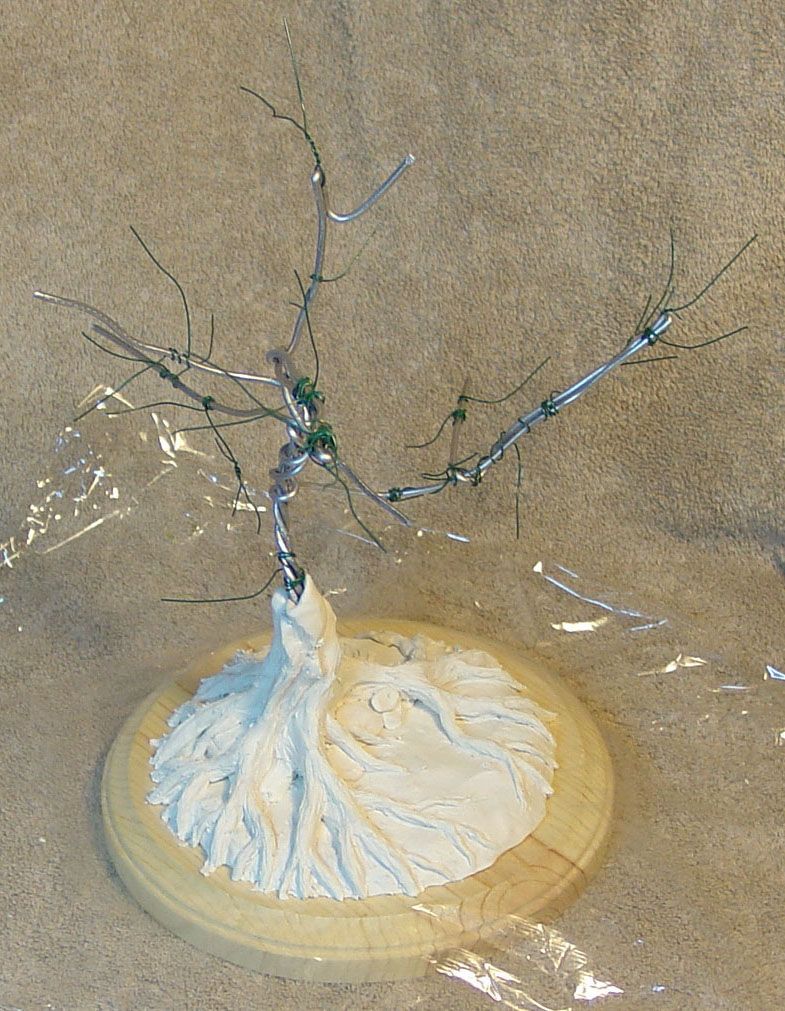
Step one was to create an armature.
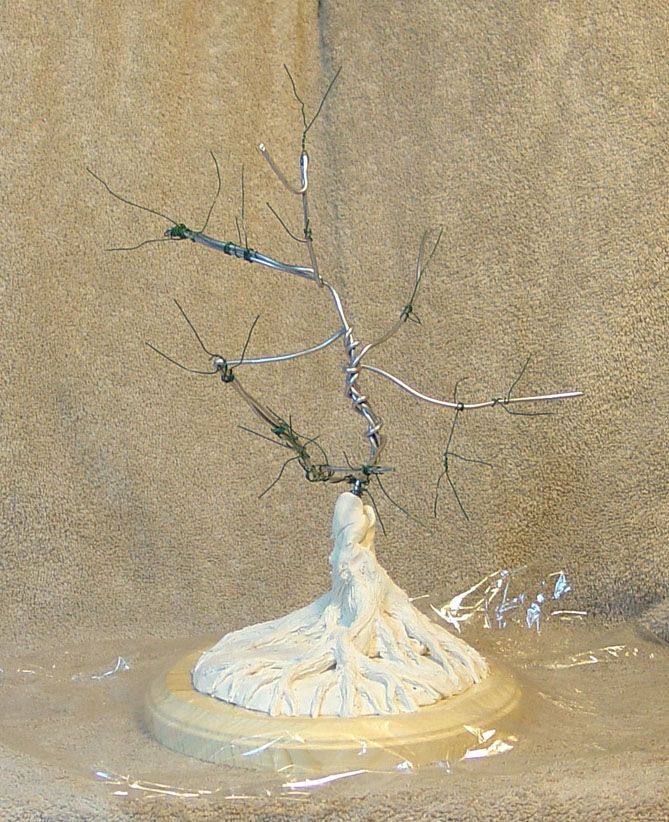
You can see that I used a few different types of wire. The heavy wire is sculpting wire. It is designed to be flexible enough to bend into place, but strong enough to support the heavy sculpey.
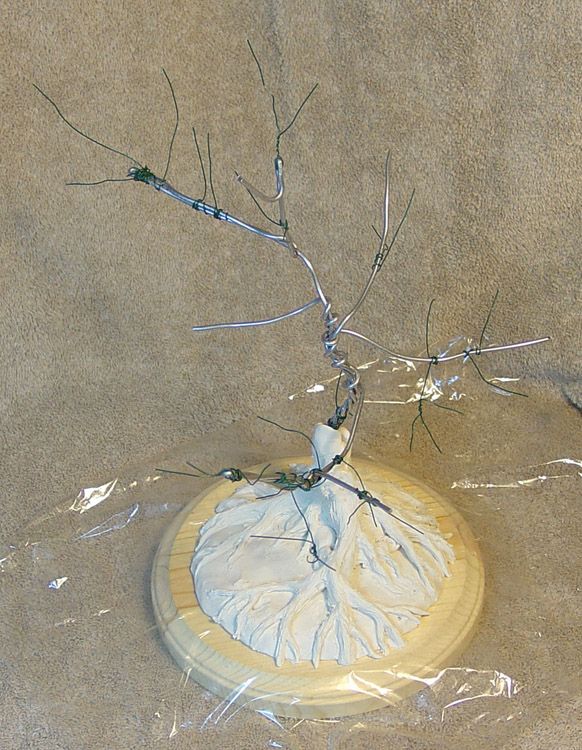
I used the softer white sculpey for the lower sections, since I knew it would be very thick, but also have the most texture. The softer sculpey was much easier to turn into that heavy bark texture.
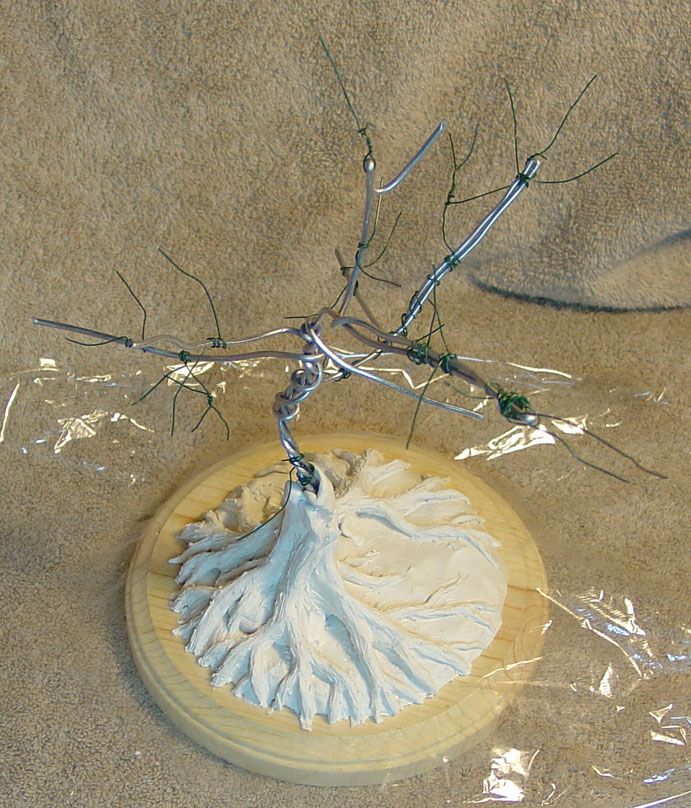
I also had my wooden display base handy, so that I could judge how large the roots would be.
Now it's time to extend those branches! I used the stronger less flexible sculpey for these sections. That is the pink color.
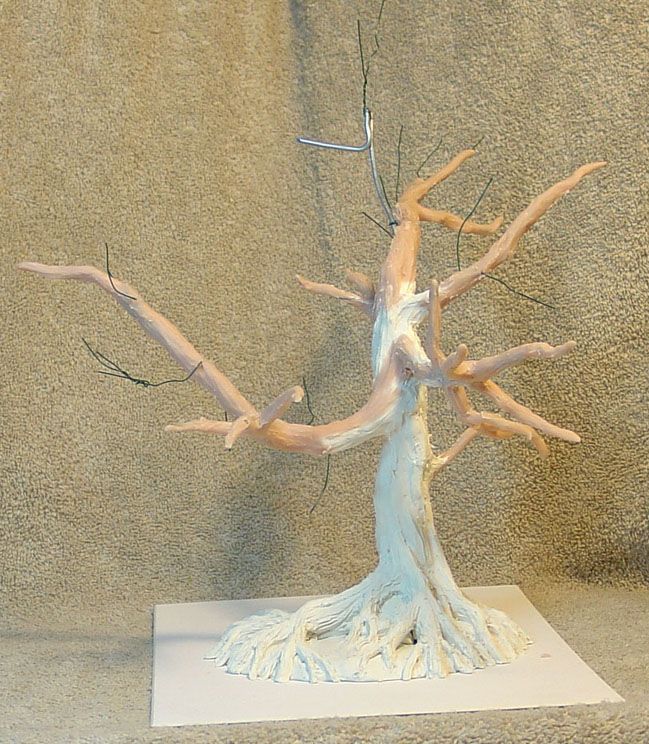
The pink Super Sculpey is much harder when baked, which will be essential for supporting the sentry platforms.
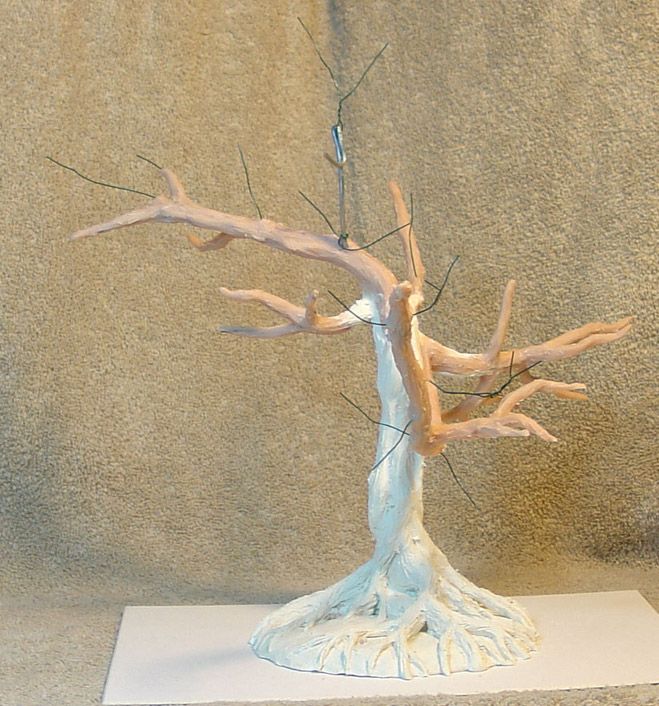
Here's another image showing this next stage of branch sculpting:
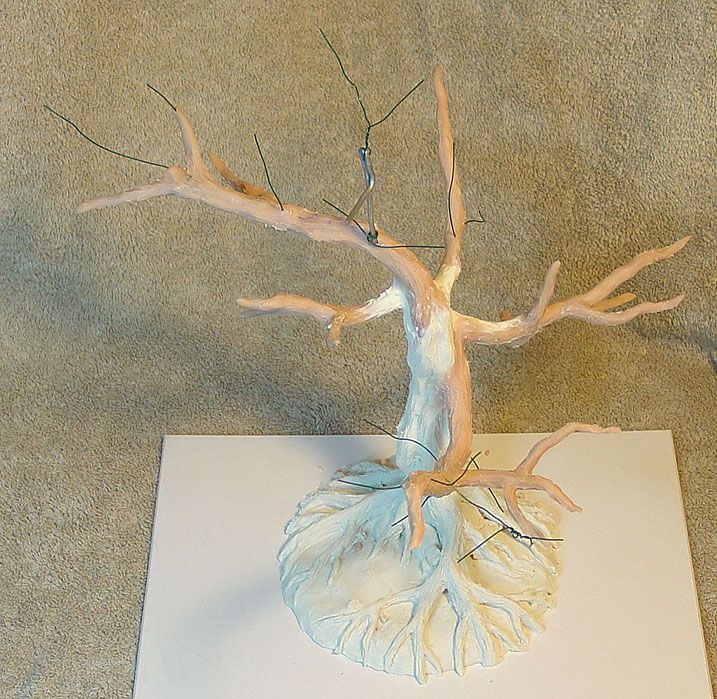
For the tips of the branches, I bring out the hardest sculpey, which is the bright orange. You really want this to be very strong, but light. This will carry most of the foliage.
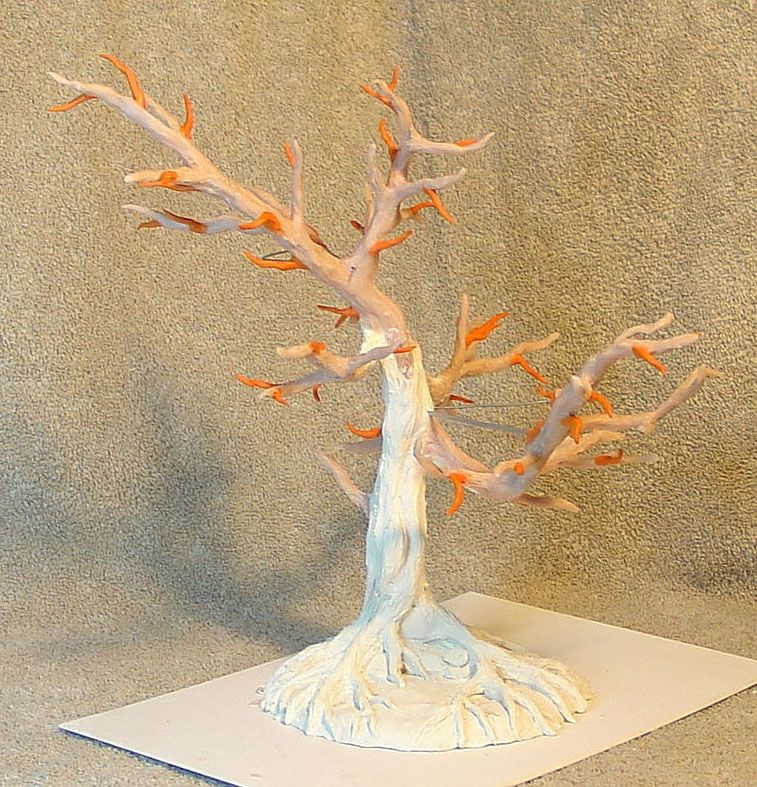
You can also see the wires added that will hold the sentry posts in place...
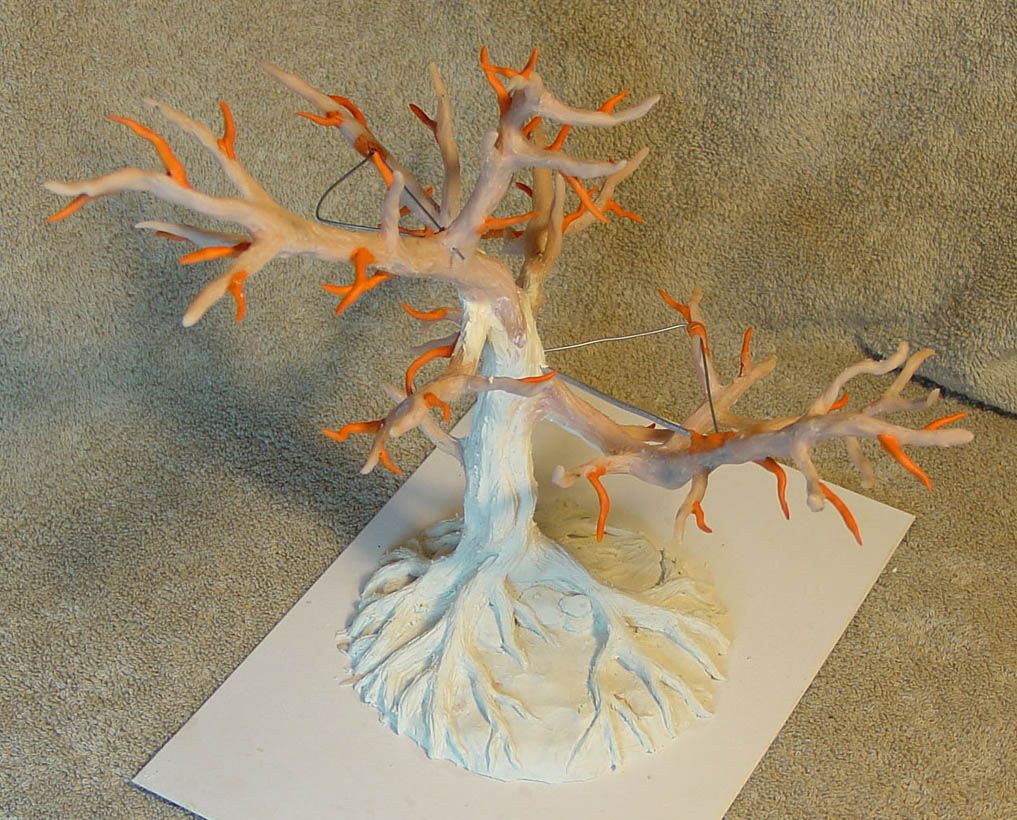
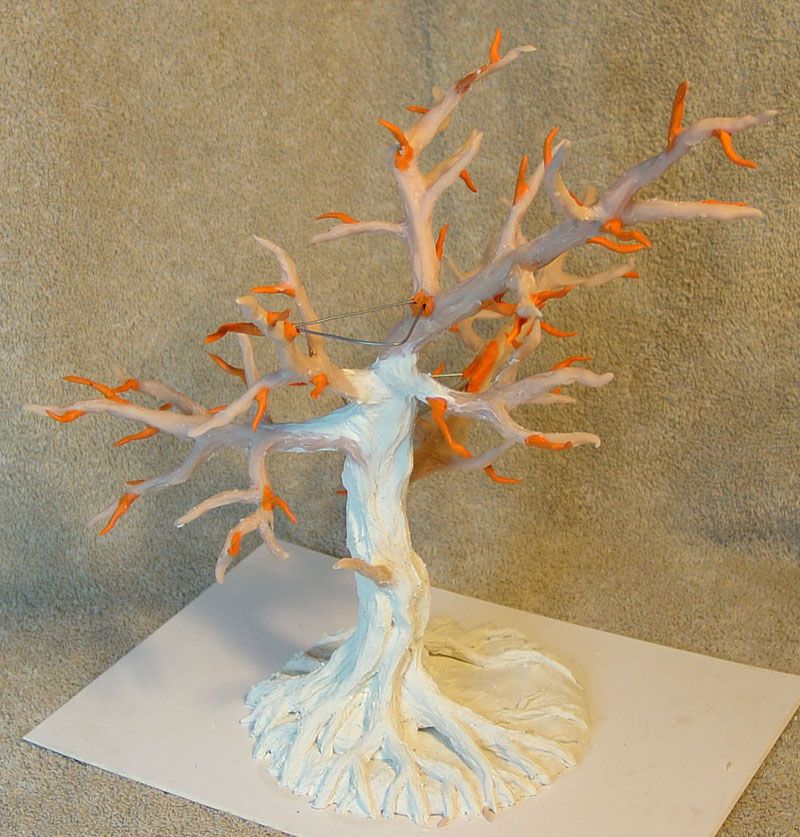
Stay tuned for the next episode, which will detail how the sentry posts were created!
No comments:
Post a Comment