Well, since the lizardmen were not the army I had been planning to bring to the WFB Championships, I have had to do some major re-adjustments to the army to get it ready for Adepticon.
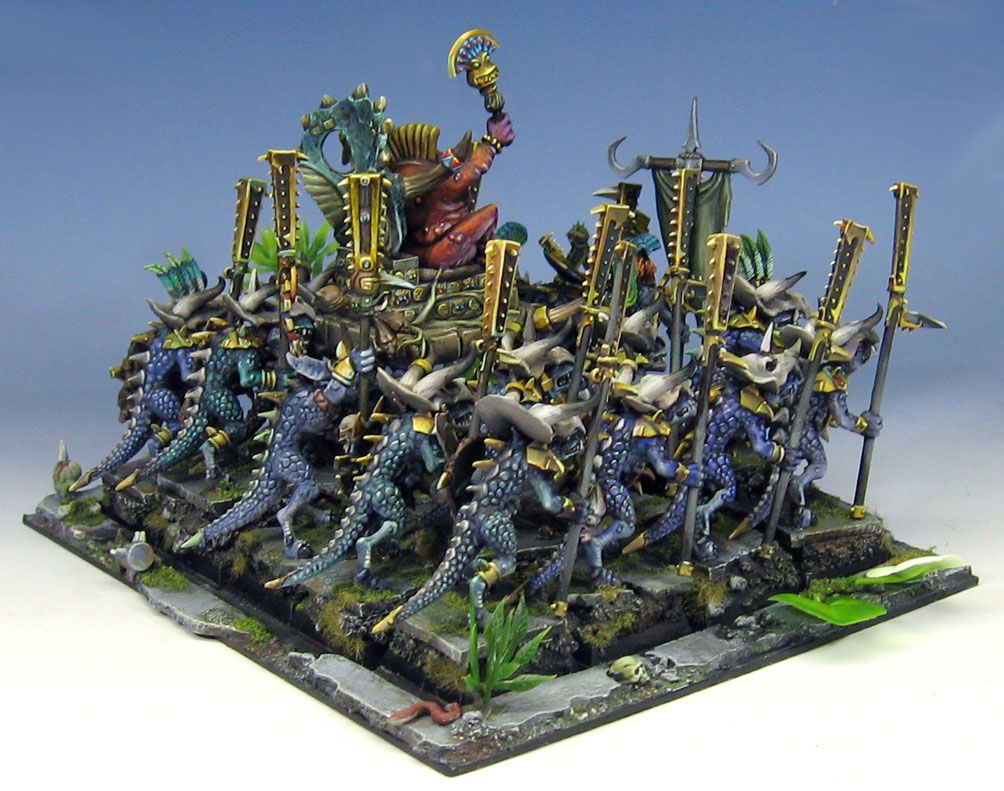
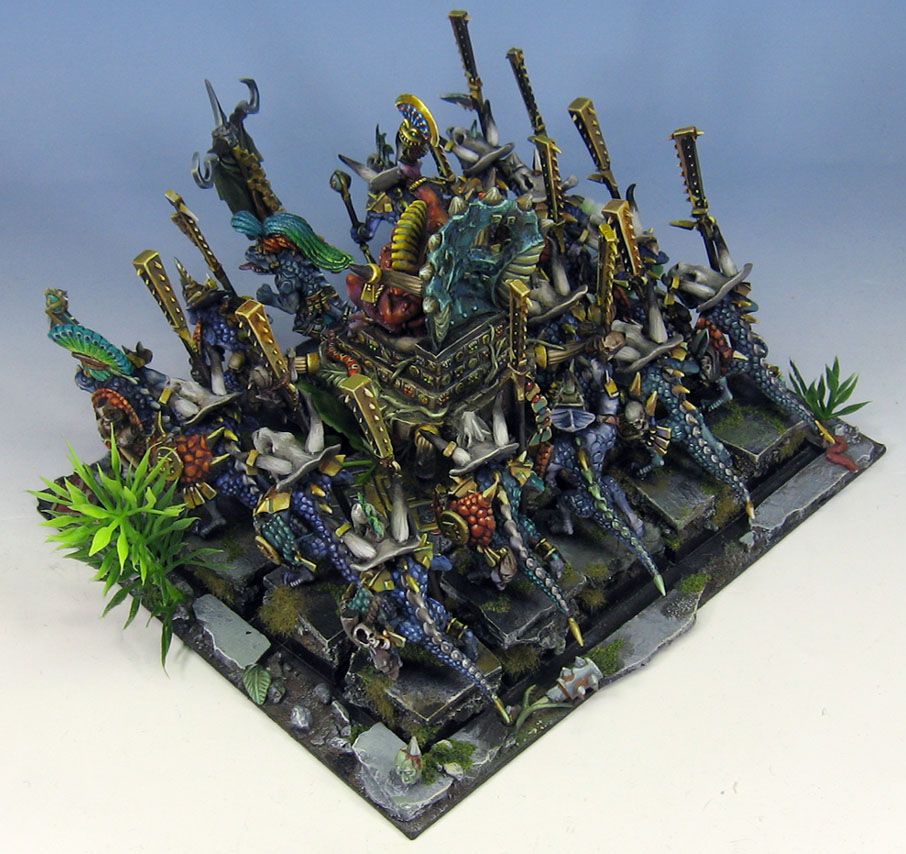
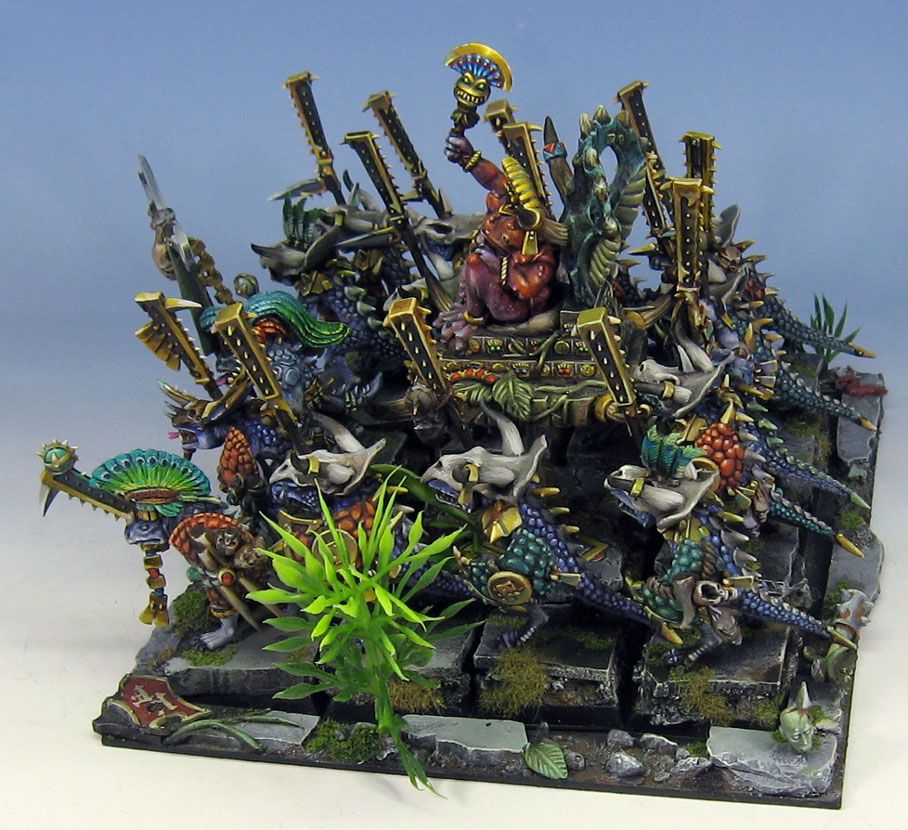
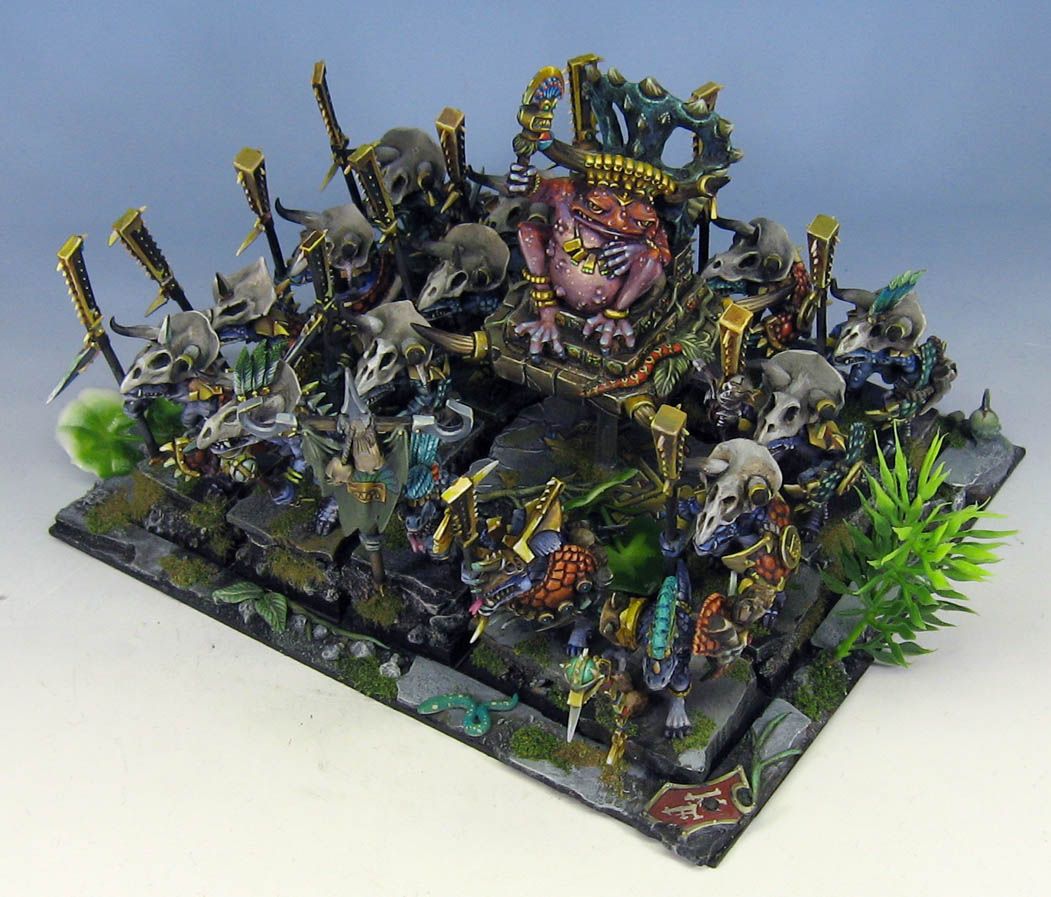
I didn't want to bring the same army I did a few years ago. Since there are fewer points available (and the huge changes that 8th edition wrought), that wasn't going to happen anyway. I realized that I never had Babo and his Temple guard at Adepticon ...or even Armies on Parade for that matter. The unit had never been finished!
So, all this week I have been trying to get to them whenever I could. The idea was that they would reflect the coloring of Mage Priest Babo, with a purplish grey as a base tone, but each individual Temple Guard would have its own color scheme. In effect, they were on their way to becoming Old ones... their skin getting lighter and lighter as time went by.
In addition to the extra work of these guys, I added a unit of saurus cavalry, which meant a similar renovation. This also meant that I needed to rework the story of the army, which I will be doing once this is posted. I will put that up on the blog Wednesday night.
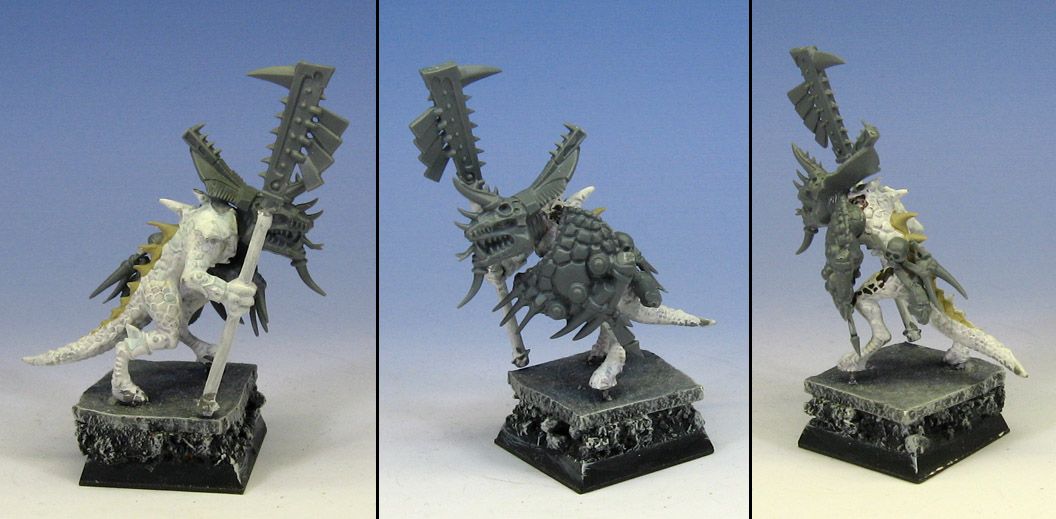
The whole unit of Temple guard is converted from regular Saurus, and a few old time metal miniatures. Most of the helms were sculpted with brown stuff, as can be seen in the WIP image.
Now to the pictures!!!
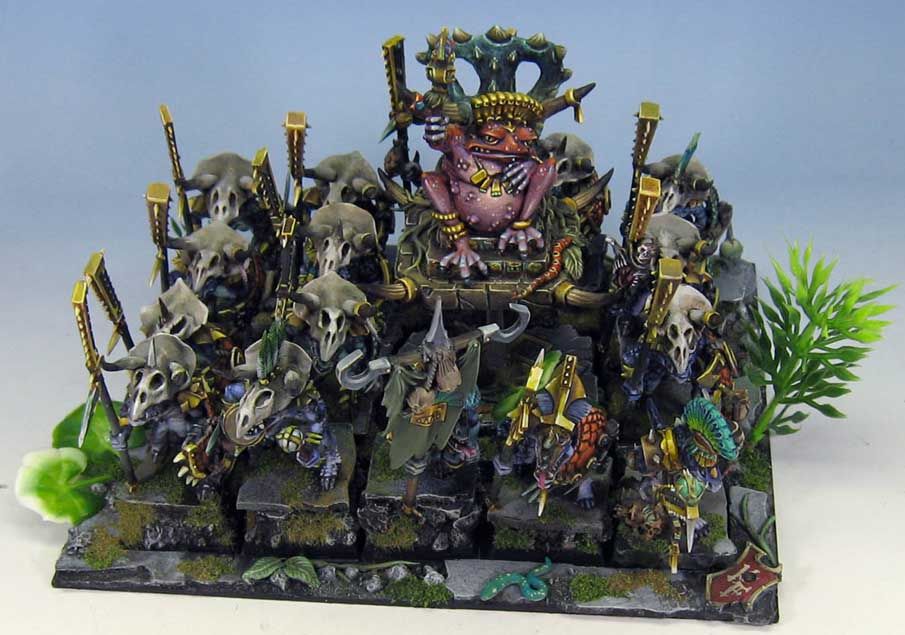
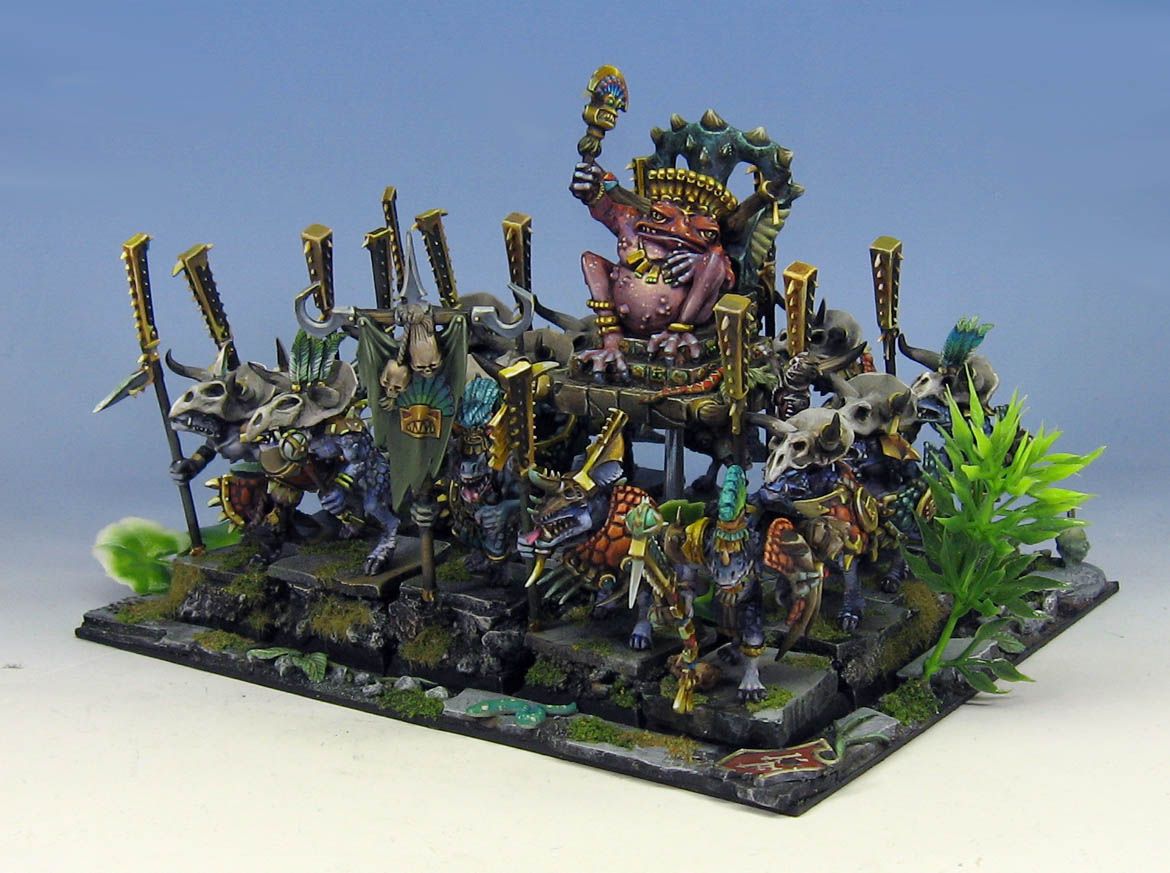
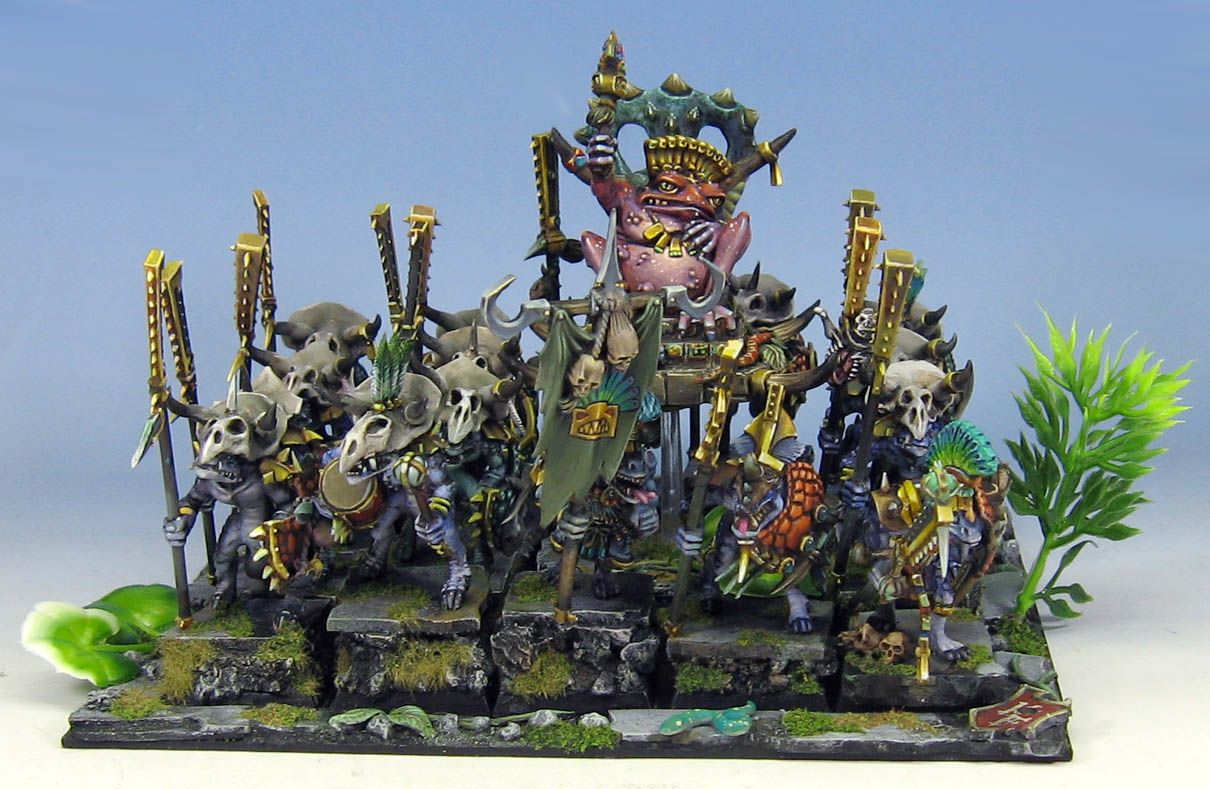
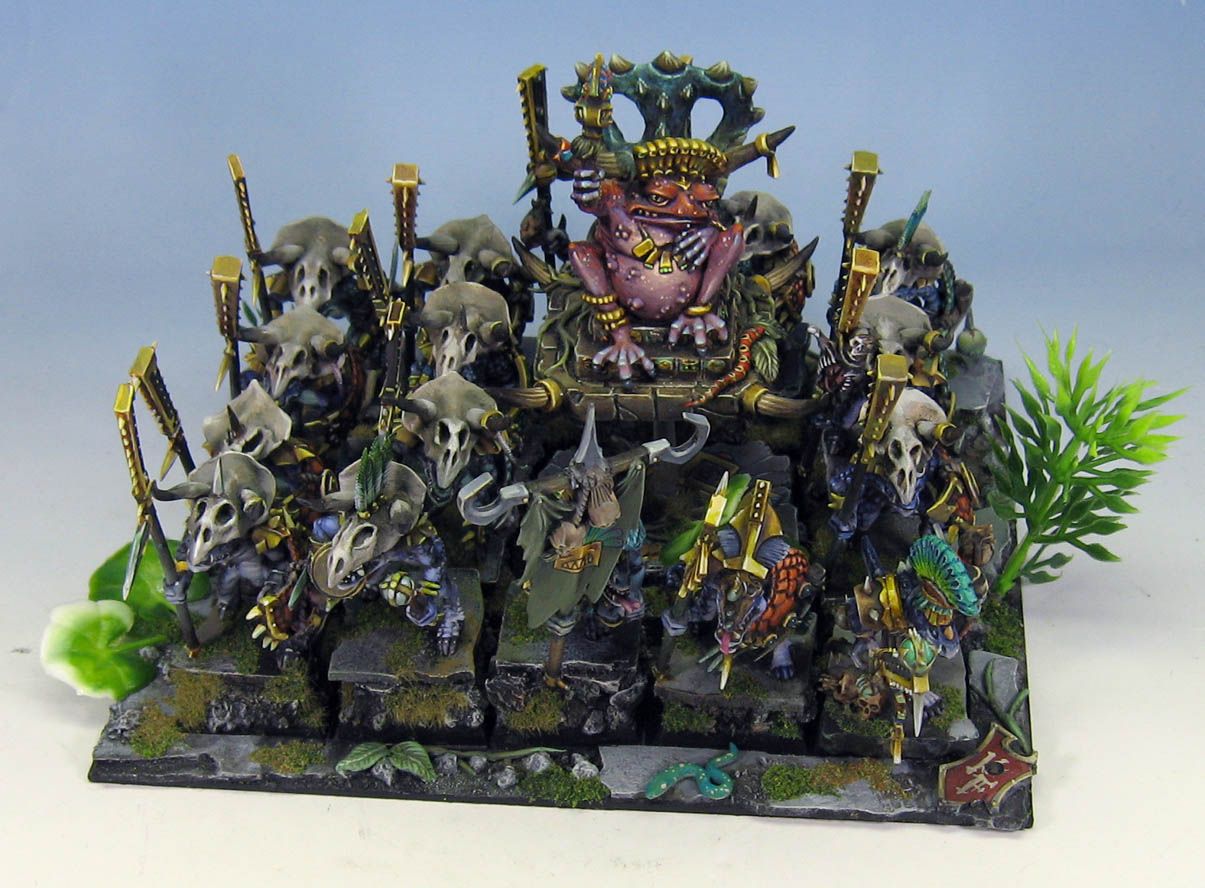
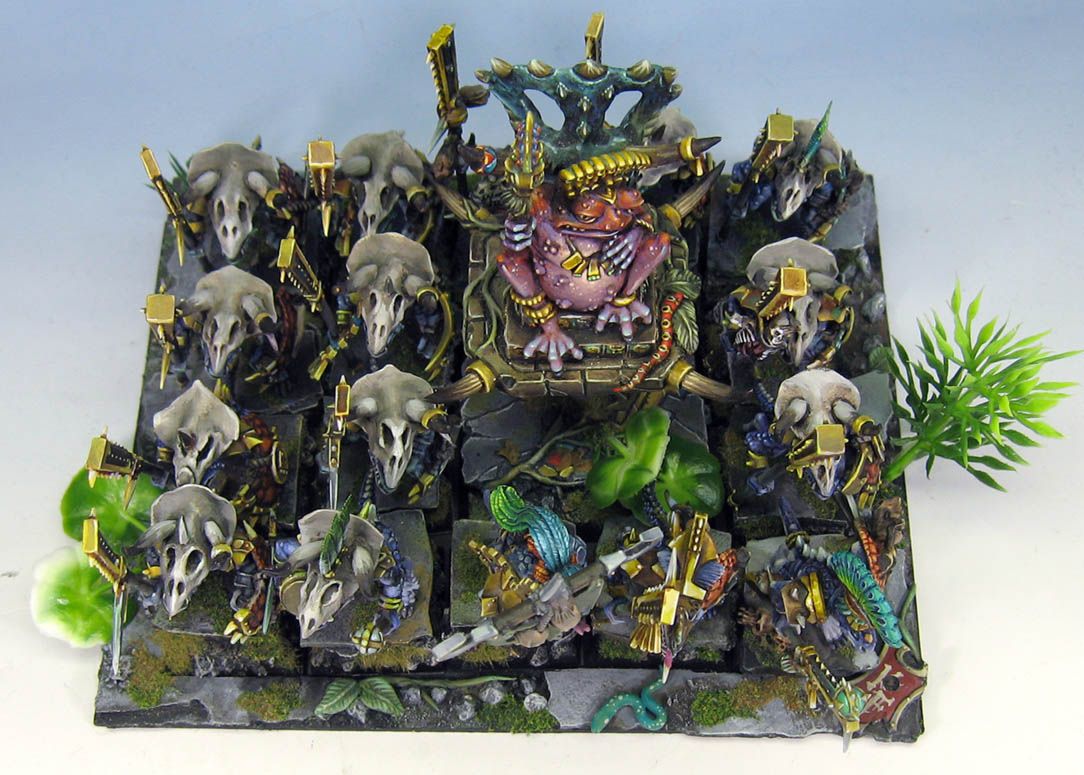
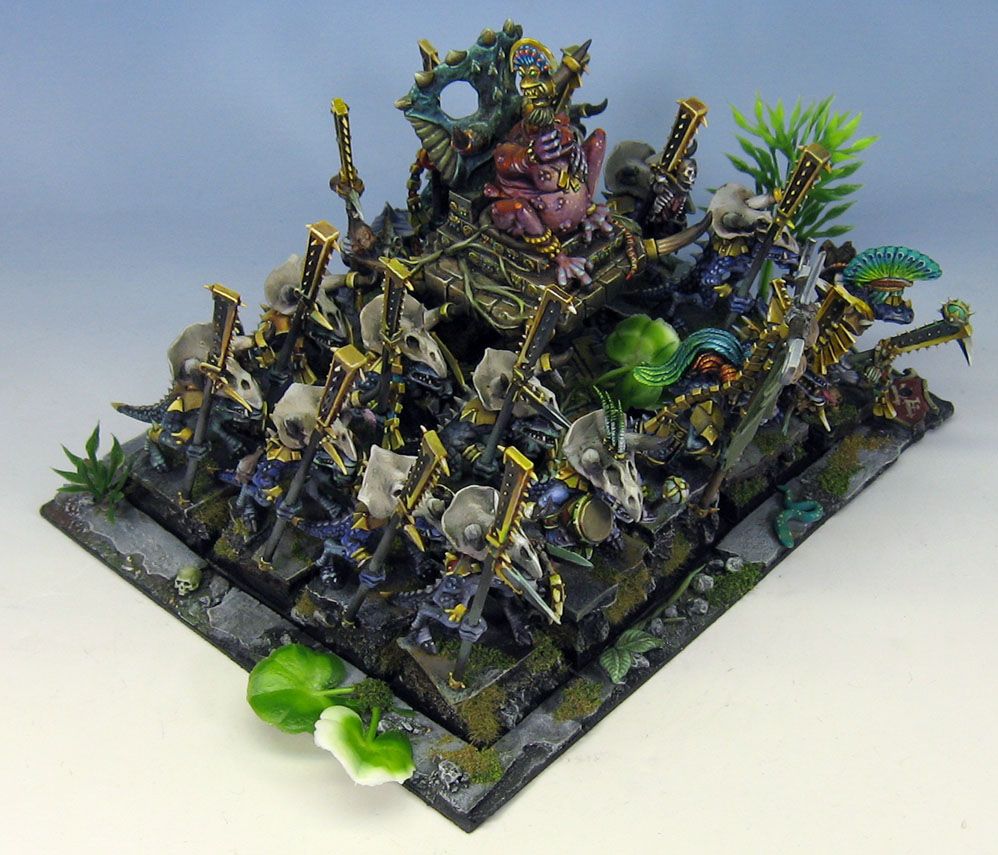
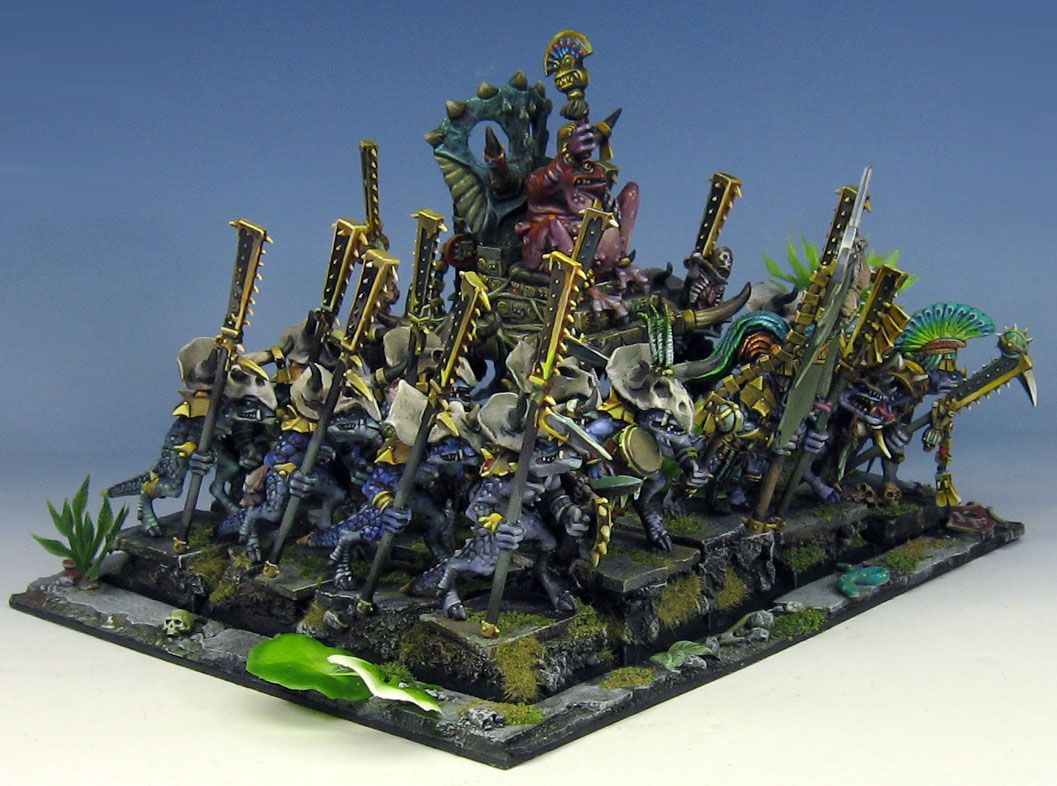
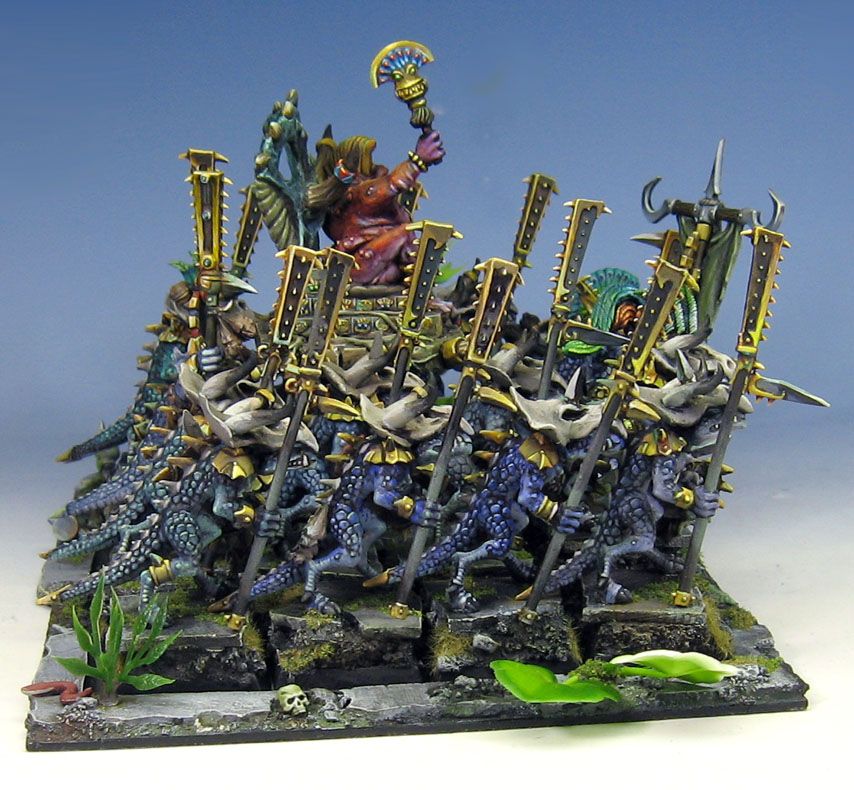
Here are a few of the conversion WIP shots:
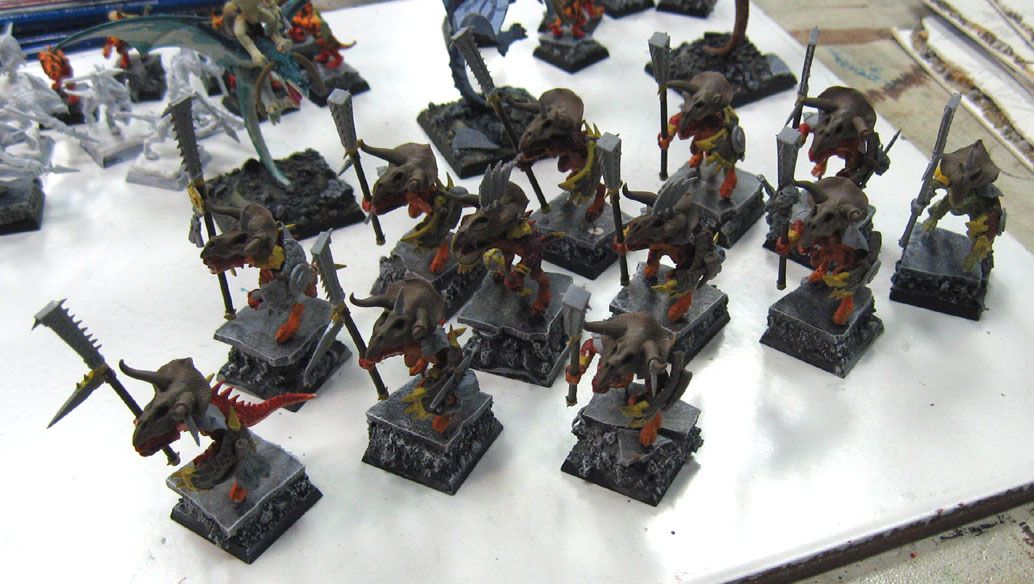
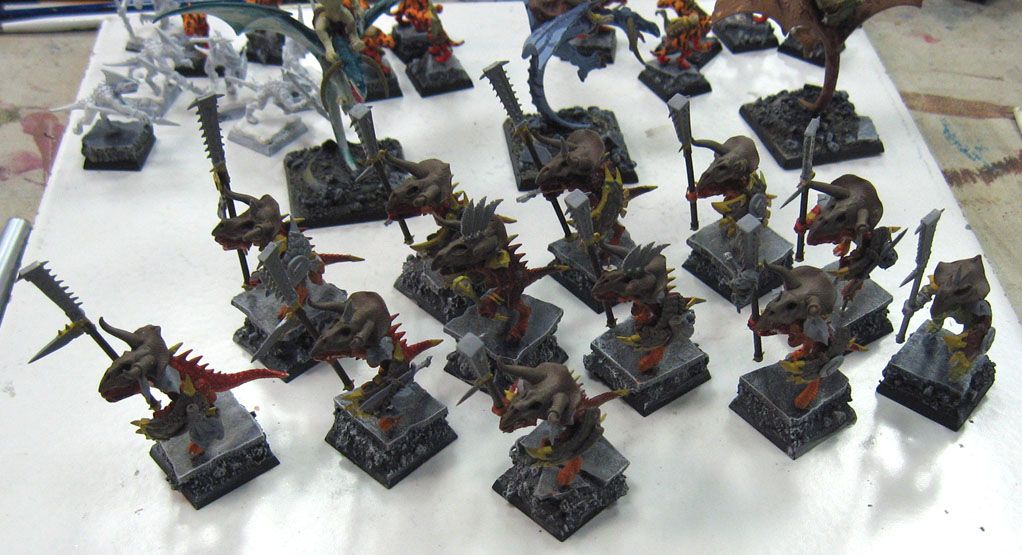
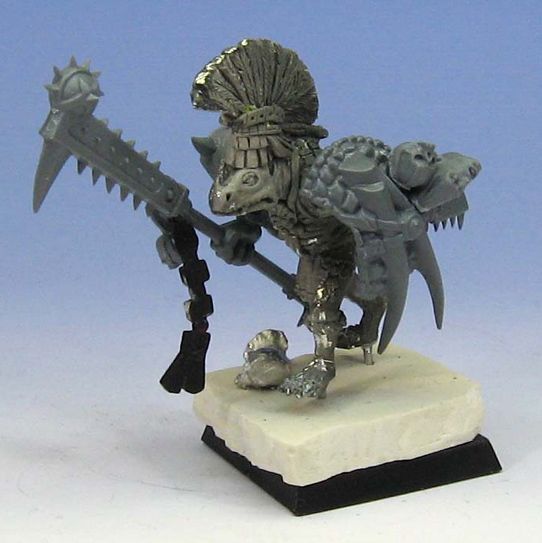
This is what the unit looked like before I entered this final stage of painting. You can see the 'shaded basecoat' technique in full swing, and no vegetation has been added.
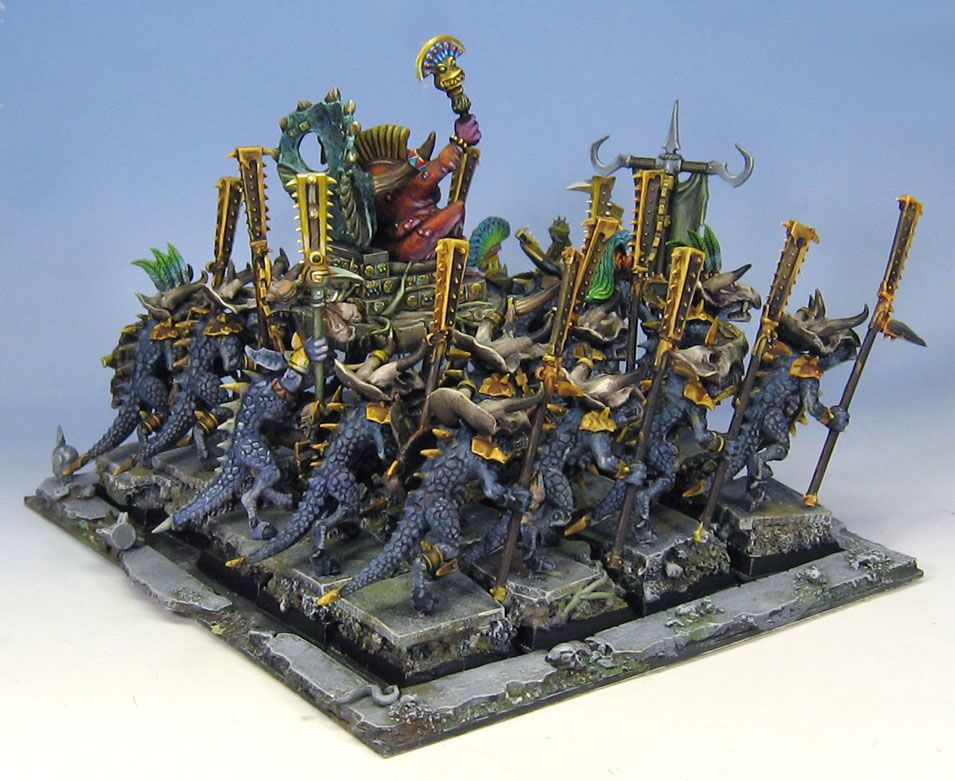
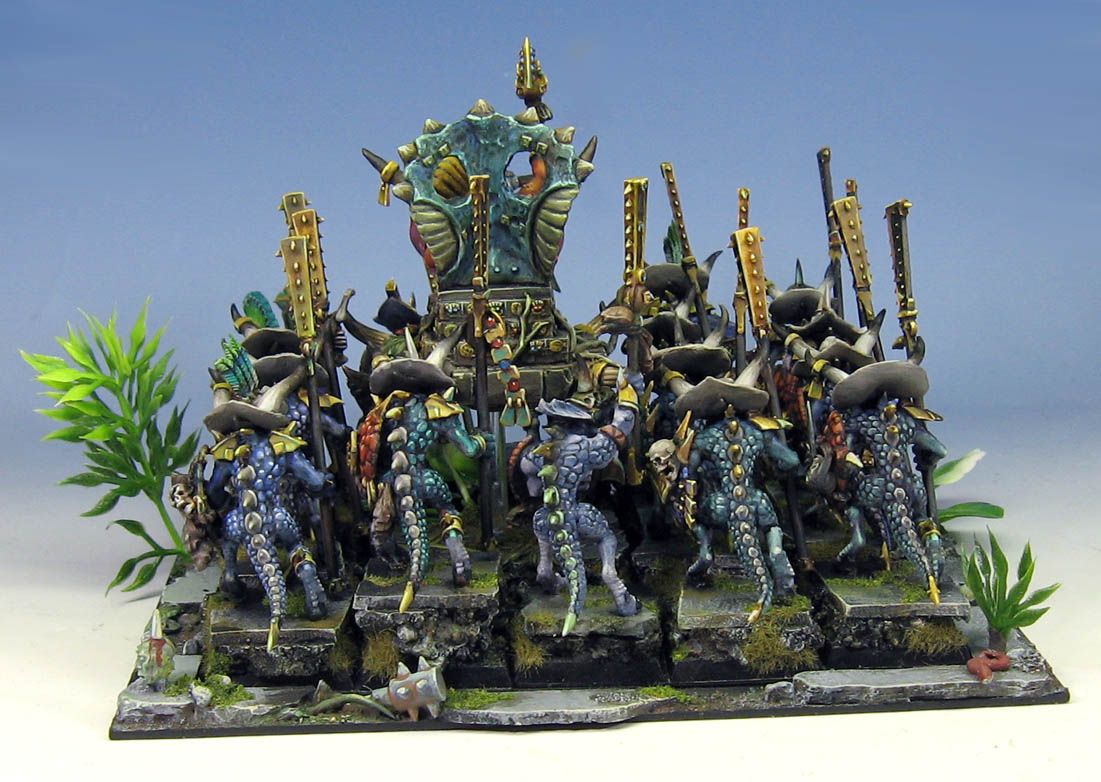
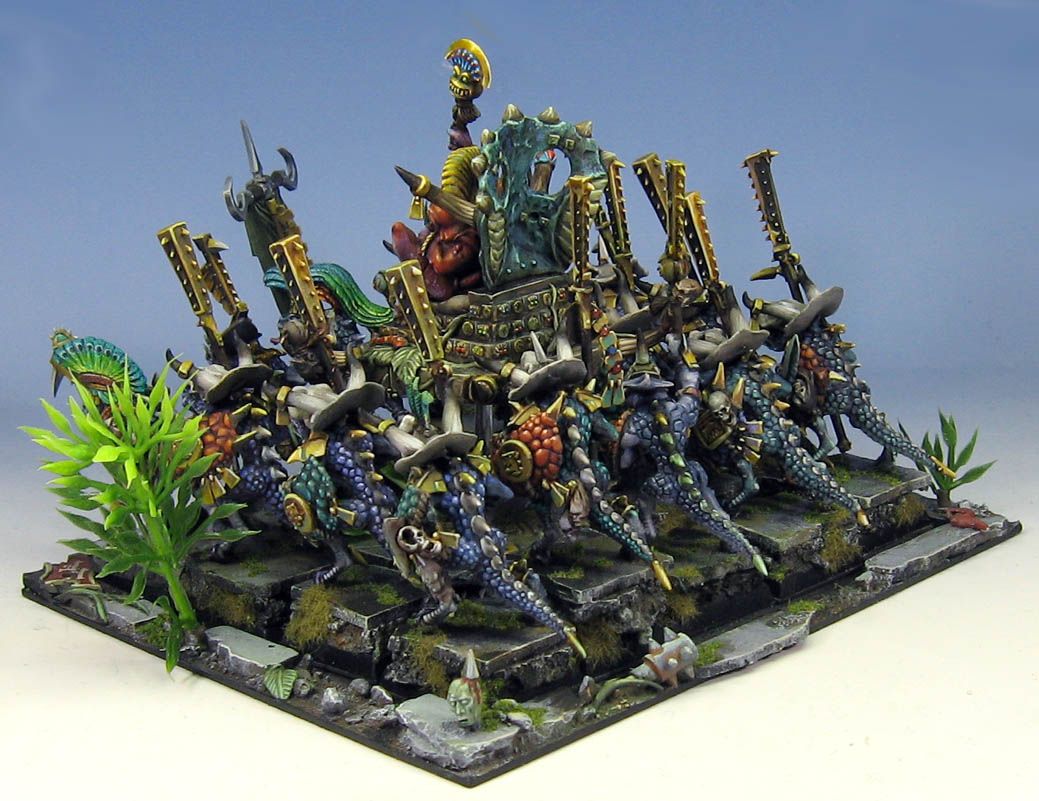
Awesome lizards fella
ReplyDeleteYou mention the 'shaded basecoat' technique, how does this work?
It is a bit difficult to explain without images, but I will try my best. I will be posting how to articles to the blog evetually!
ReplyDeleteThe idea is to simplify your base colors, choosing a middle tone, and then working lighter right away. This is done with large brushes. It is not necessarily a drybrushing technique. The idea is to cover as much of the surface as possible very quickly, and establish where your lights and darks will br right away.
Once the shaded basecoat is complete, I use a series of controlled glazes to shade the miniatures darker, and tint them to the needed colors. I will also go nack in with opaque middle tones and lights where needed, especially on NMM areas.
I this way, I never have to wriet down color miztures, so that I can come back to a project after months or even years and still match what was originally done. I hope this helps!
Cheers for the reply
ReplyDeleteSounds interesting, might try it out over the weekend.
btw, great blog you have here, i'll look forward to future articles on your technique!
Carl