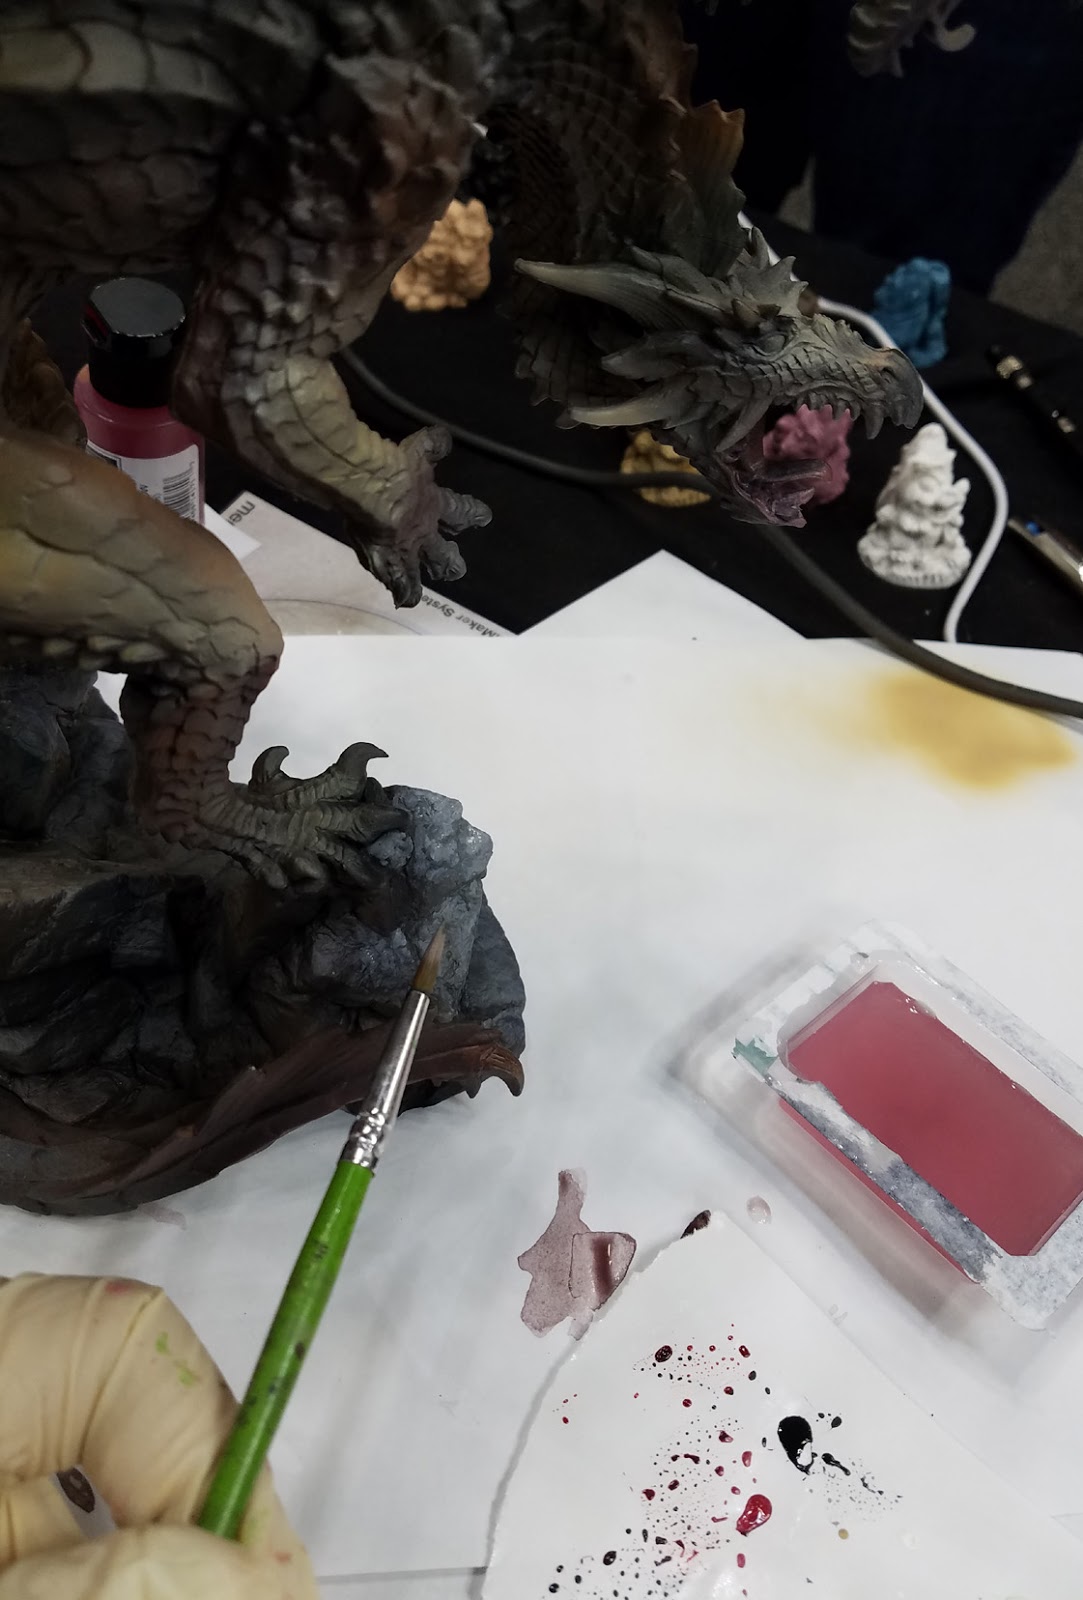
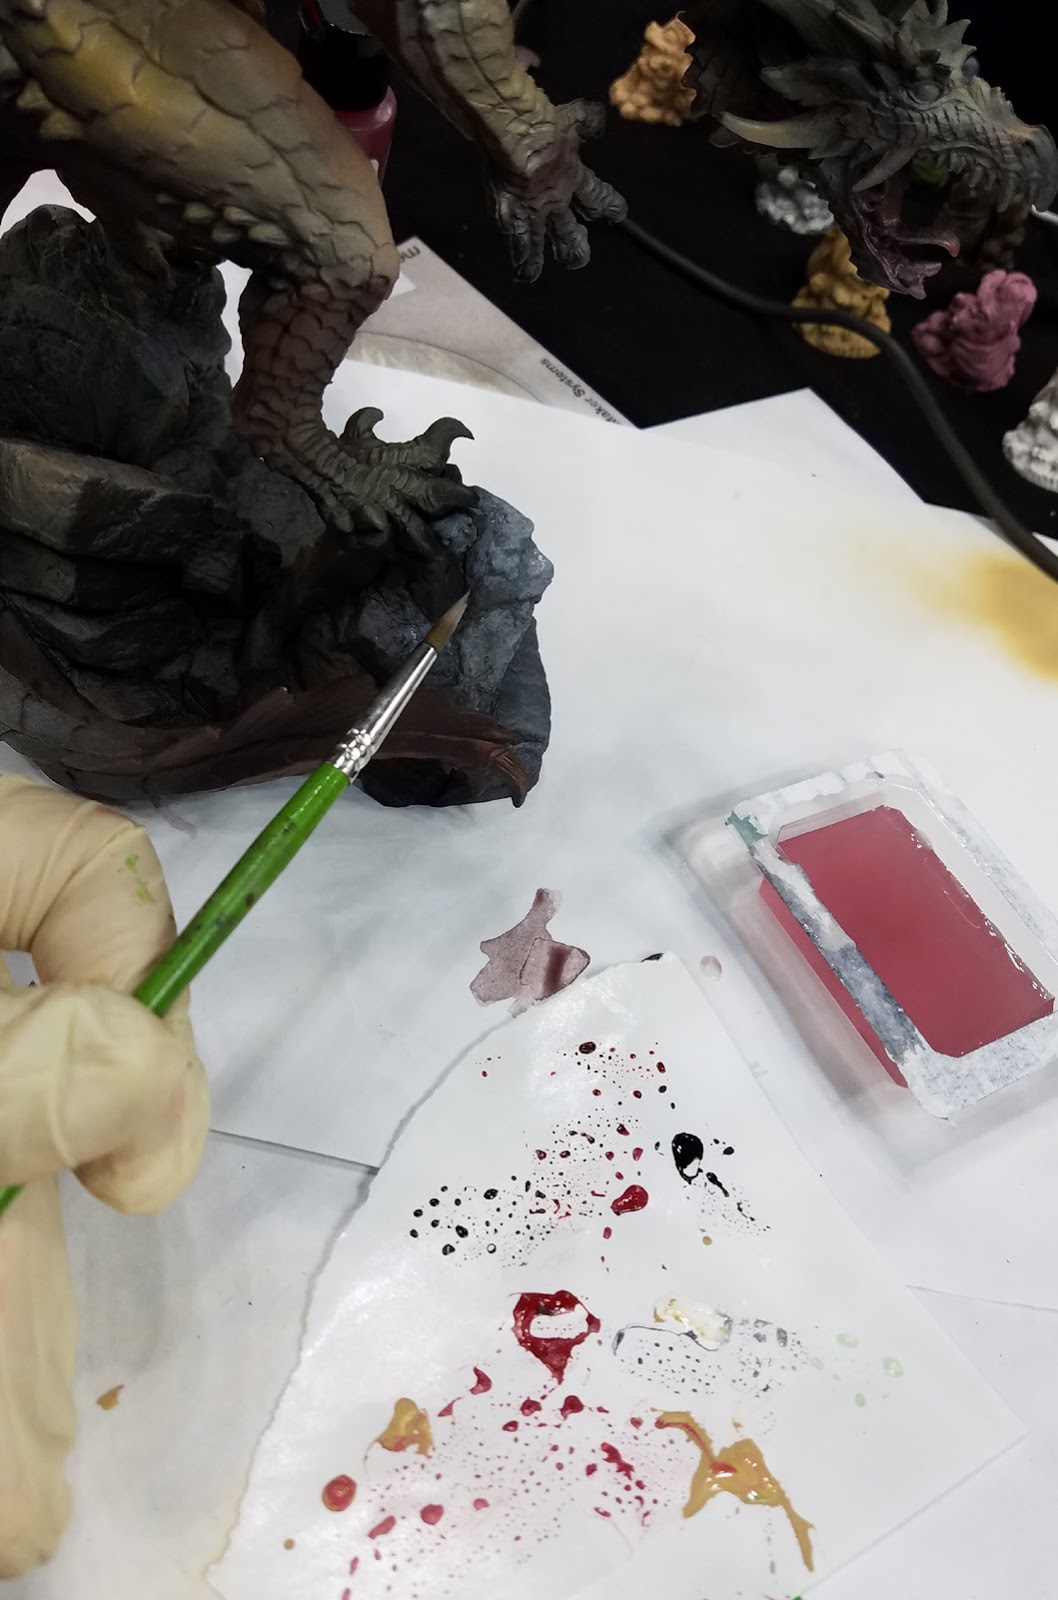
The "Primer Painting" process continues with the Badger Stynlrez primers... all 12 colors!
Lots of mixing and tinting (with the Ghost Tints) was used to slap some colors on this giant BONES dragon. As I mentioned in the previous post, I had no idea what I wanted to do with it in terms of color, theme, etc., so I simply started shooting mixes of primer at it to see what it would look like!
You can see that I tried to vary those tones all across the figure. I think this image shows how the blues and browns intermingled on the rocks and on the dragon itself.
Even for something as simple as the horns on their heads, I could rapidly experiment with which way the light to dark shading would go. That is, starting dark at the head and working to lighter at the end, or the other way around.
Eventually it became clear that I wanted to have them be lighter on the ends. A simple adjustment to make with the primer and airbrush!
This was part of the Ghost Tint experiment that I have been talking about. In this case, I took some of the Golden Yellow Ghost Tint and mixed that with one of the light tan primers. This created a very intense shade of primer, and gave a more saturated look to the colors on the dragon (and even an Italian tank!).
You only need a few drops of the very intense Ghost Tints to alter a primer color. We mixed the blue tint with the metallic primer to create a fantastic blue metal, and also used the purple Ghost Tint with white to make an incredible intense purple primer.
The Ghost Tints were also mixed with the primers to do some "regular" painting with a brush. I did this to show why you don't have to limit yourself to airbrush only. I painted some details on the heads, such as the mouth, teeth and eyes, to show how the primer can still be brushed on.
I mixed some of the lighter color primer with a few deep red Ghost Tints, which made some excellent pink tones.
You can see some of those added elements here. I also mixed the green Ghost Tint to make some eyes, and to drop a few test brush strokes onto the scales...
If you look at the head in the upper right hand corner, you can see the greenish tint as compared to the other heads. That makes a nice contrast to the reds in the mouths, and to the deep purple darks used around the eyes. Again, this is just setting up layers of paint that will be added... since this is only "primer".
You can see some different shading on the wings here, reflecting the different angles which they are set once they are in place.
Look at the top dragon head closely, and you can see some greenish brush strokes on the ear and the scales on the back of the head. Here I was taking advantage of all the subtle dark reds that the airbrush had placed in the shadows and mid tones.
By using the greenish colors on top of that set up was far easier than trying to mix all those colors and applying them with a brush into the crevices and around all the obstacles!
I will be going over this with my regular oil paints and weathering powders, along with putting it on a wooden plaque to create a base. Stay tuned!
Also, here is a location on line where you can get the Ghost Tints and Stylnrez primers. If you use the discount code of Wappellious, you will get a 42% discount.
A link:


