A collection of images that feature my painted miniatures. It features many of my award winning figures and terrain pieces painted since 2001.
Pages
▼
Thursday, August 16, 2012
Secrets of the Silver Pharaoh revealed...
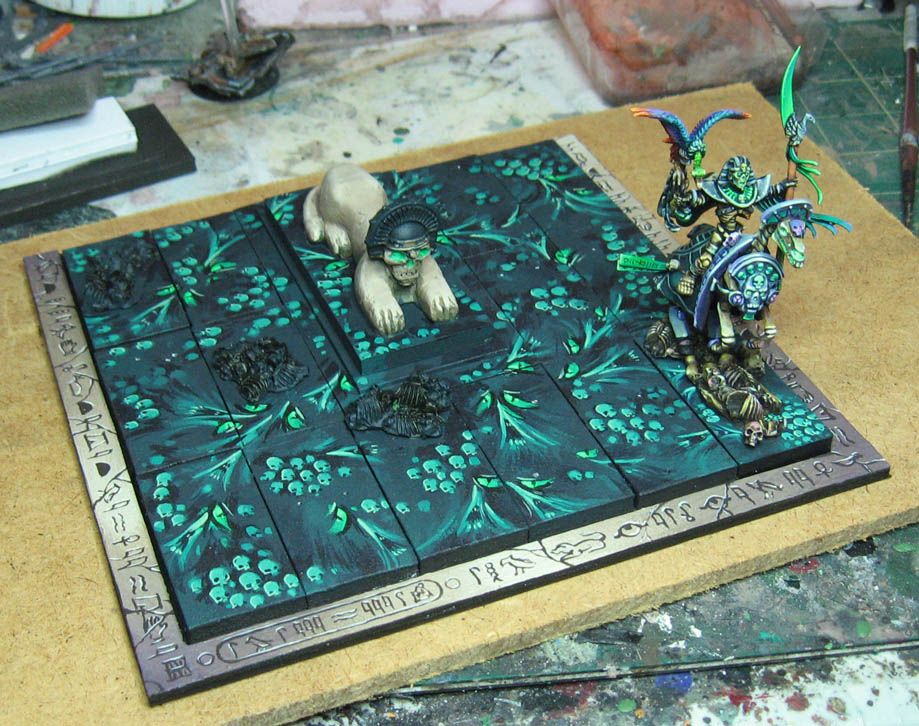
So, moving on with the painting of the movement tray for the horsemen. I occurred to me that I never did a step by step set of images on how I paint the hieroglyphs on the perimeter of the tray. So, here it is!
I begin by painting the tan color around the perimeter, doing some cursory shading along certain parts so that it is not too boring, and also lets me have the highlighting show up much more.
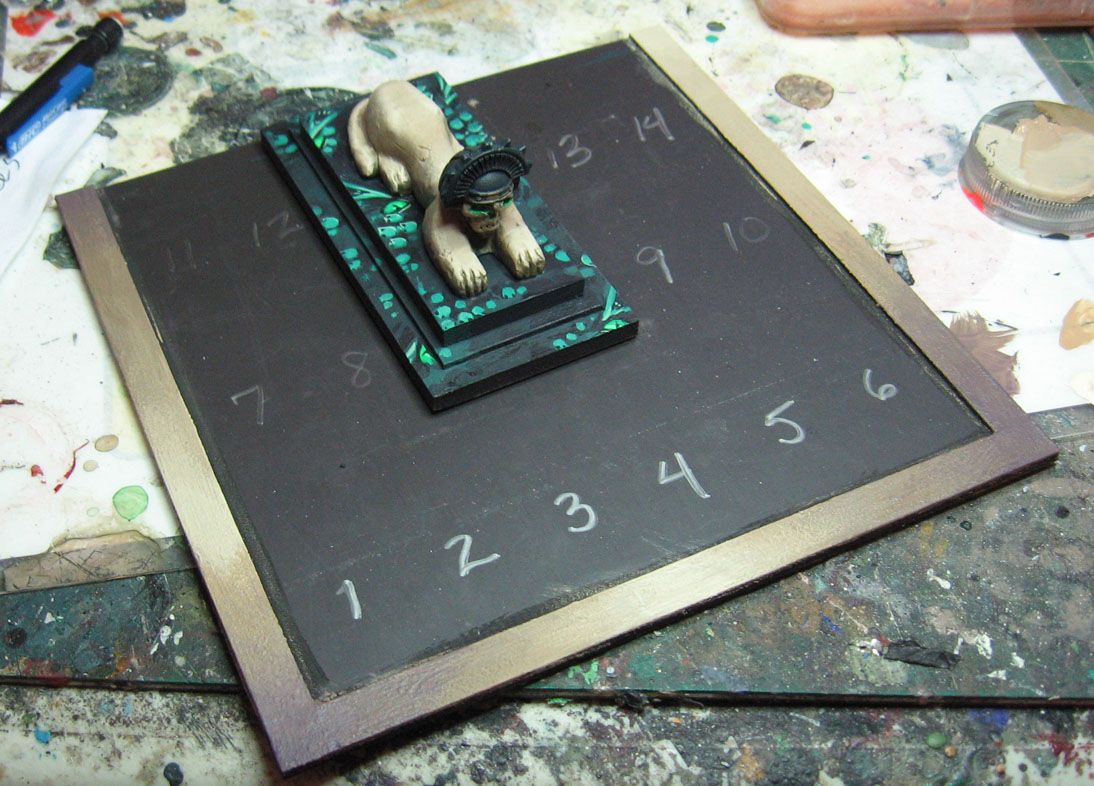
If the highlights were placed against only the lighter tan, there would not be much effect!
Now for the translation. I spent several hours doing the translations using a few websites and transferring that into a scaled down version that would fit along the outside of the tray.
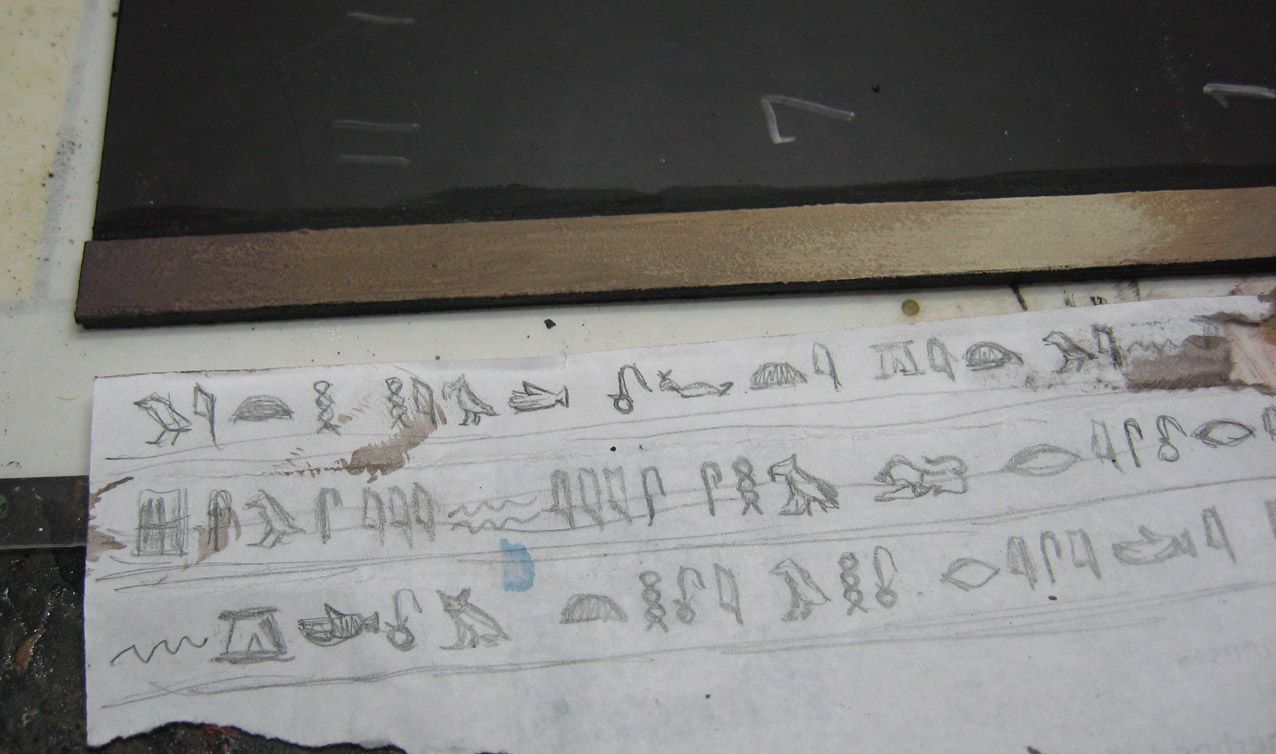
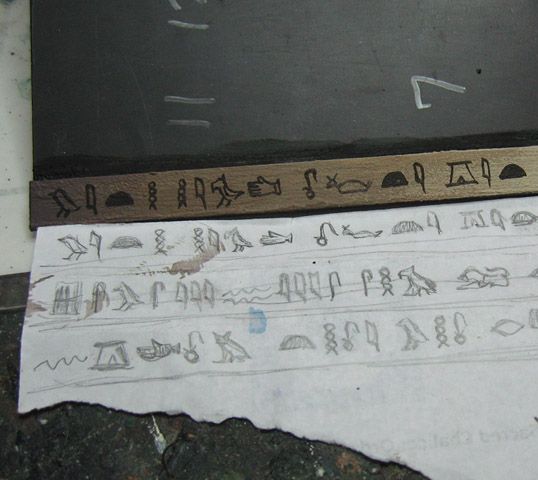
I place this guide right next to the tray, and paint the designs:
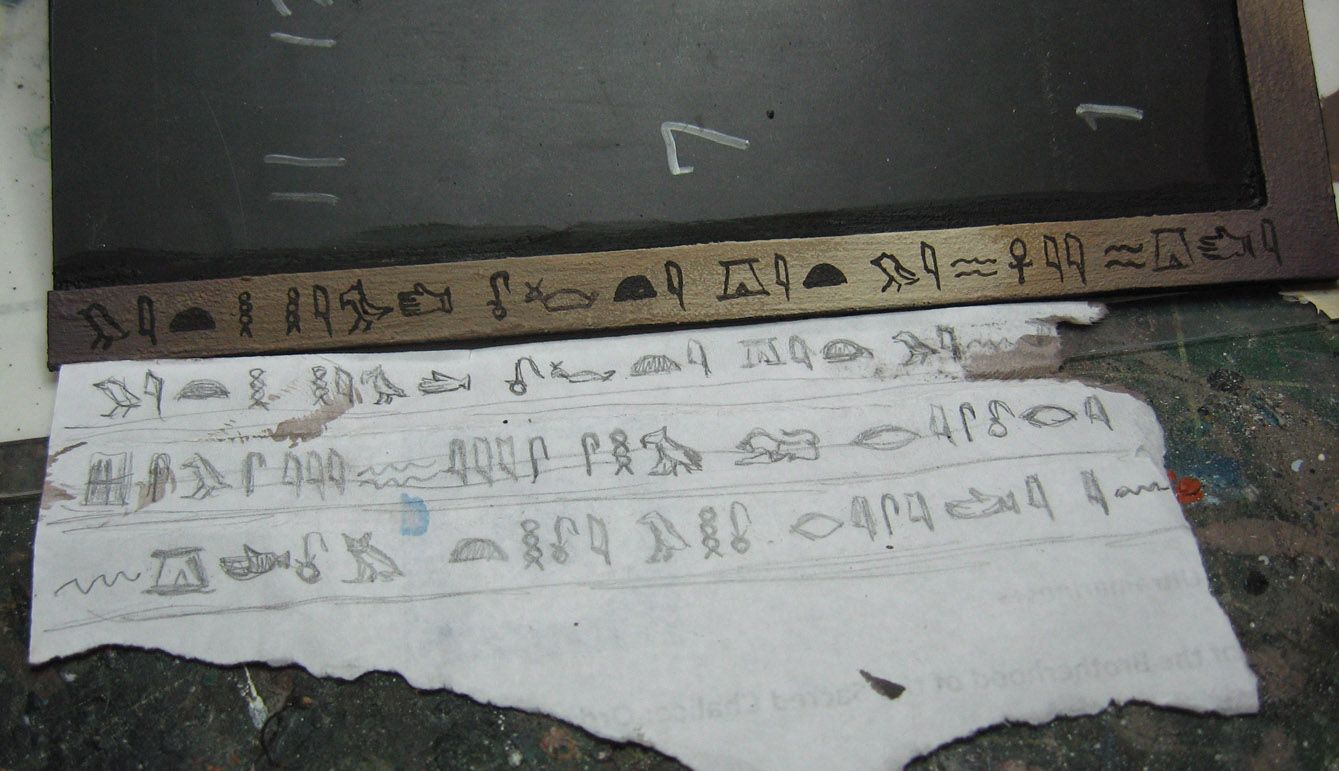
The text is carried throughout the length of the tray, featuring the Cartouche of the Silver Pharaoh.
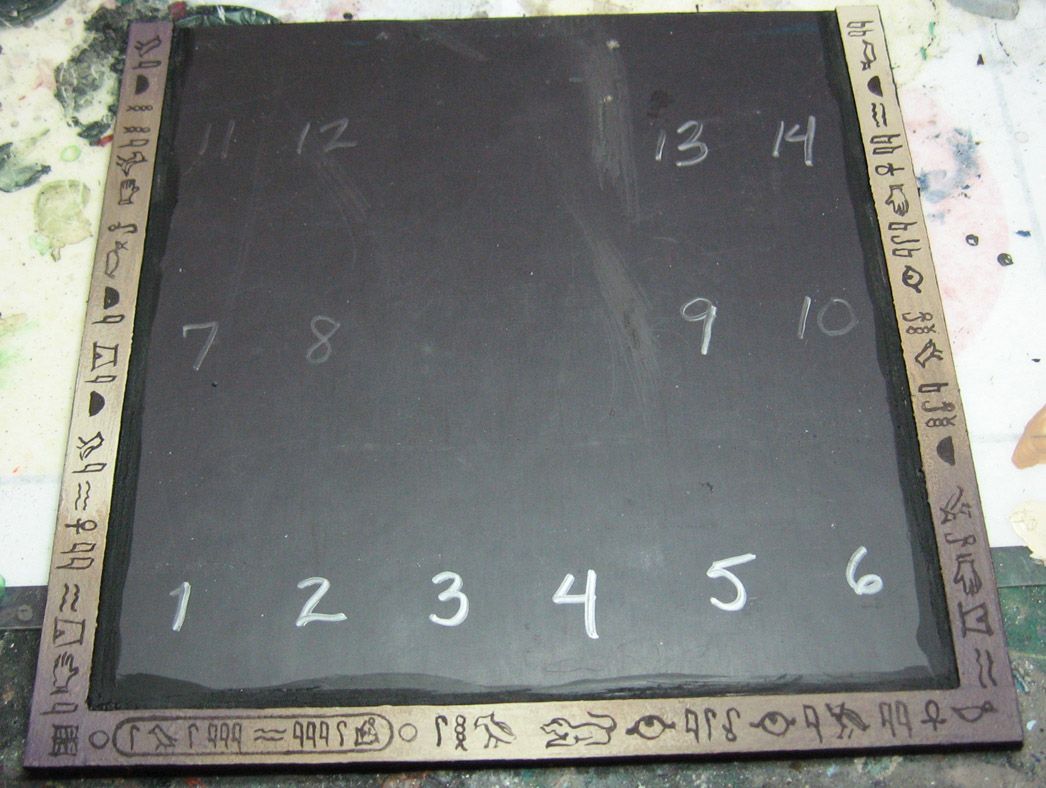
Once all the glyphs are in place, it is time to paint in some cracks...
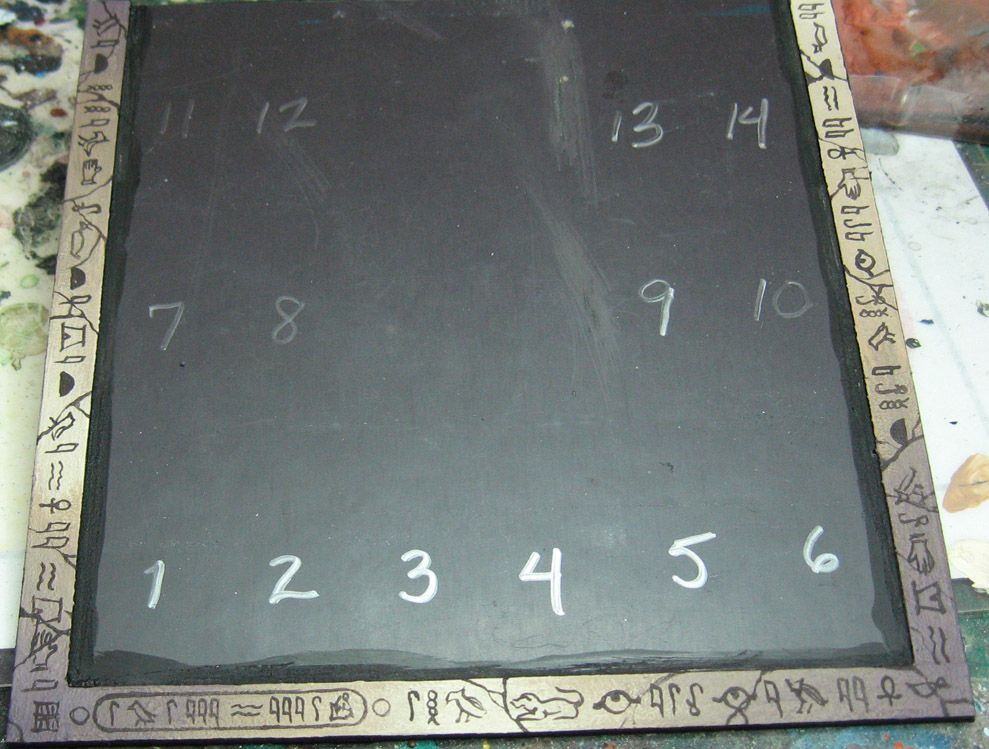
Then it is time to highlight the edges of the cracks and the glyphs so that they look like they have been carved.
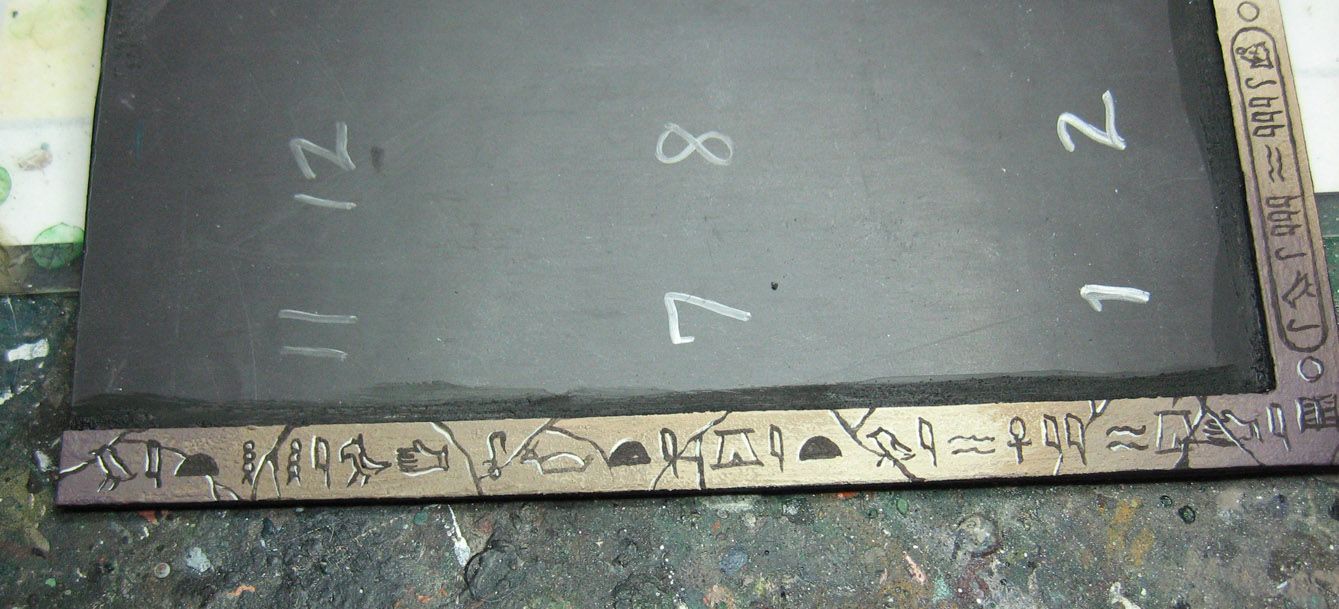
Now all the highlighting has been completed:
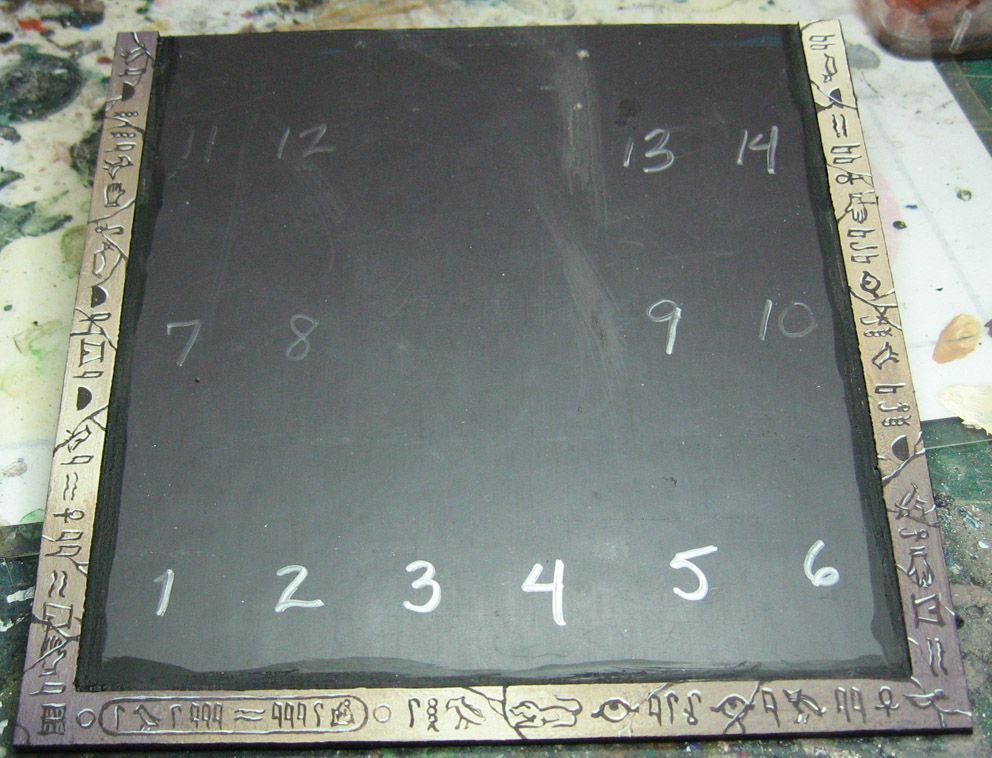
You can see how this really sets off the darker and cooler colors of the marble quite nicely!
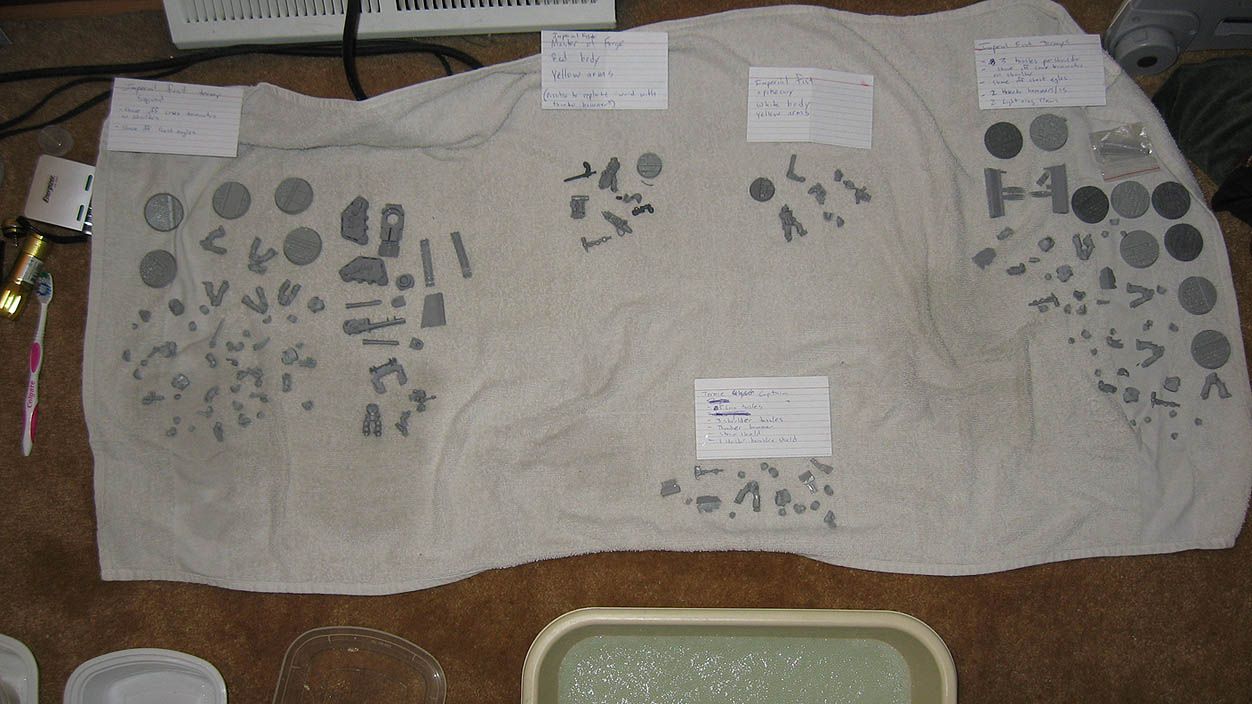
So, you wanna be a miniature painter? You also have to be a good dishwasher! This is just a handful of the stuff that has been washed down this week. :-) Fingers like prunes...
The Grand Experiment Begins: Painting the horsemen movement tray
OK, boys and girls, aliens, etc., it is time to see if my idea of using foam core as bases will work!
The whole idea behind this system is to see if I can get a more close fitting and level surface on which to paint my usual Tomb Kings base designs. The previous system of baked sculpey sheets attached to regular GW bases gets really tough when you get beyond chariot and monster sized bases. Lining up all those little 20mm pieces is almost impossible!
In case you have not see the original photo of the foam core, here it is:
I was able to get everything cut and magnetized, with nice precise edges. Looking good! However, I had to worry about warping all the pieces of foam core with acrylic paint, so I chose to use the same magnetic primer that worked so well on the army board. It is oil based, and the meant no warping!
Here are the basic horses placed on the bases to set the pin holes in the bases...
Now it's time to start painting!
You can already see the all too familiar shapes start to emerge from the darkness...
I continue to bring out the demon faces and the skulls...
Working more light colors into the shapes, trying to make sure that at least some of this will be visible when all the miniatures are placed on the bases :-)
At this point, I am already trying to get some of the skulls to be quite faded, while others are allowed to be more prominent.
Continuing to lighten colors. Also, I am leaving the skeletal remains, the rim of the tray, and the sphinx statue for later..
Now I go back into the designs with very dark paint, and cut out more precise shapes...
Starting to place the eyes with the fluorescent paint:
Defining the eyes even more, and highlighting the brightest skulls:
This phase of the painting is nearly done. I will go back into that once I have some color reference next to the skeletal remains and outer edge...
Stay Tuned!!