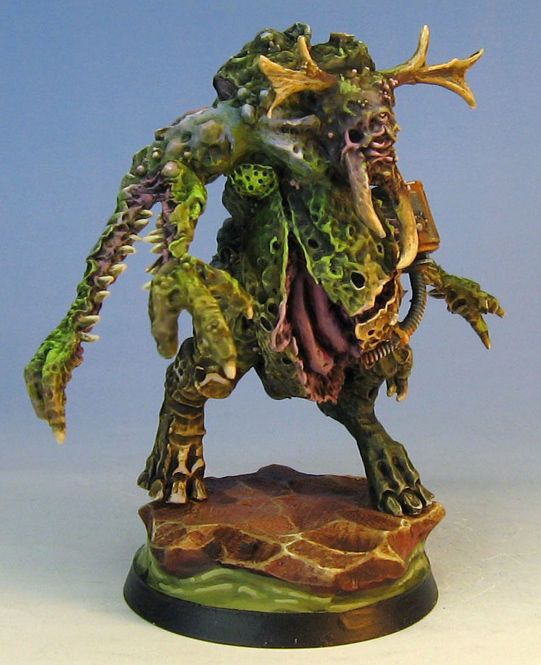
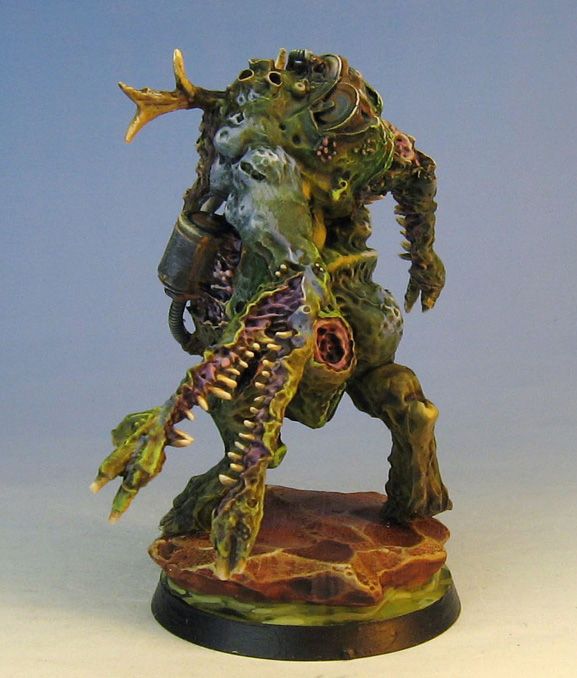
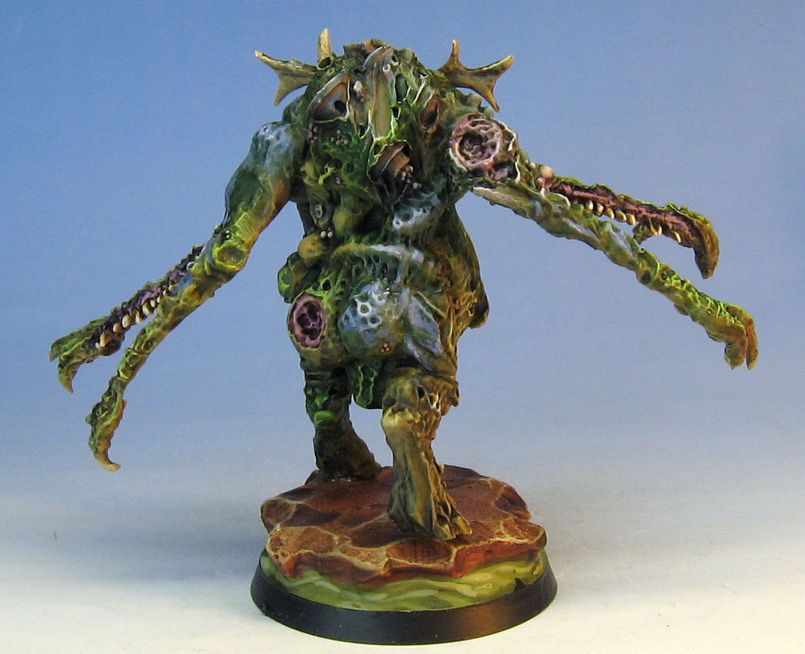
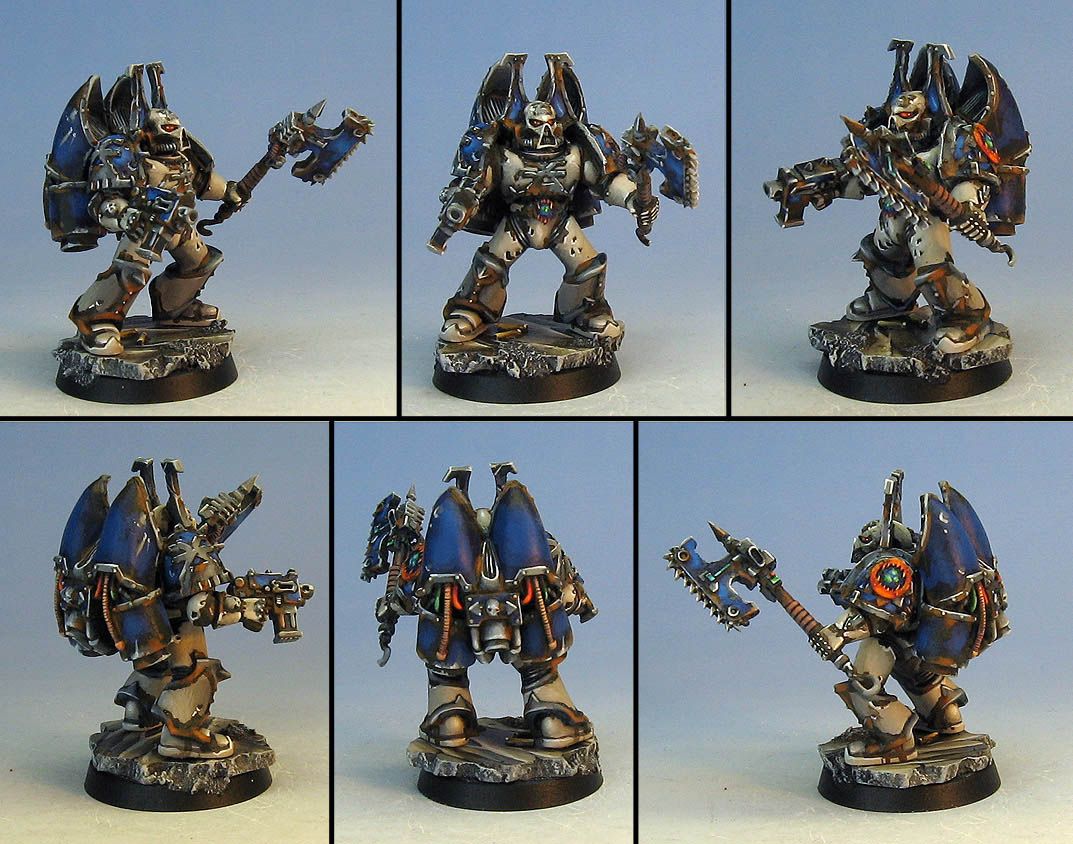
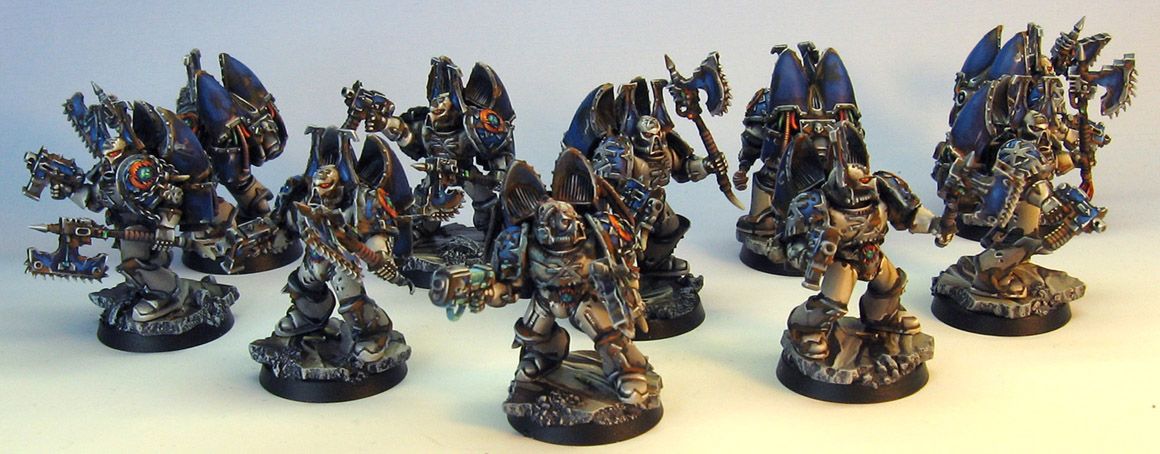
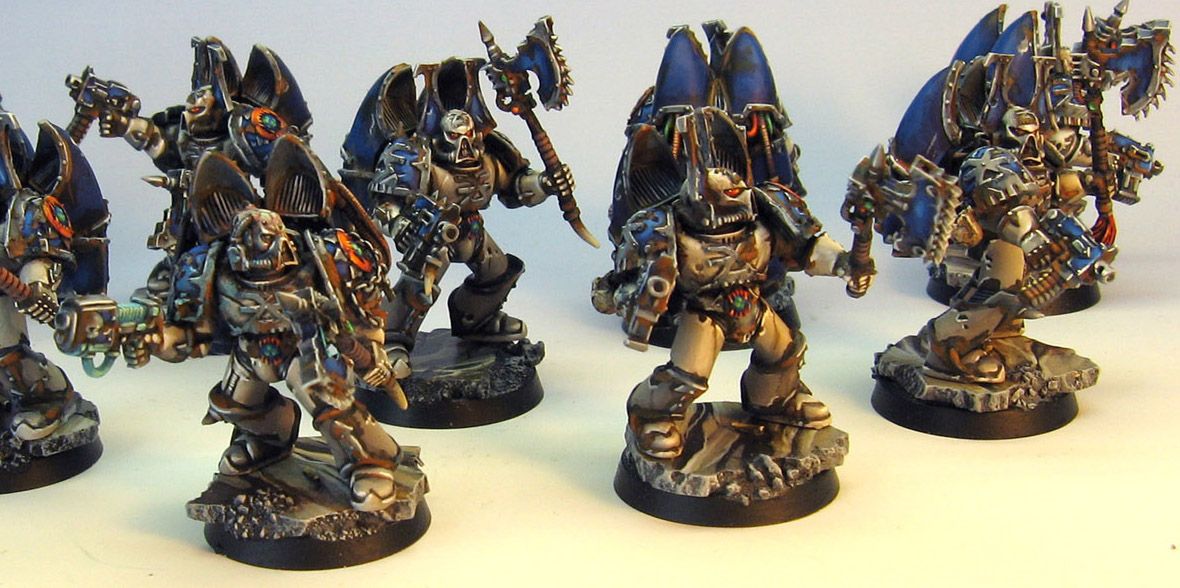
Ah, so all you devotees of the Great Unclean One thought that you had been abandoned by Wappelville.
Not so!
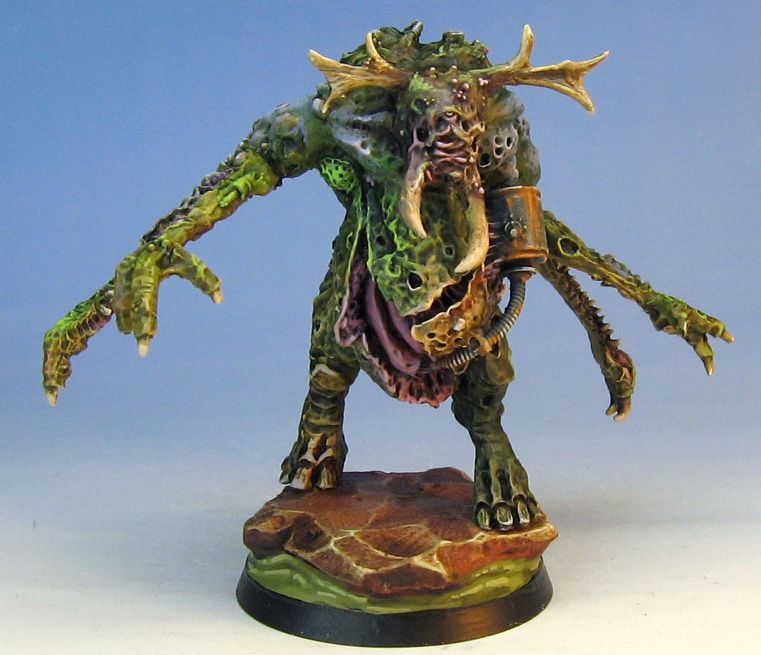
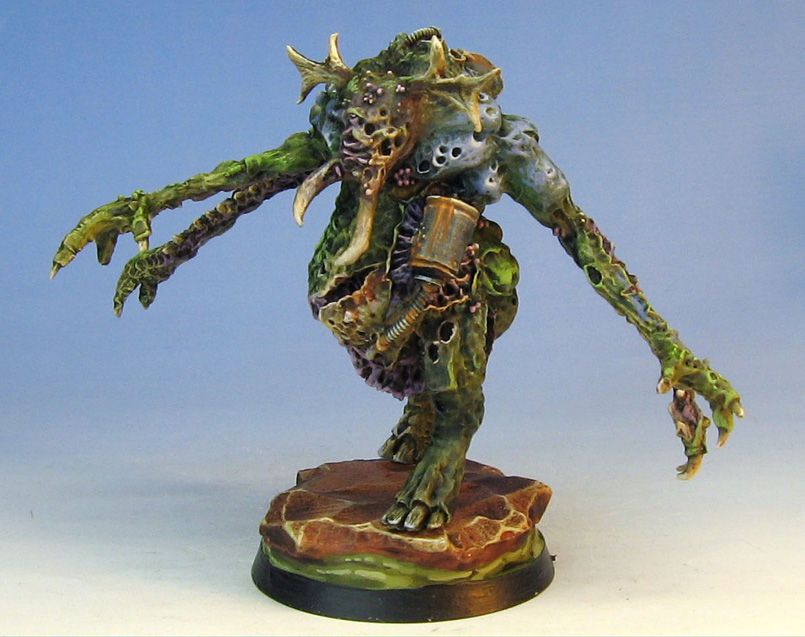
A batch of Plague Ogryn have been "unearthed", so to speak, and will now find their way to the blog, along with some of their bloated brothers.
Here is the first of three Forgeworld Plague Ogryns. These guys helped to hone w new technique using glaze medium. I would generously mix that with my paints, allowing me to create all sorts of wild (and icky) color combos. Some wet into wet was also facilitated, as the medium extends the drying time significantly.
A collection of images that feature my painted miniatures. It features many of my award winning figures and terrain pieces painted since 2001.
Pages
▼
Thursday, May 31, 2012
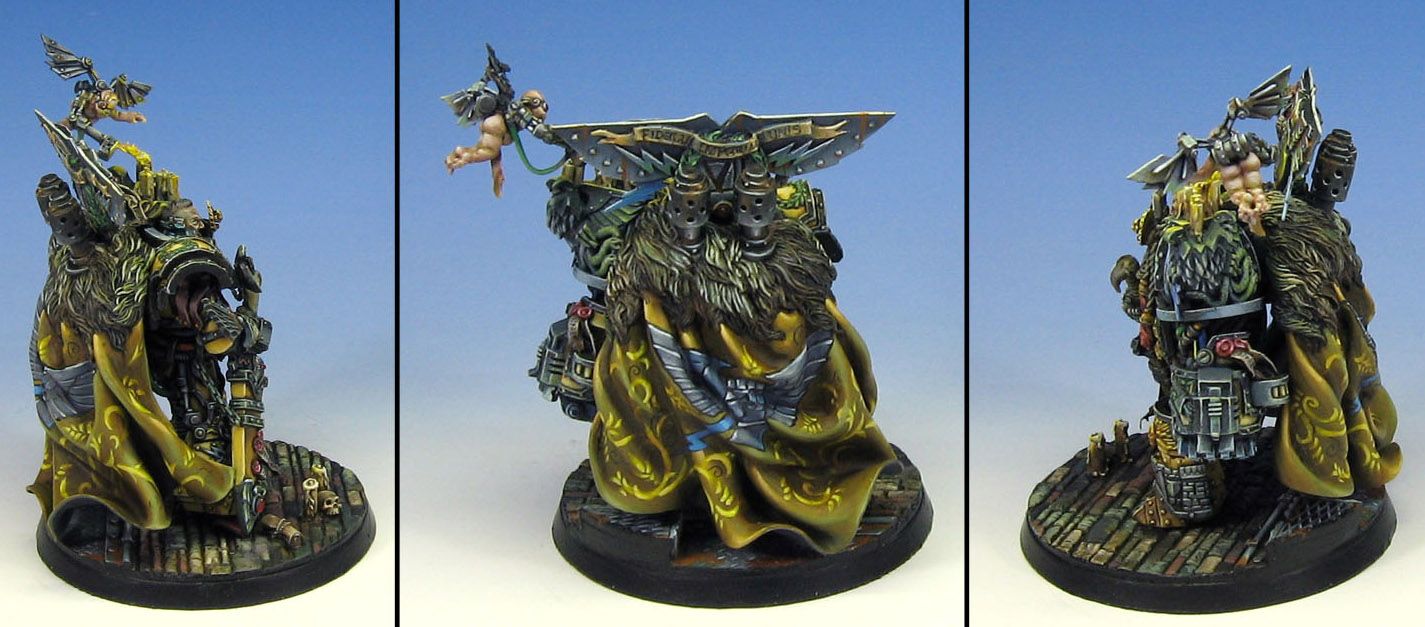
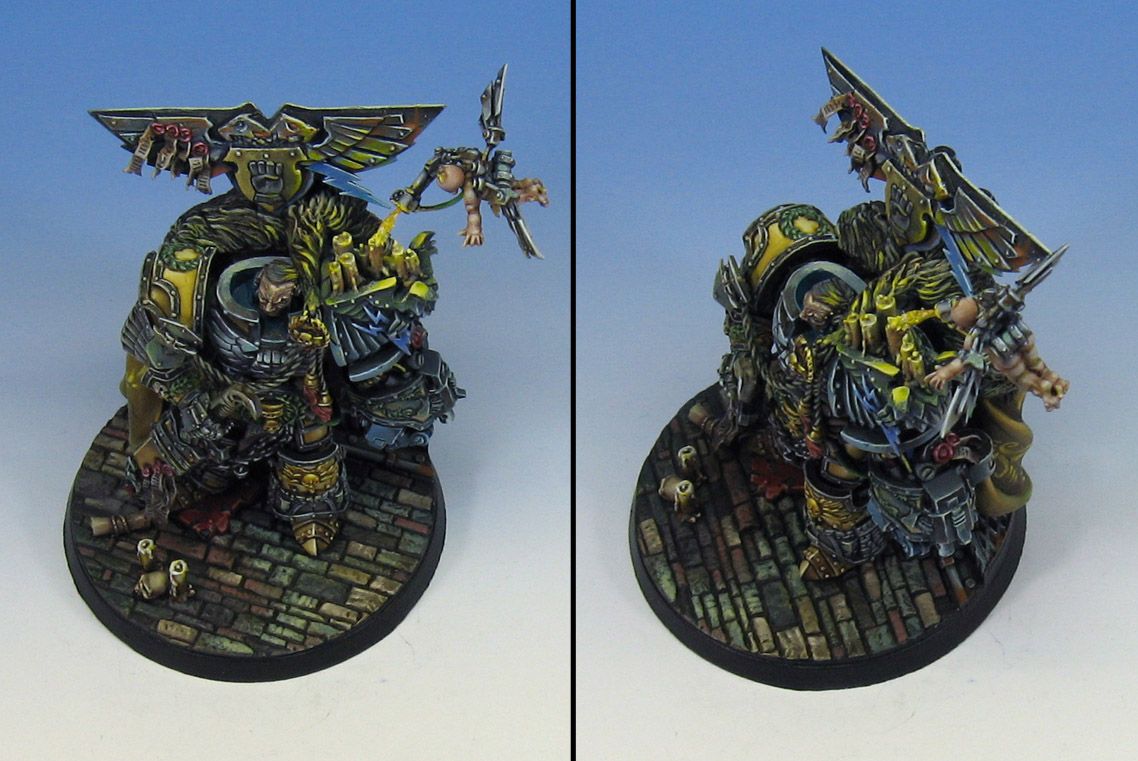
Rogal Dorn scratch sculpt
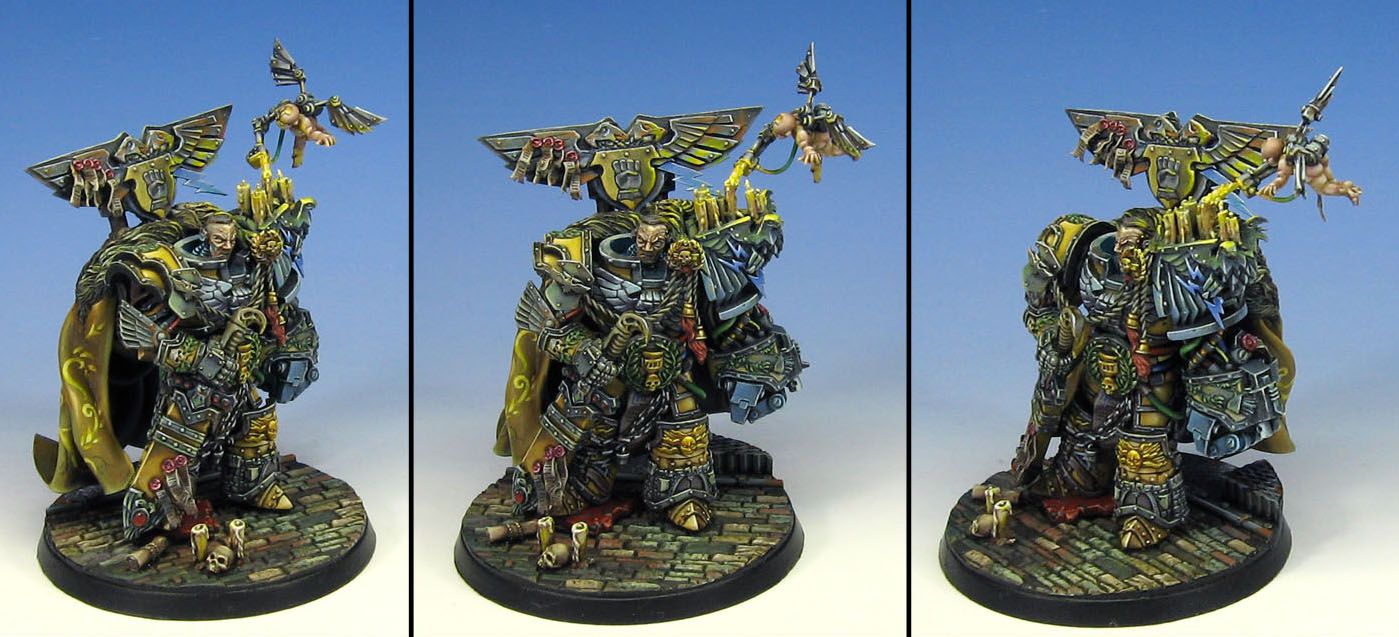
I will begin this post by stating that I did not sculpt this bad boy... my job was simply to paint him! :-)
It was a very impressive sculpting job. It was massive, with far more details than all these pictures can even display. Major kudos to the sculptor, who I believe is Jeff Wilhem (of Dragonforge)! If I get more info on that, I will edit the post as needed.
Anyway, this was a heck of a painting challenge. To give you an idea of the size and scale, he is on a 60mm base. For all those who like giant Primarchs, this guy is for you!
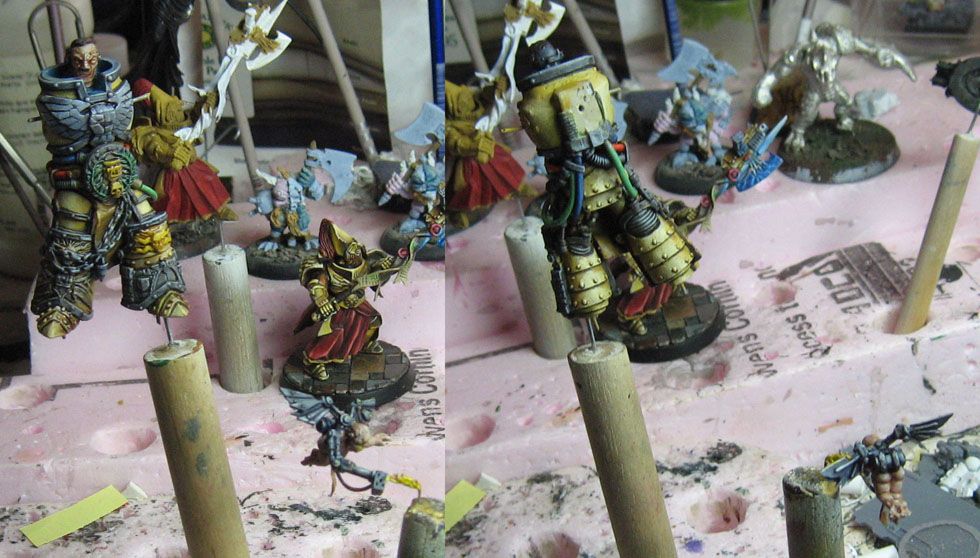
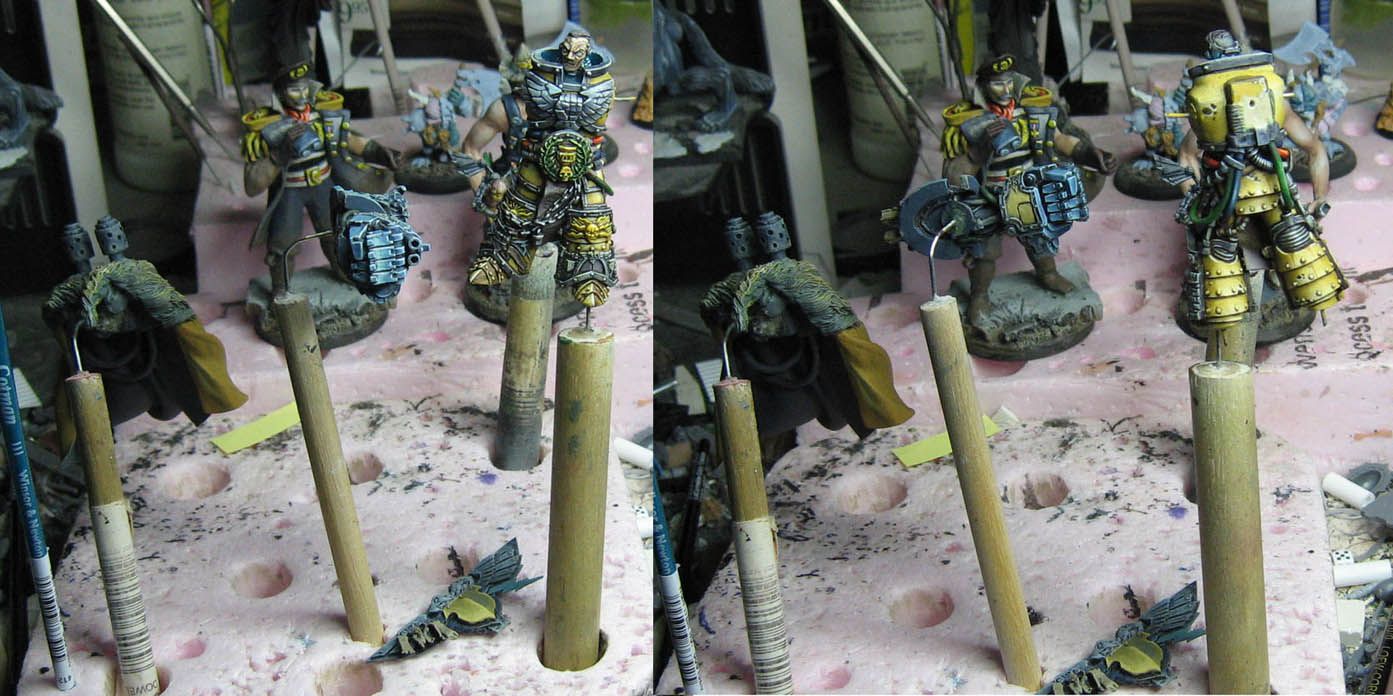
These WIP images give you some idea of just how many pieces and parts had to be painted!
More "Mammoth" project!
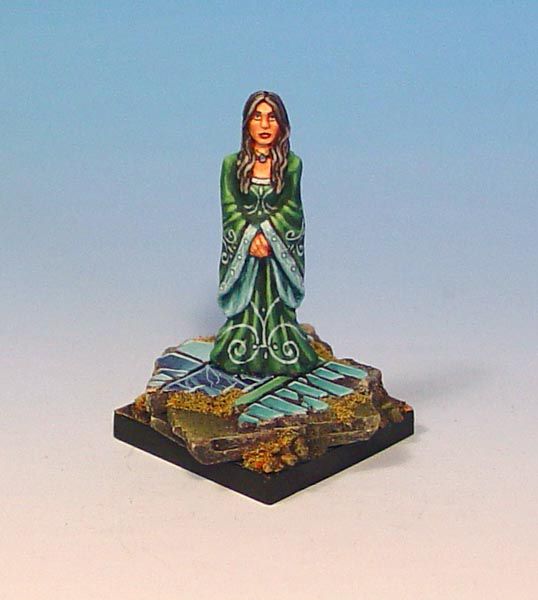
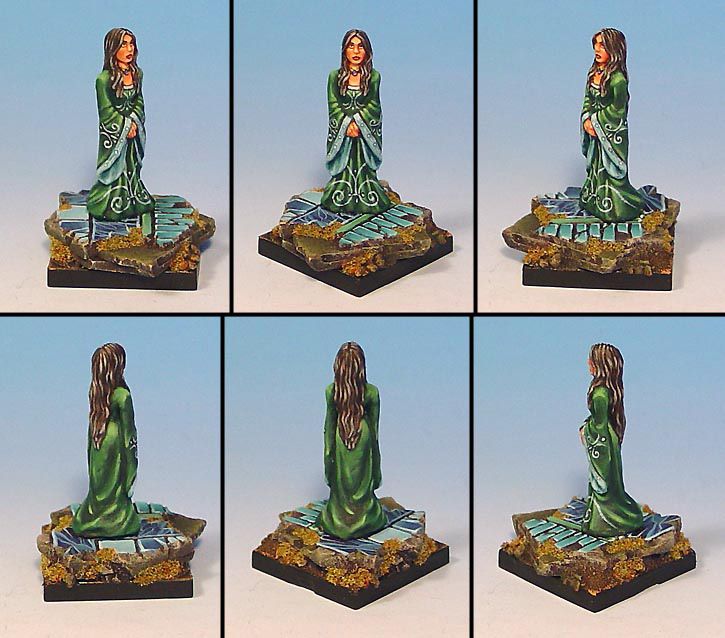
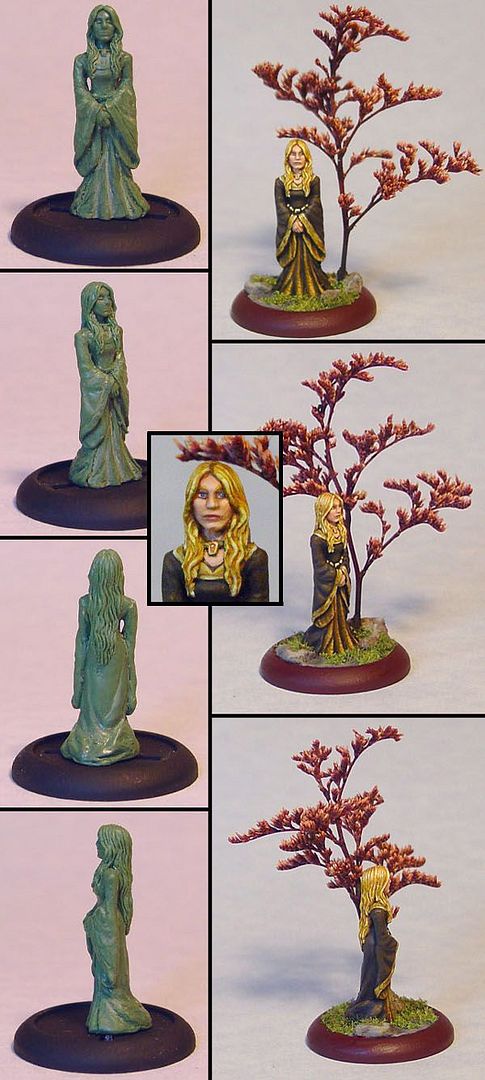
Scratch sculpted Eowyn
This was my very first scratch sculpt made from green stuff.
Prior to this piece, I had sculpted the occasional Blood Bowl big guy from sculpey. It would certainly be so much easier to do today, knowing everything I have learned over the last 10 years! Even knowing that you can vary your mixture between yellow and blue to make it harder or softer would have helped a great deal.
Using a more yellow heavy mix makes doing tiny facial details and hair much easier. I did that a lot on the recent projects such as the Ghost Knights and the Death Cult Assassin conversions.
I made this pose as simple as I could, since I also hoped to experiment with casting. This paint job was the first cast which I made (sorry about the rough picture... it was awhile ago!) :-)
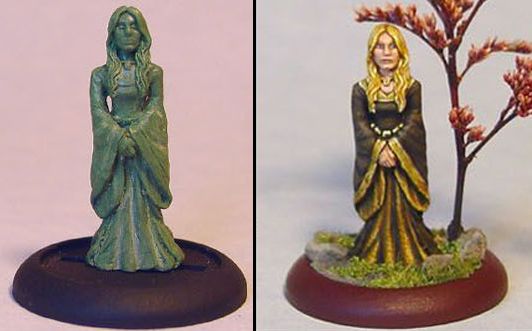
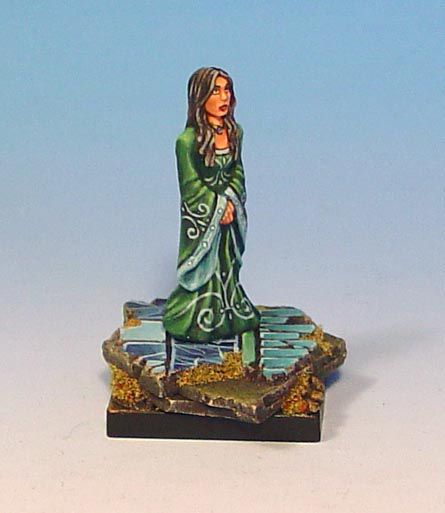
Later, I painted another version, trying to use some different colors in more of a Fantasy style.
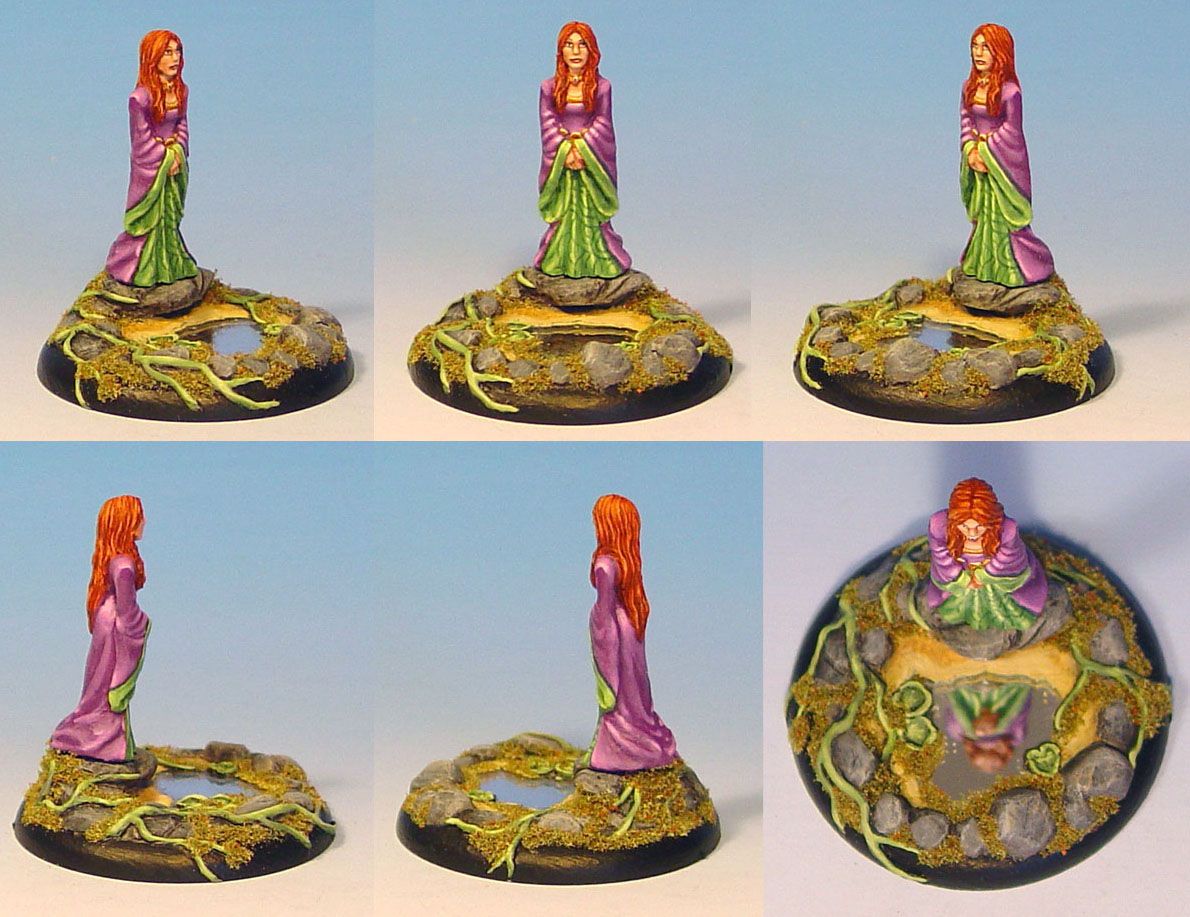
In this version, I experimented by using a small mirror which I had purchased from a craft store. I thought it would be neat to see something that could actually reflect the miniature from any angle!
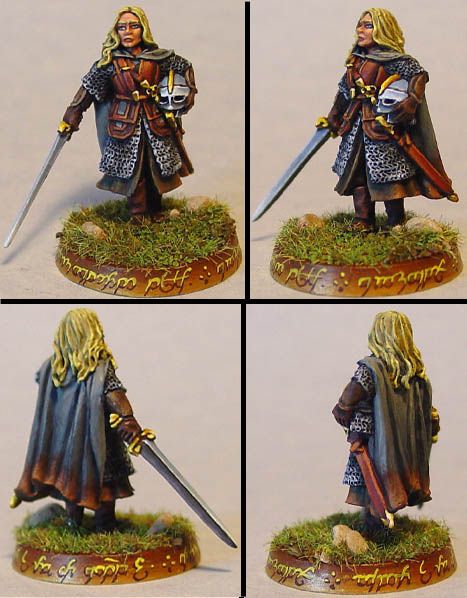
Finally, there is this 'official" version that I painted around the same time that I did my sculpt. When I did my own, I was really trying to focus on the face. I am a portrait artist by training, so I wanted to see what I could do with my tools!
Prior to this piece, I had sculpted the occasional Blood Bowl big guy from sculpey. It would certainly be so much easier to do today, knowing everything I have learned over the last 10 years! Even knowing that you can vary your mixture between yellow and blue to make it harder or softer would have helped a great deal.
Using a more yellow heavy mix makes doing tiny facial details and hair much easier. I did that a lot on the recent projects such as the Ghost Knights and the Death Cult Assassin conversions.
I made this pose as simple as I could, since I also hoped to experiment with casting. This paint job was the first cast which I made (sorry about the rough picture... it was awhile ago!) :-)
Later, I painted another version, trying to use some different colors in more of a Fantasy style.
In this version, I experimented by using a small mirror which I had purchased from a craft store. I thought it would be neat to see something that could actually reflect the miniature from any angle!
Finally, there is this 'official" version that I painted around the same time that I did my sculpt. When I did my own, I was really trying to focus on the face. I am a portrait artist by training, so I wanted to see what I could do with my tools!
Wednesday, May 30, 2012
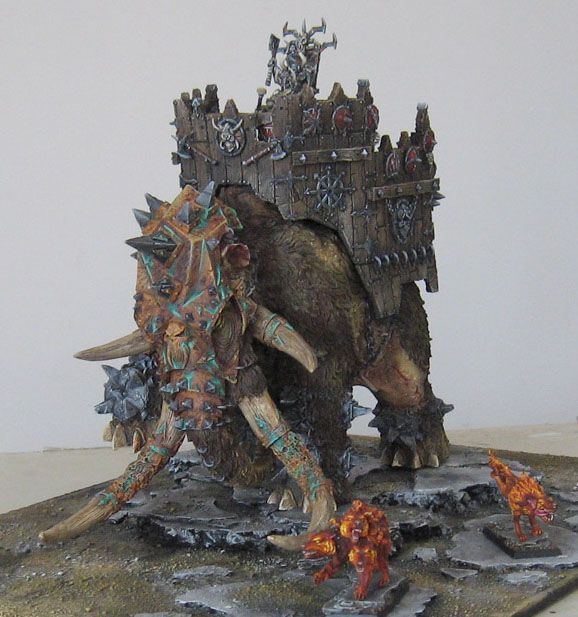
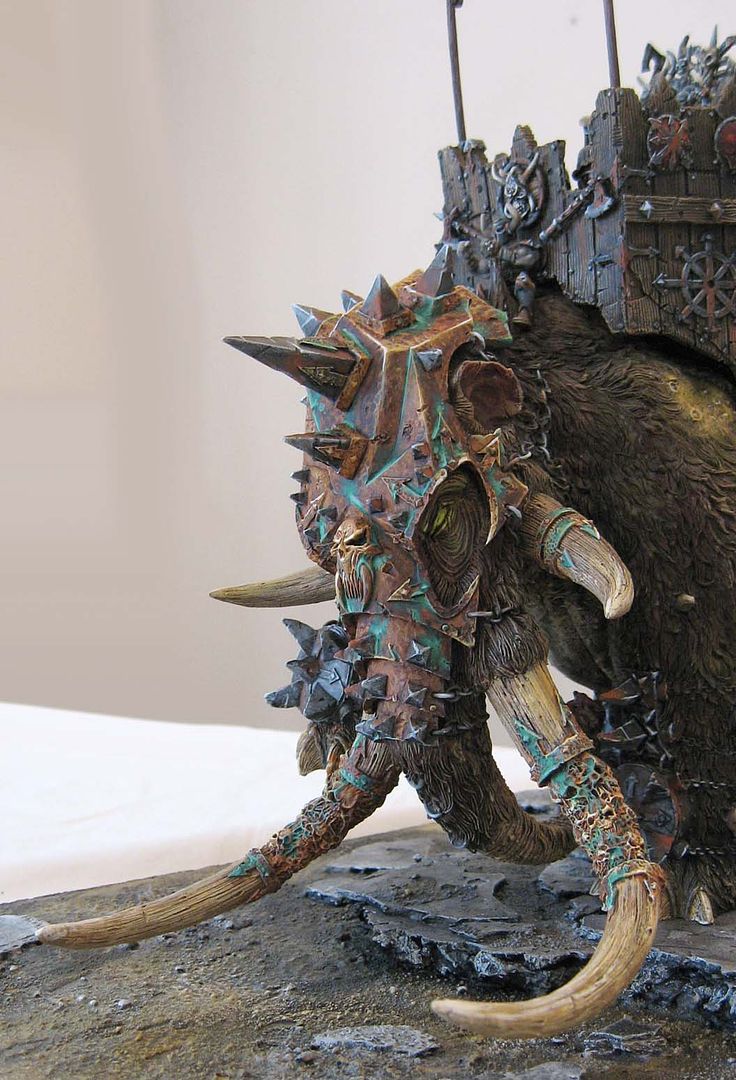
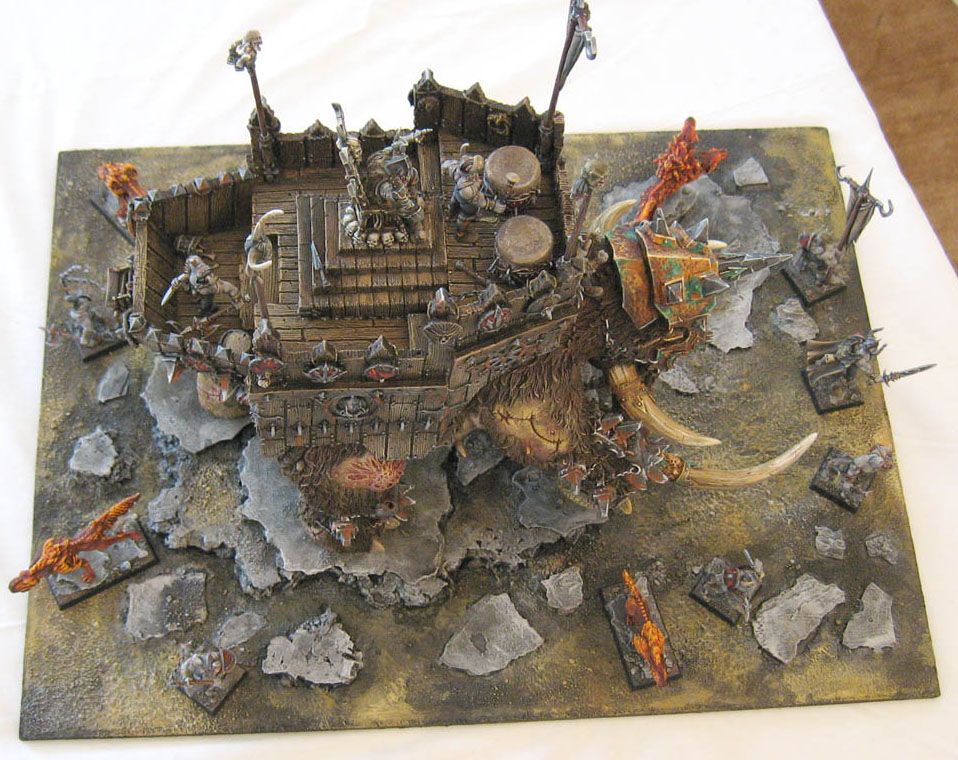
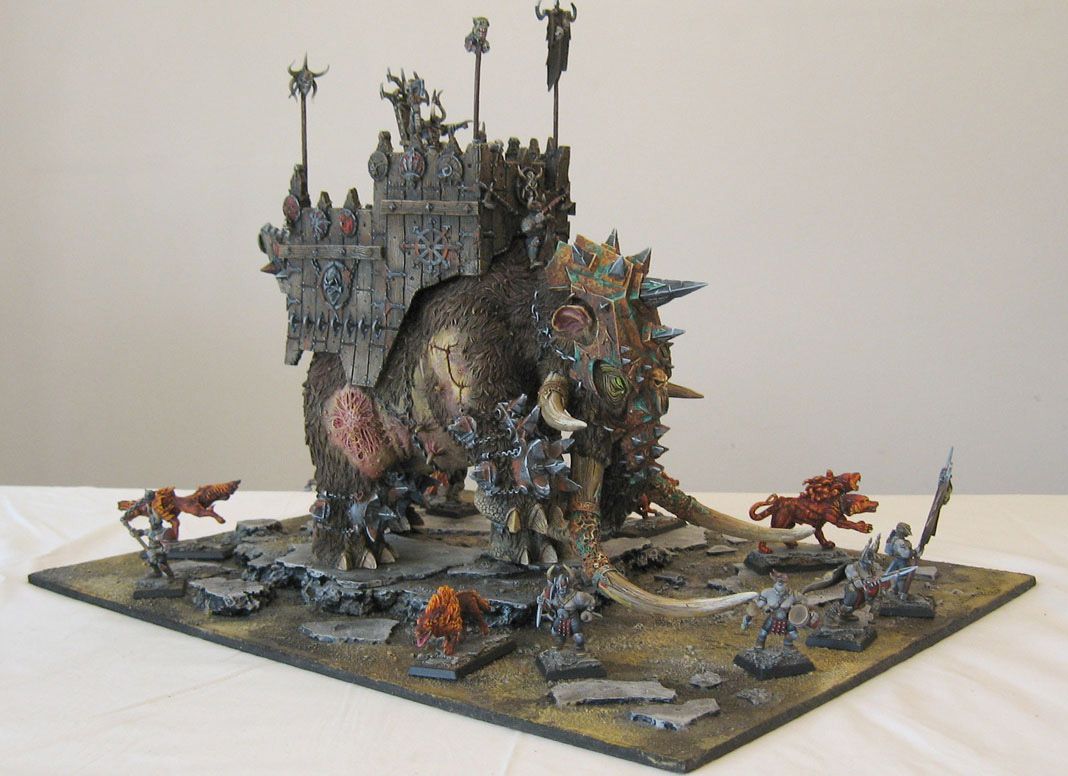
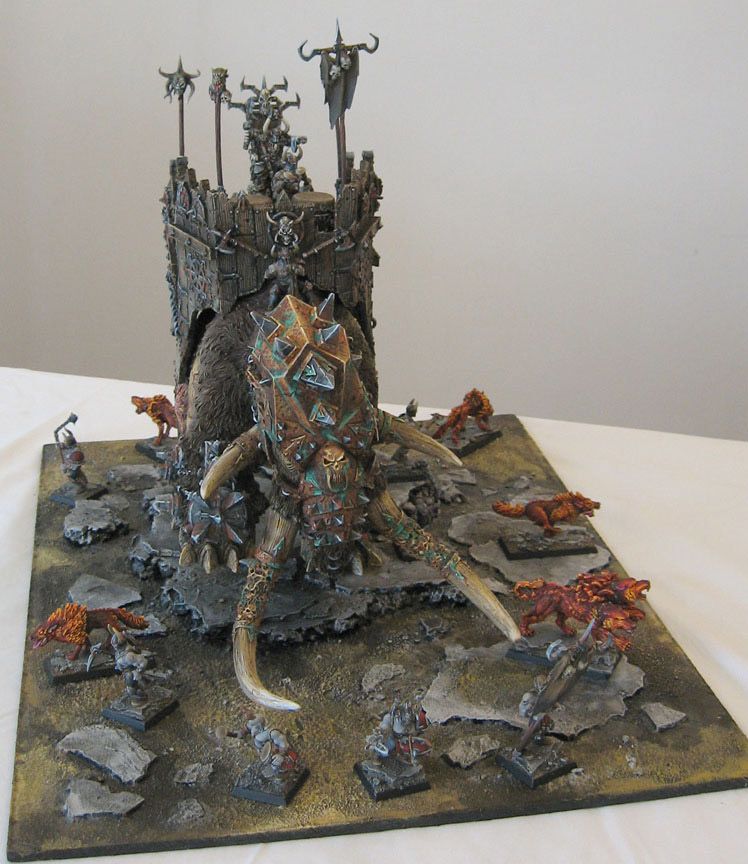
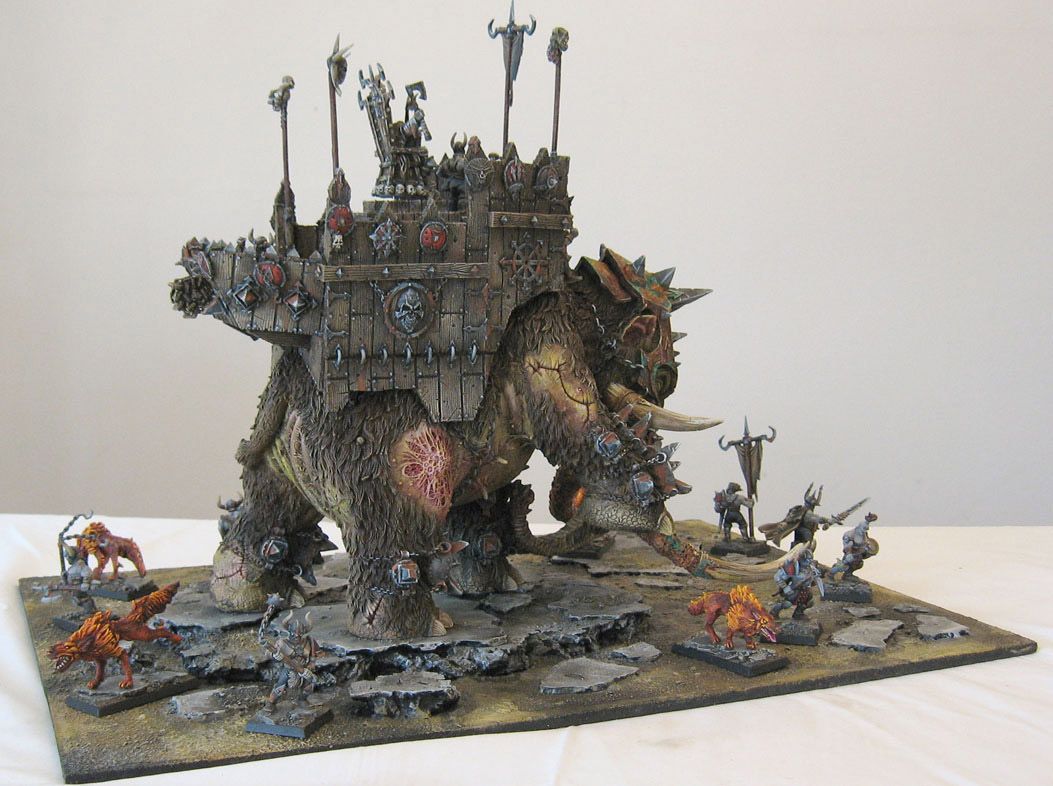
"Mammoth" project
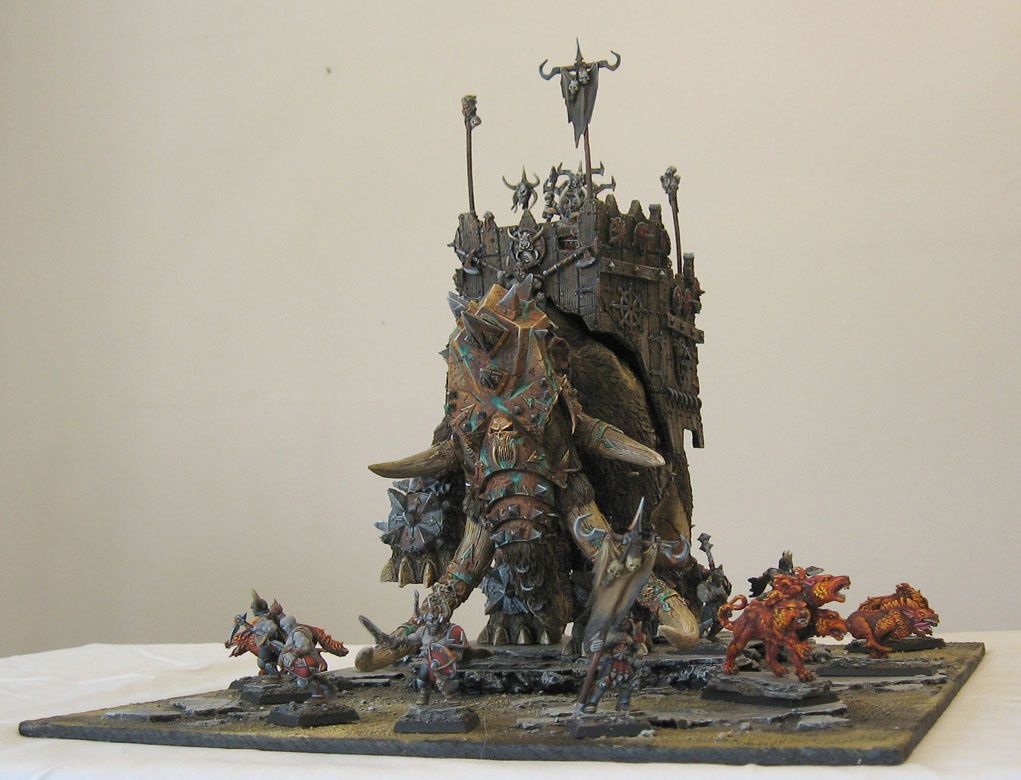
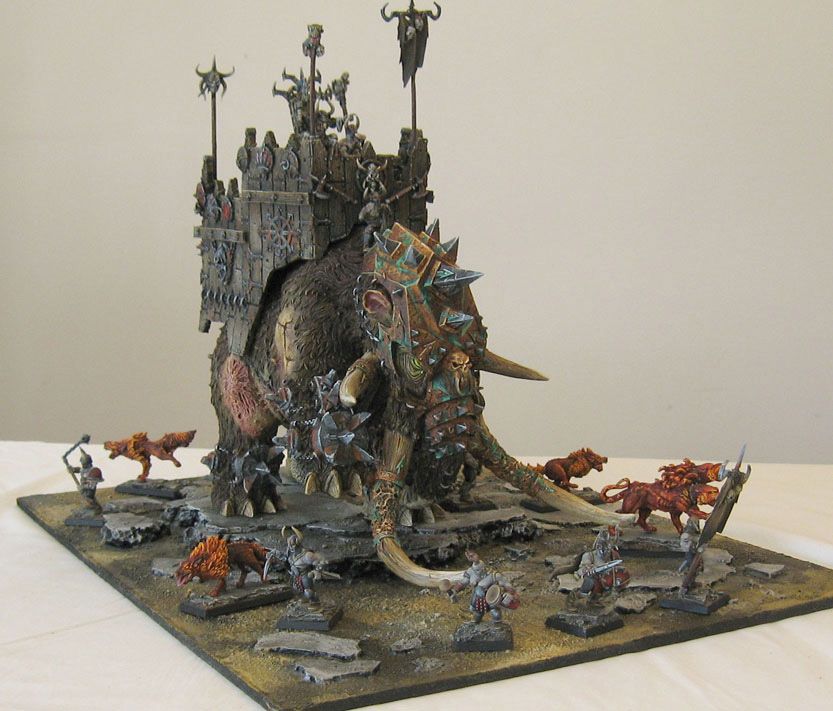
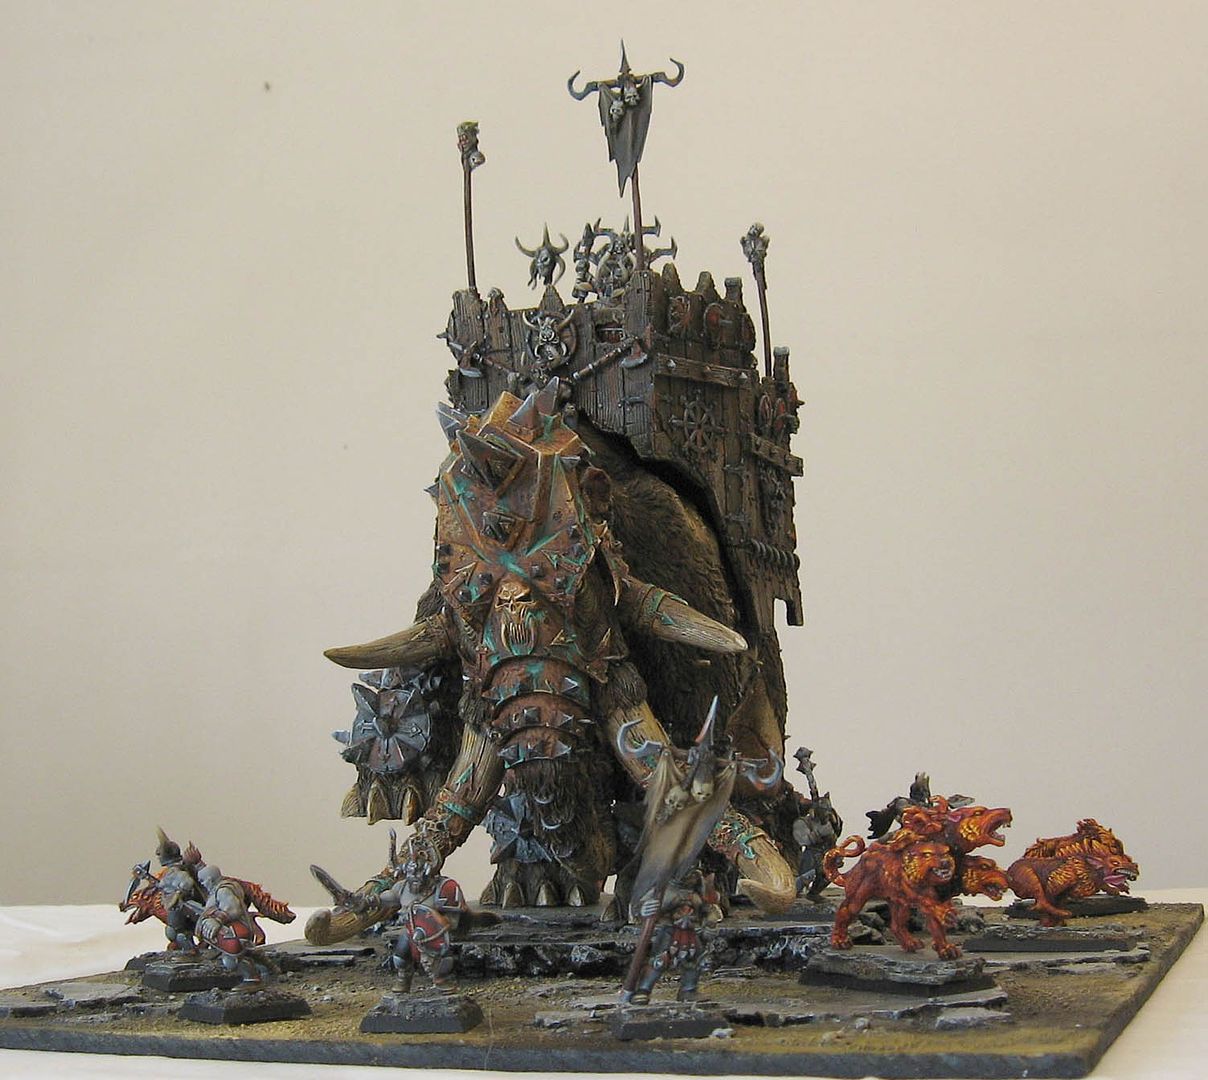
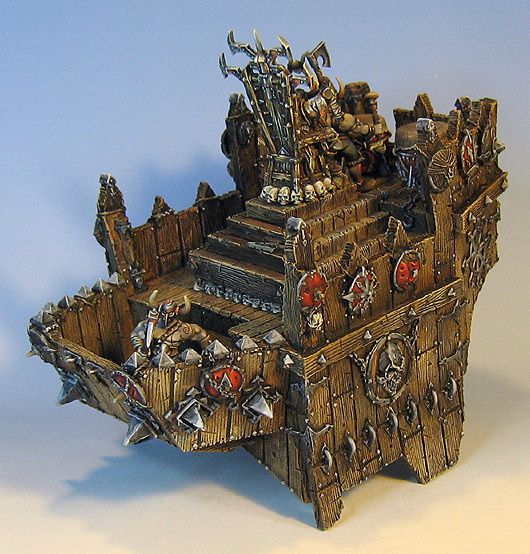
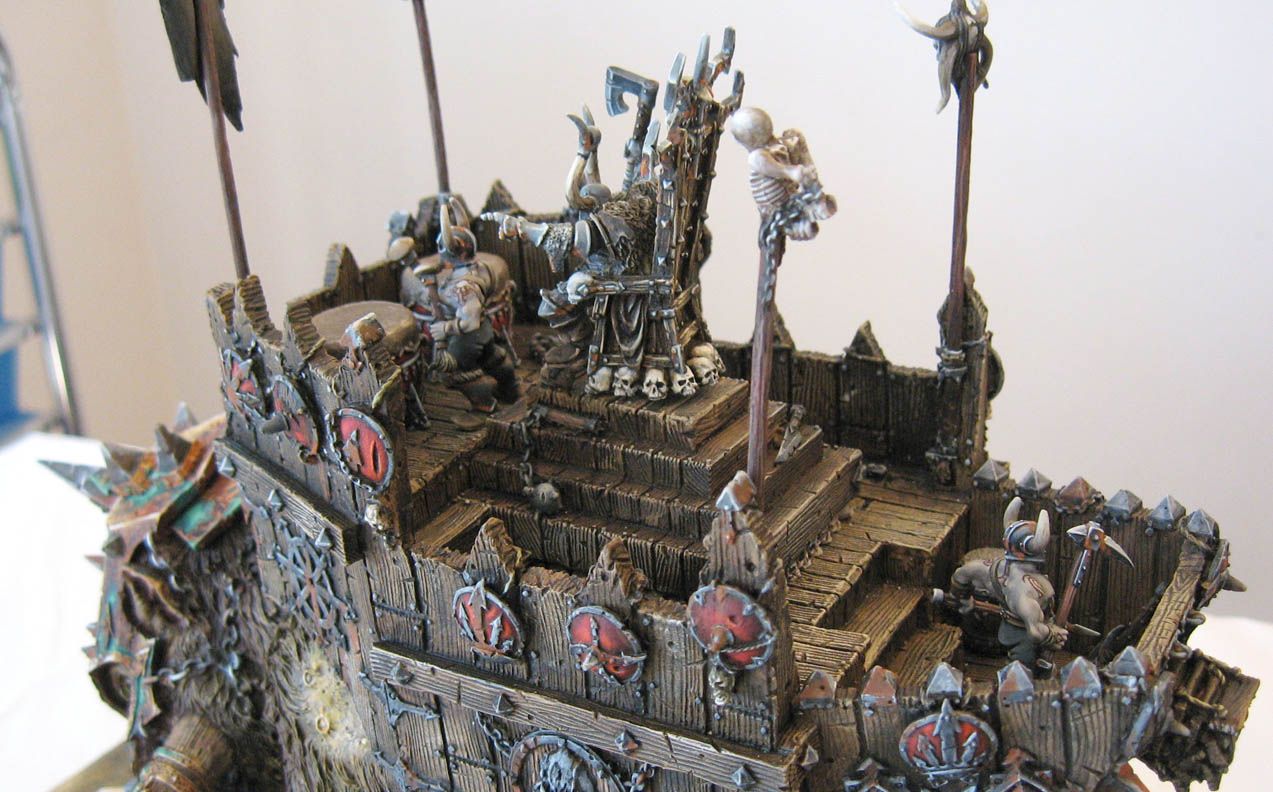
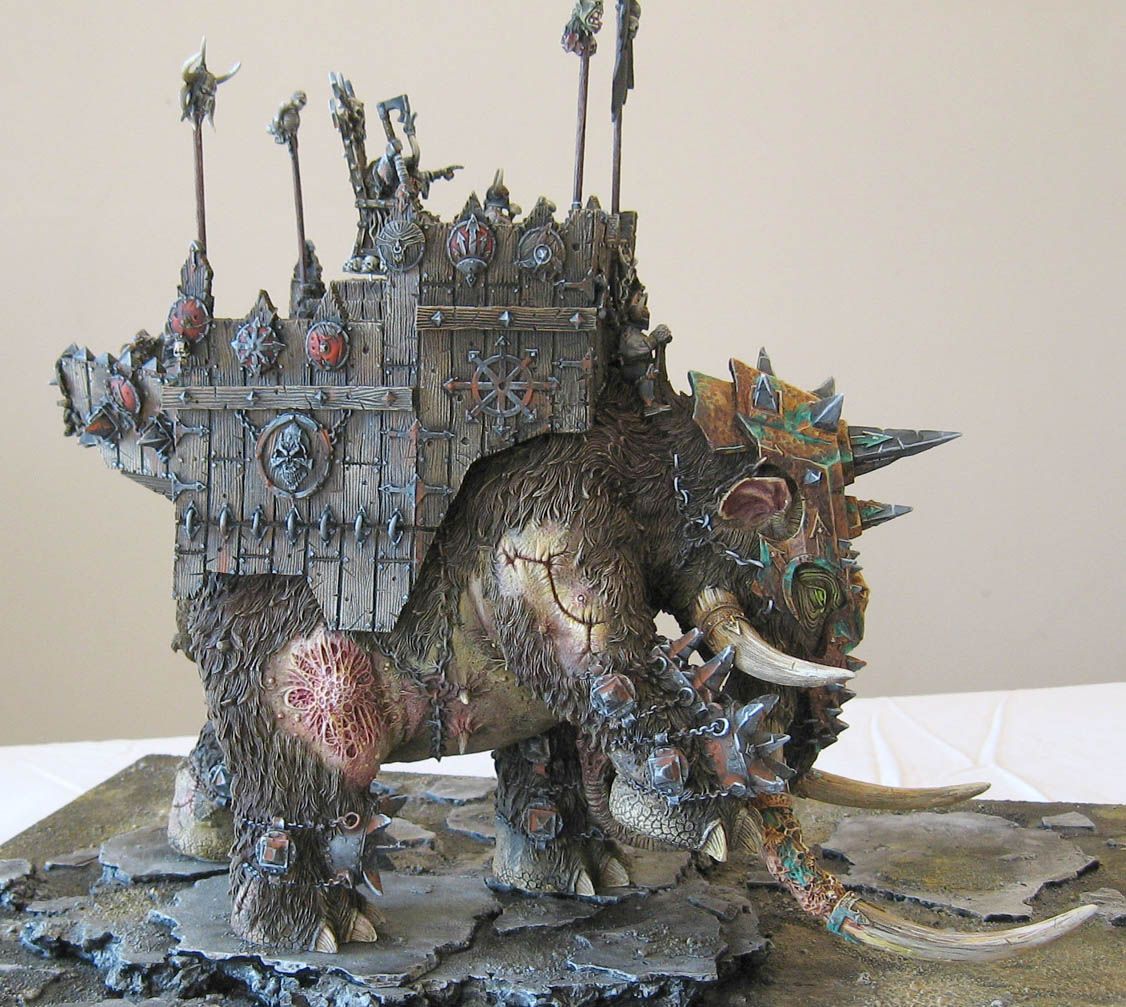
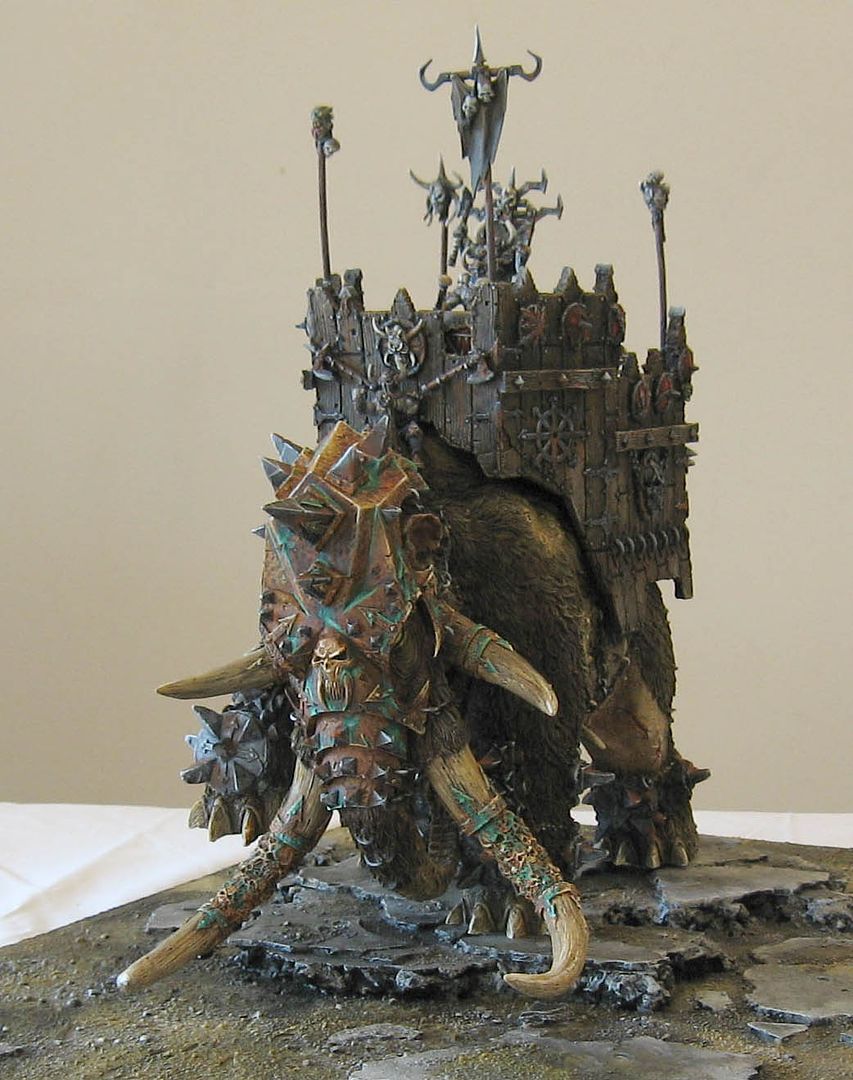
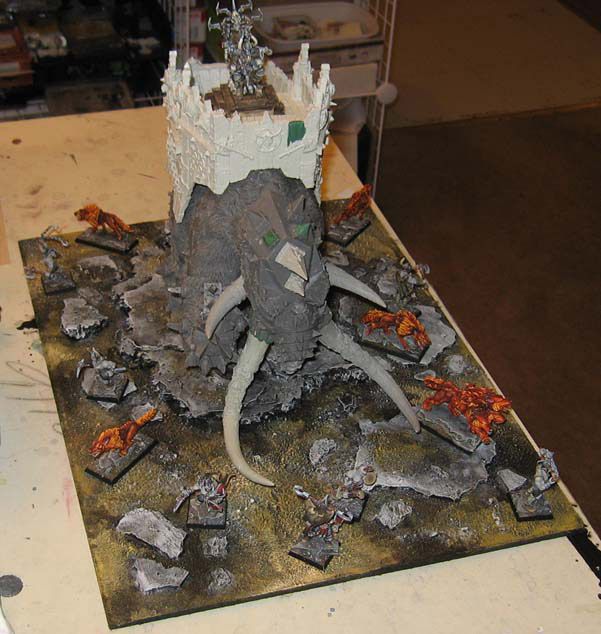
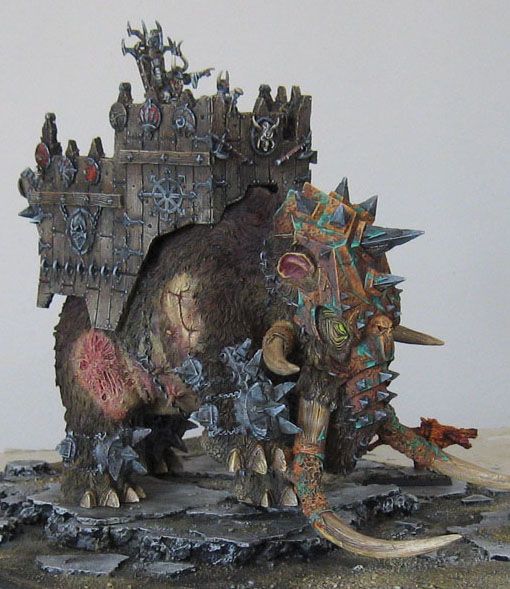
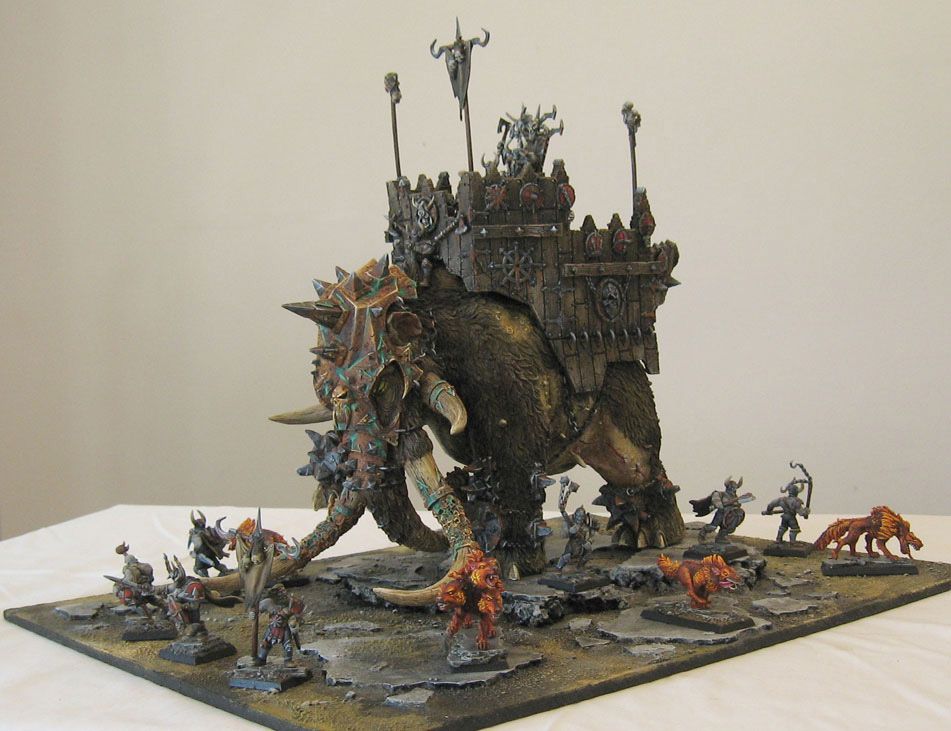
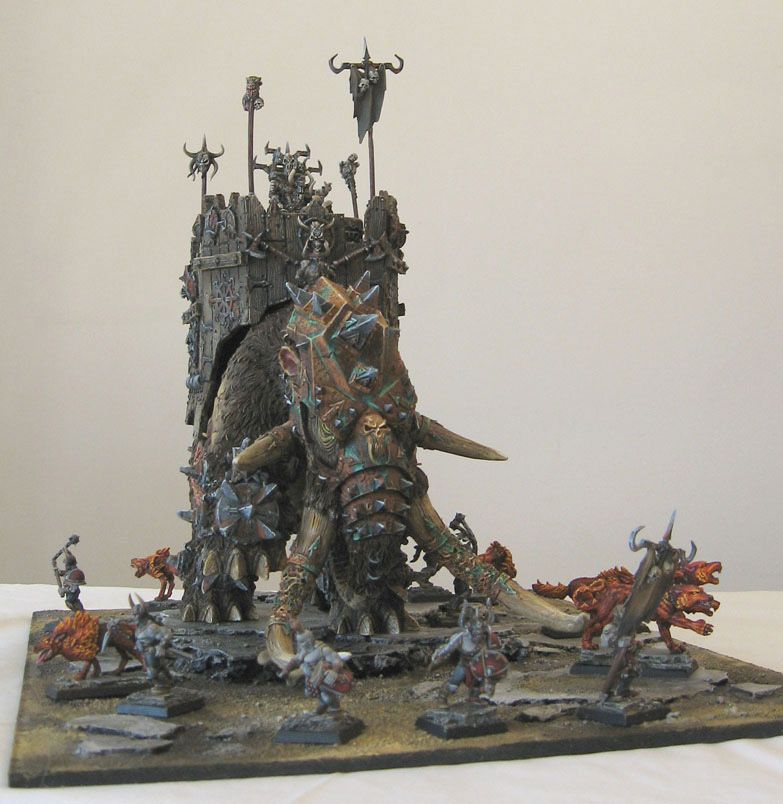
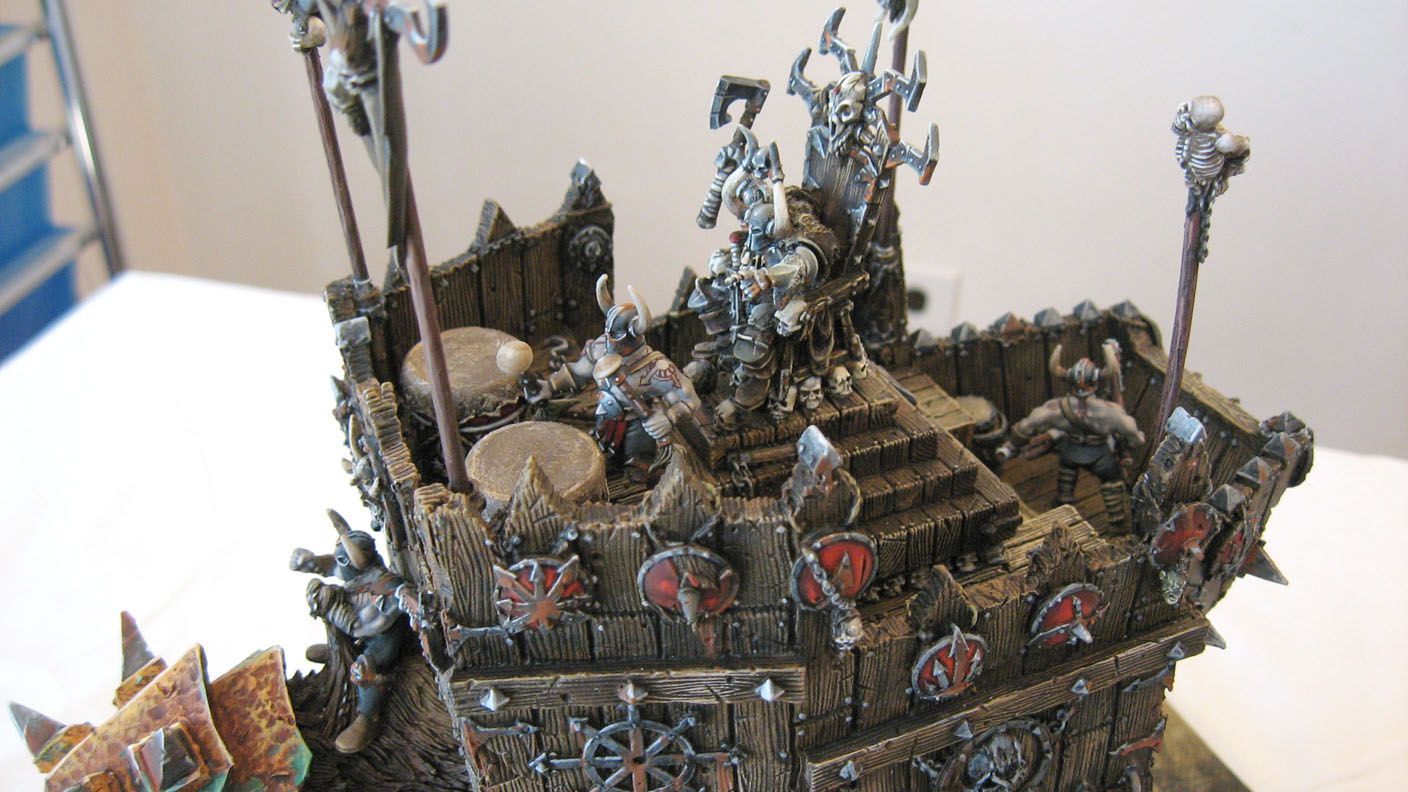
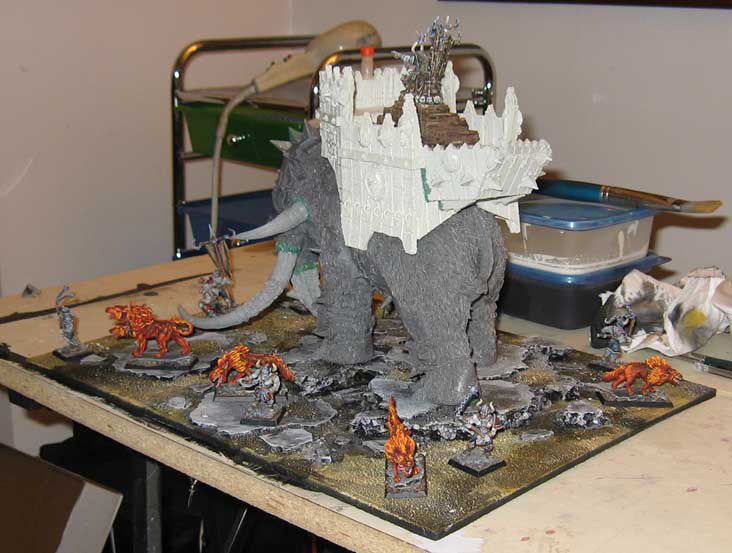
Just like the title says, this was a MAMMOTH project. It was my first Forgeworld piece, which was a bit like learning to juggle using chainsaws, hydrogen bombs and napalm. There are so many pictures for this piece, it will take at least 2 or 3 posts to get them all in. I even found some pictures of me using a power drill to screw this sucker into the wooden base. That was pretty insane, since the resin began to melt, and we could smell the smoke drifting around the room. Wonderful!
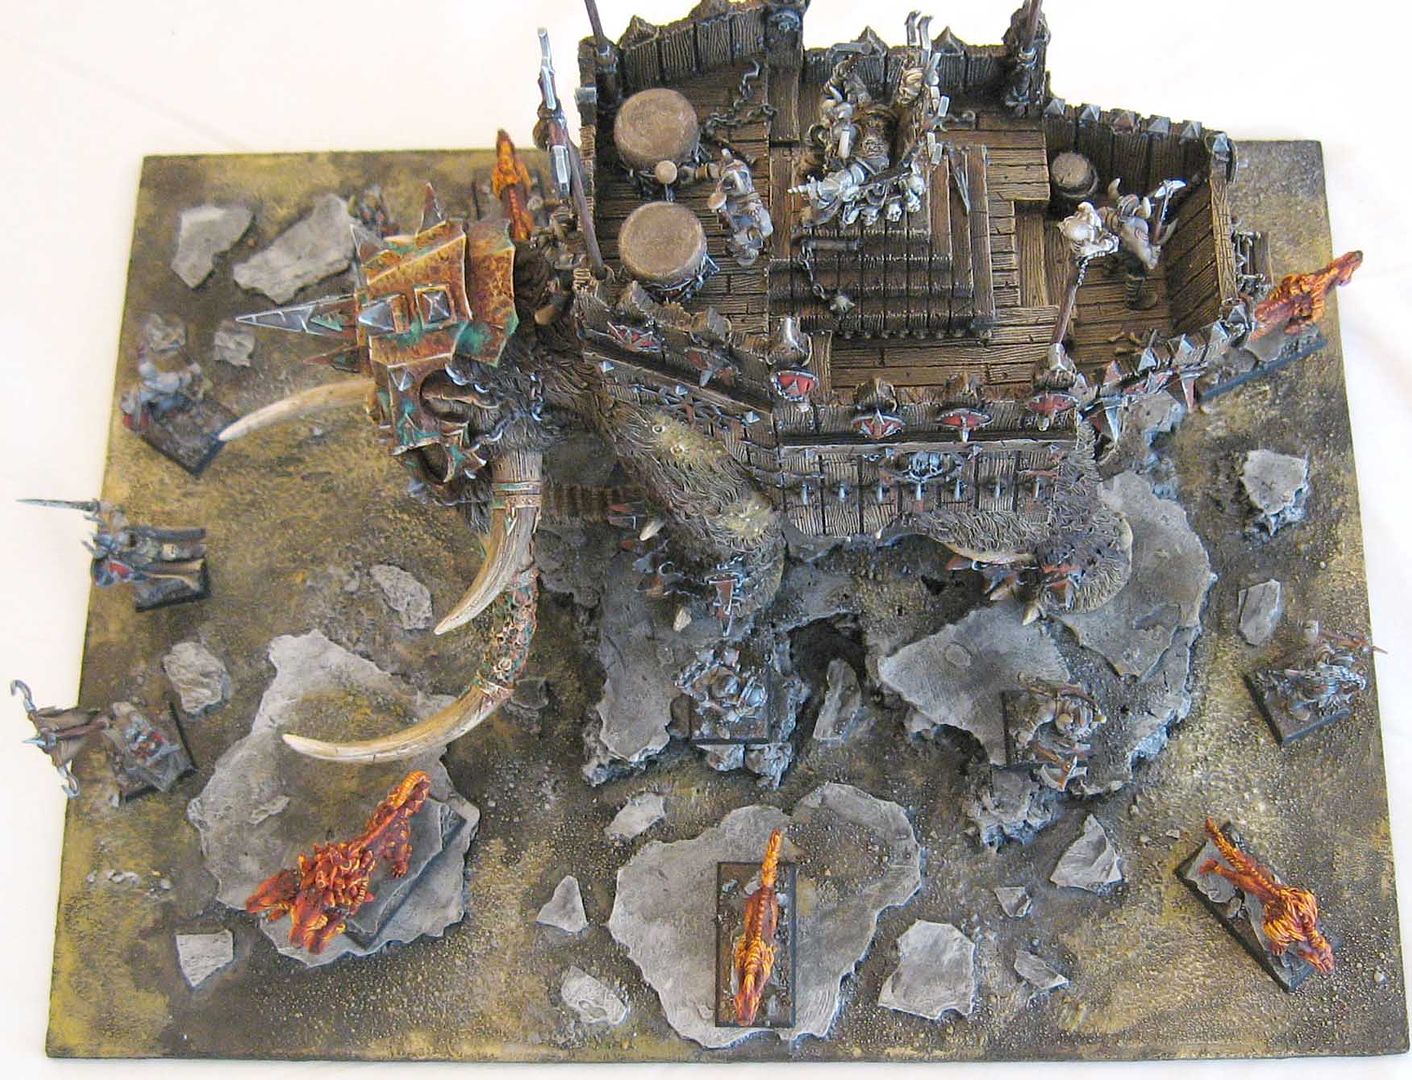
I had never done anything with resin before, so I didn't know that much about the "anomalies" in casting, and I underestimated how nasty the mould release would be.
Here are a variety of views showing the mammoth and the extra figures:
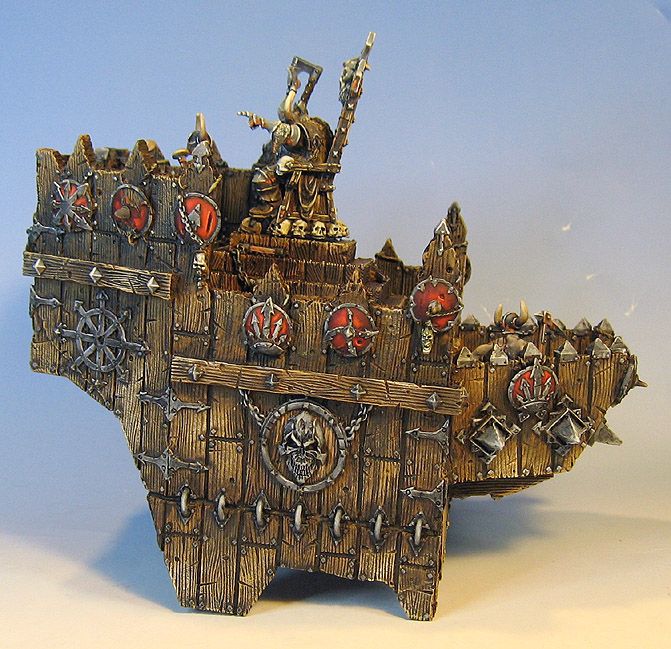
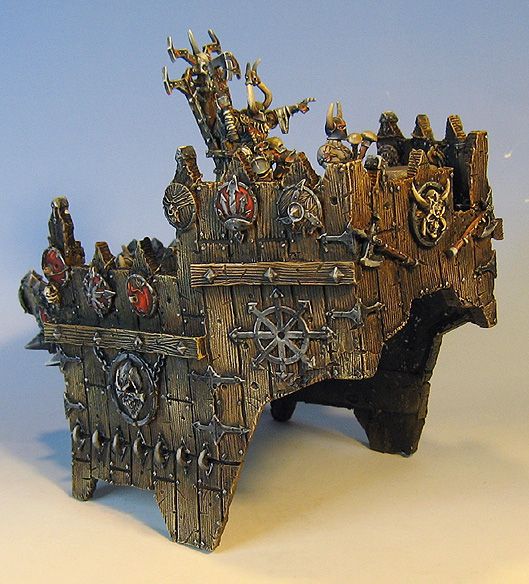
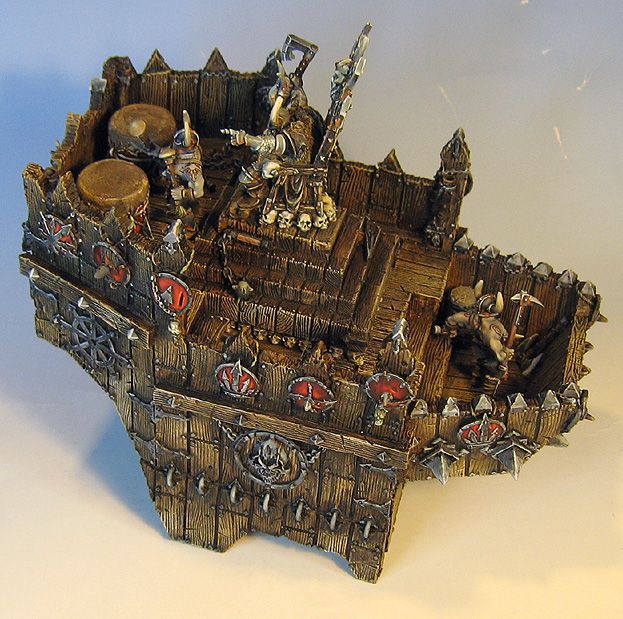
These shots give you a better view of the howdah:
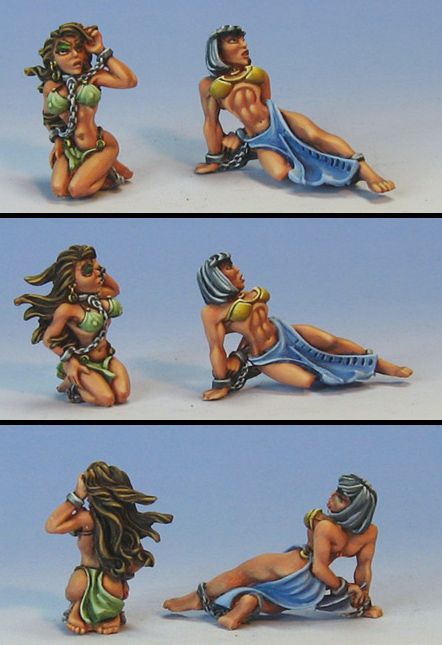
These ladies ended up in the howdah also:
Now a few early WIP shots that gives you an idea of the process:
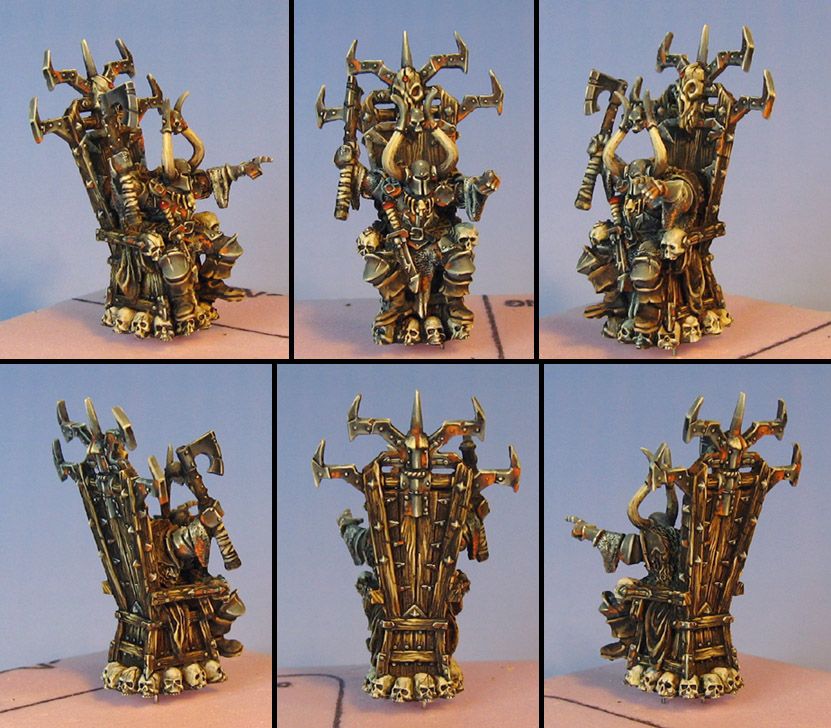
And the cherry on top!